Floral Wings with Pink & Main
Hello! Happy Saturday! I hope you are having a wonderful weekend.
Please check out my YouTube video for these cards here:
I have a special post today featuring some stamps and dies from Pink & Main called Floral Wings.
It feels like I waited for this set for an eternity (in crafter time at least). This set was previously released as part of a kit from Pink & Main either late last year or earlier this year and I missed it. Insert gasp here!
I was so bummed that I missed out on the gorgeous dragonfly with the floral wings. I have always loved dragonflies and thought they were beautiful and that they bring good luck.
I was excited to see the latest release from Pink & Main that included not only the beautiful dragonfly with floral wings but a butterfly and a bee. I of course purchased this set right away including the coordinating die set.
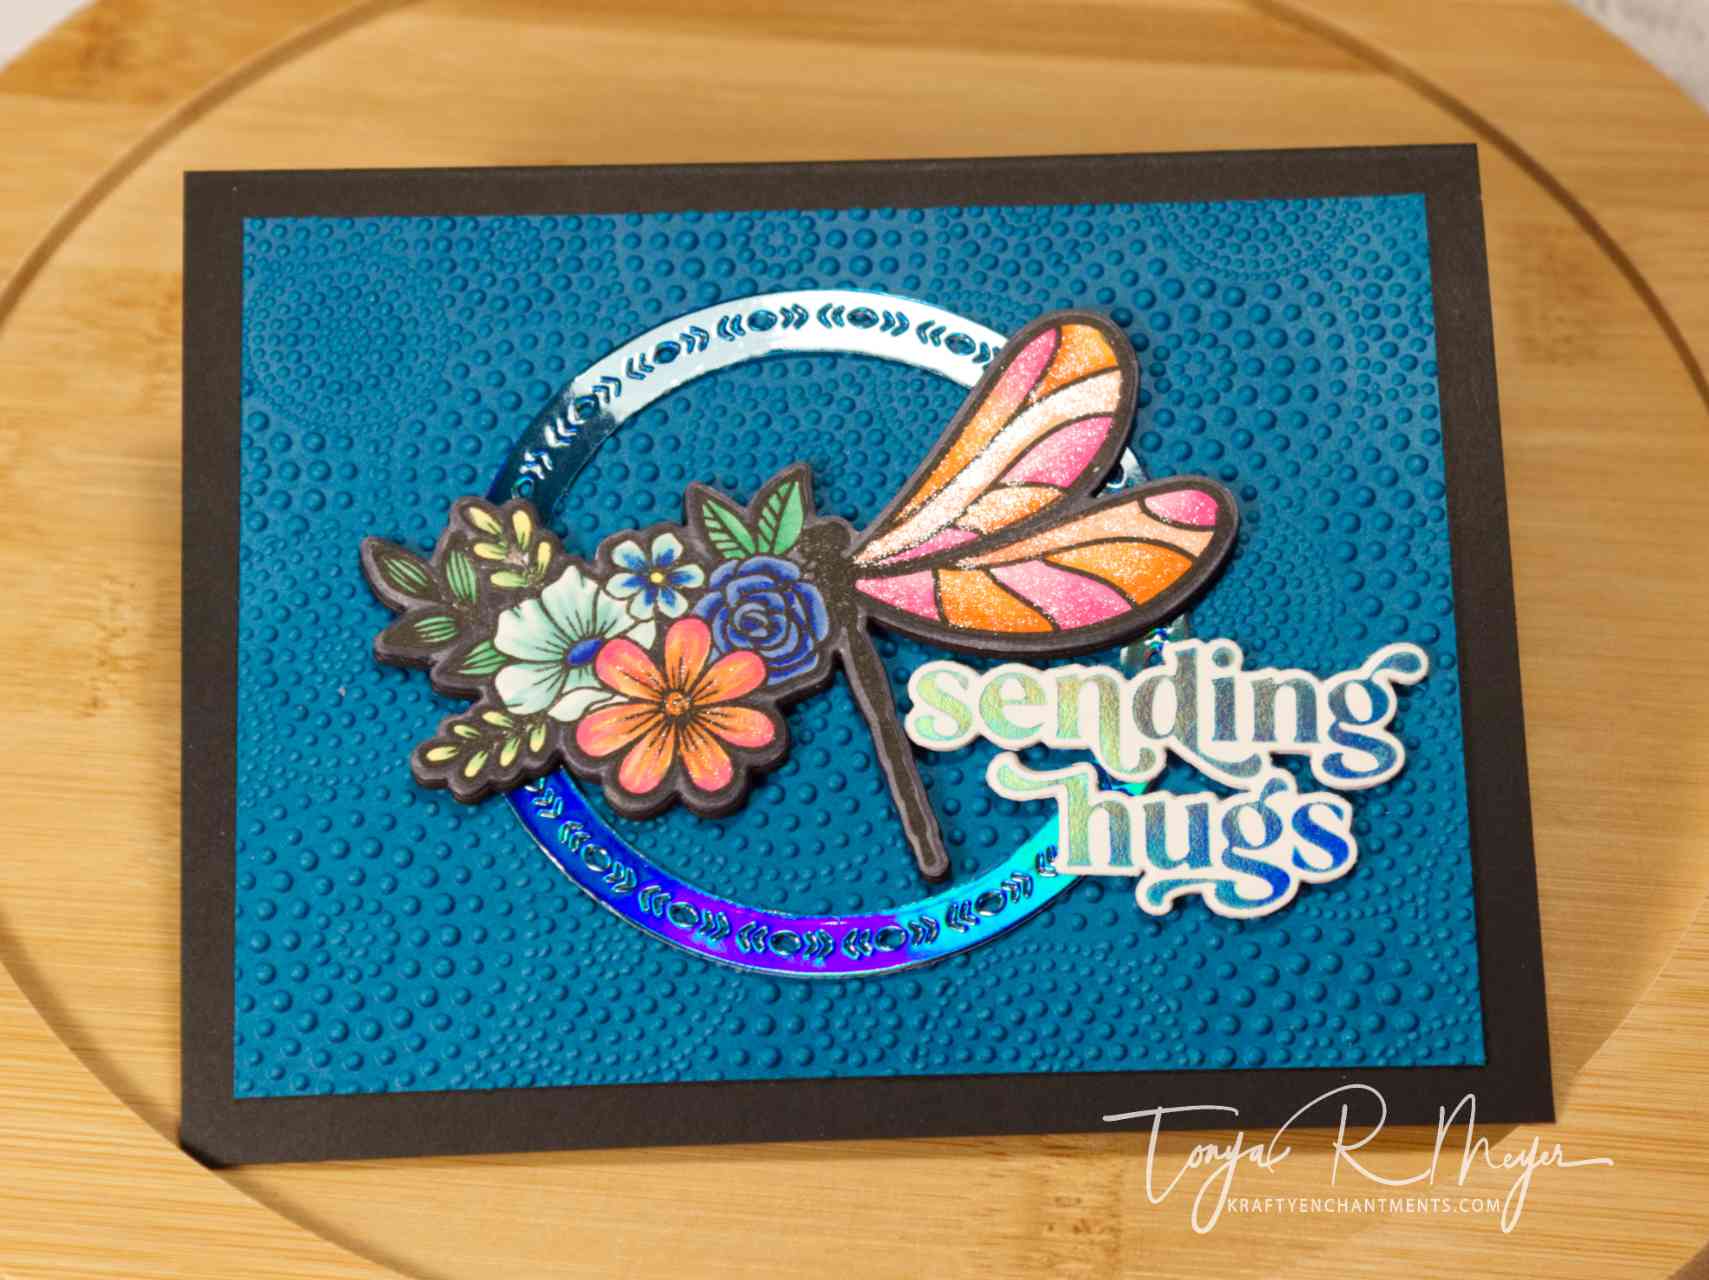
When I received my stamp set, I immediately stamped and colored the dragonfly. I did not do any crazy blending, just kept things simple with some two-color blends with my Copic markers. Once I had finished coloring the dragonfly, I decided to outline the entire image with a darker grey marker. I used a C7. I instantly regretted my decision, but I went ahead and die cut it and set it aside.
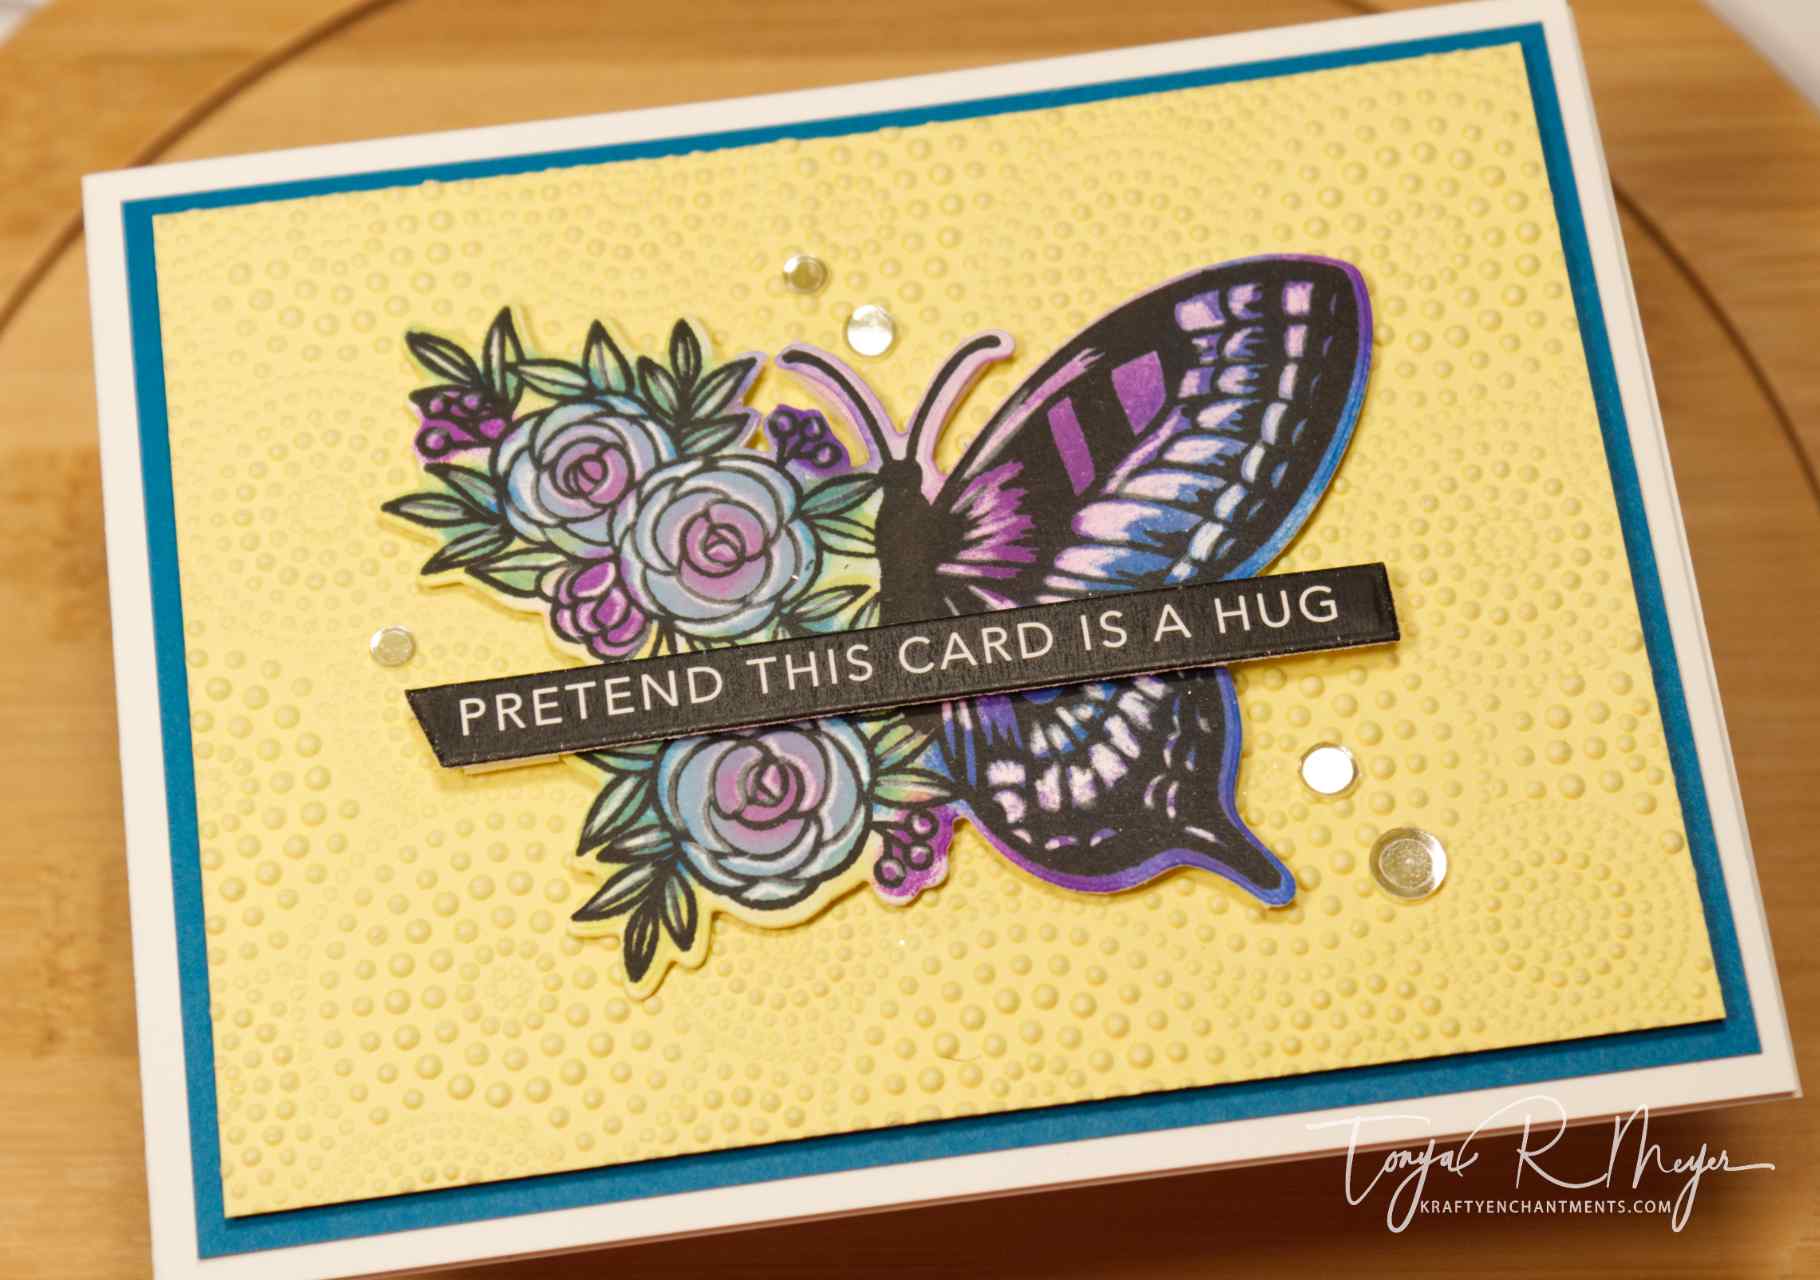
I had been watching some Gina K videos and saw her use a resist technique with a white colored pencil. She used it on her gorgeous butterfly stamps. I did not have her stamps, but I had my new Pink & Main butterfly so I figured that Gina’s resist technique would work very well with this stamp set.
I stamped my first butterfly using some Versa Fine ink onto some 110lb Neenah cardstock.
Using a Prismacolor pencil in white that I sharpened, I began to color in some areas on my butterfly. I took the approach of adding white where I would want a highlight on my stamped image. It is hard to see where you are coloring so you will want to do this in a well-lit area. I did keep holding my stamp up to the light so I could see exactly where I had put down the white highlights with my colored pencil.
Using my Simon Says Stamp Pawsitively Saturated Inks in Royal and Cadette, I blended on my colors starting from right to left.
I should have heat set it a bit as I did get a bit of smudging when I started to ink blend my first image however, I was able to blend over it, so it was not as noticeable.
I feel like bold colors work best for this technique, as they really show off the white highlights. However, it might be fun to try this on a dark cardstock with Distress Oxide Inks.
After the entire image was ink blended, I used a microfiber cloth and rubbed the entire image which wipes away the ink that was in the areas that I used the white colored pencil on. This is what I call “the magic”. It really has a wow factor when you rub away the ink.
I die cut the butterfly using the coordinating die and set it aside.
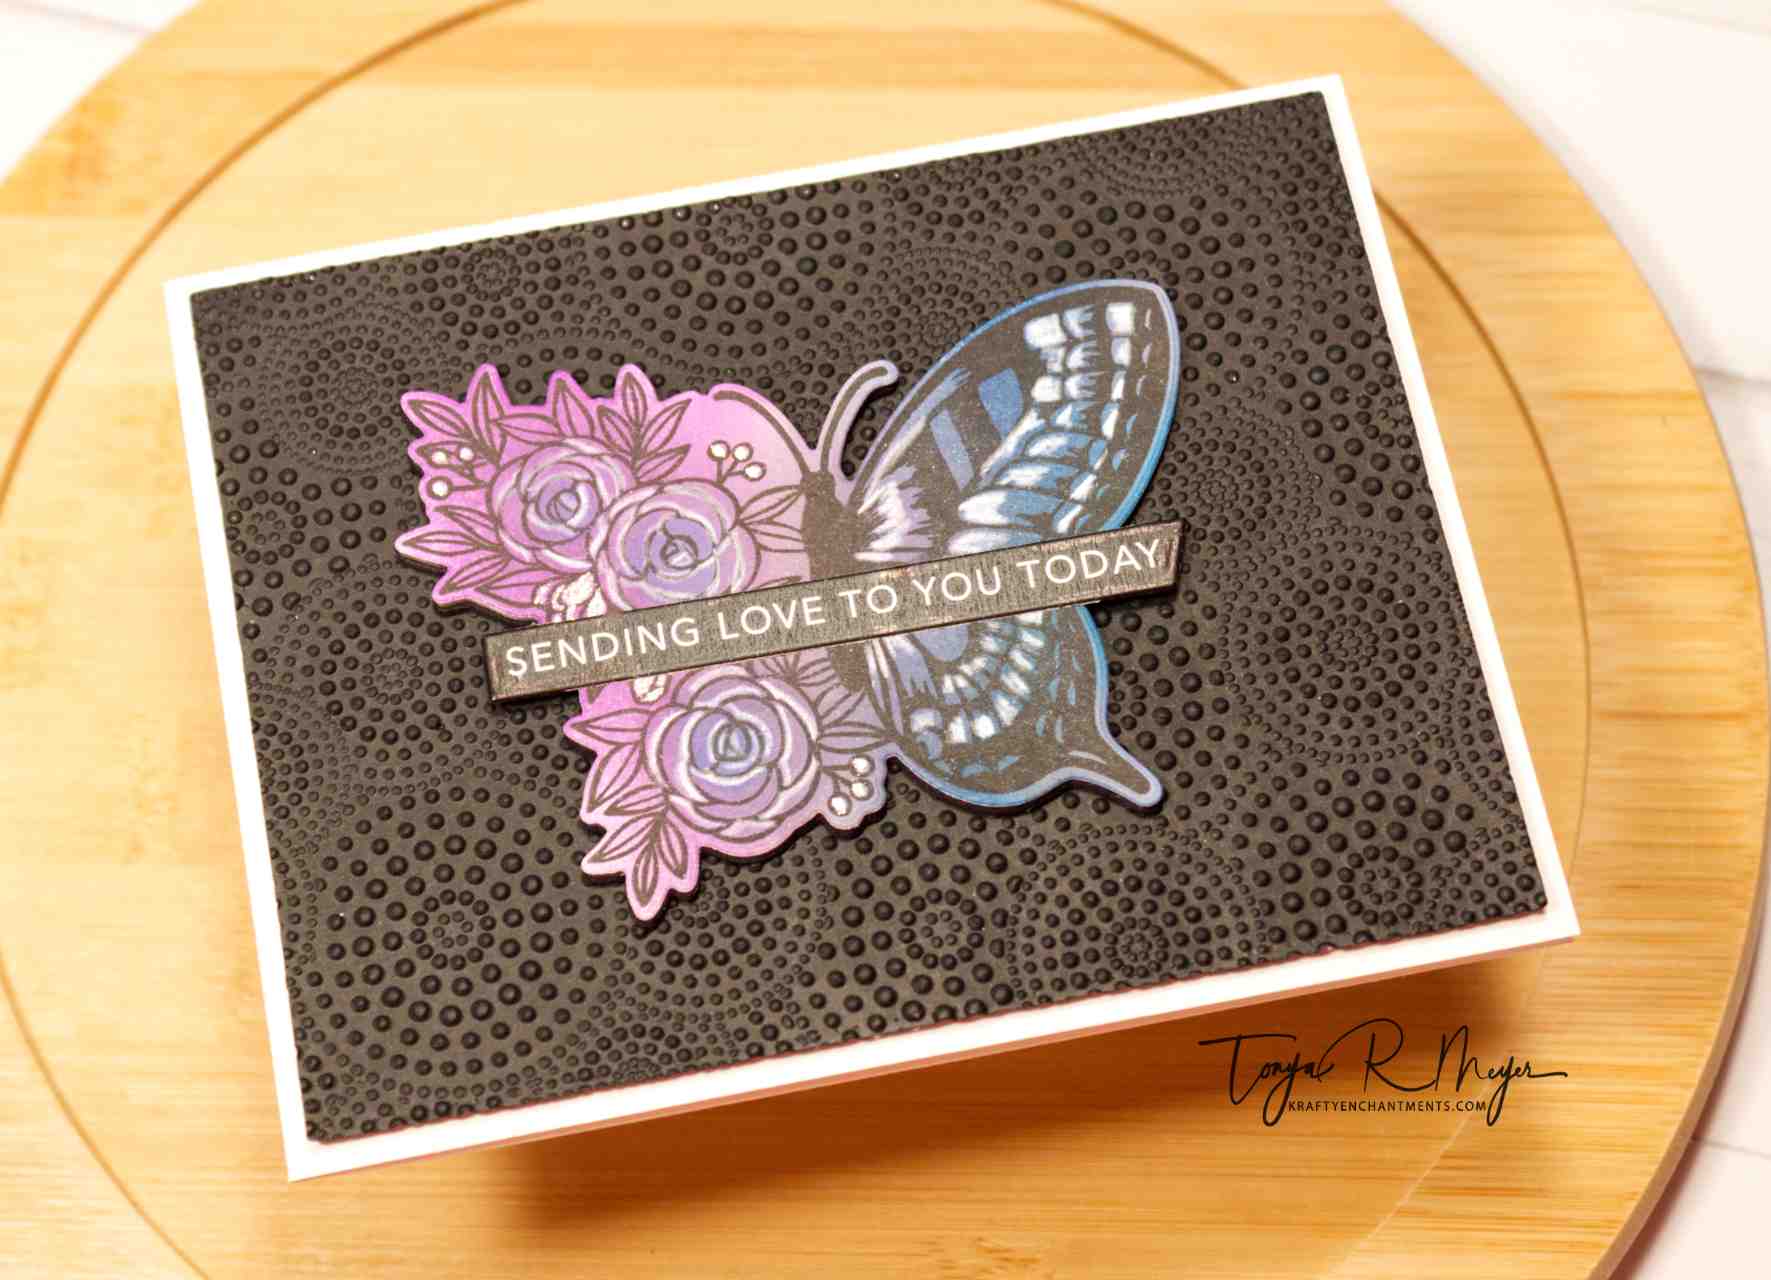
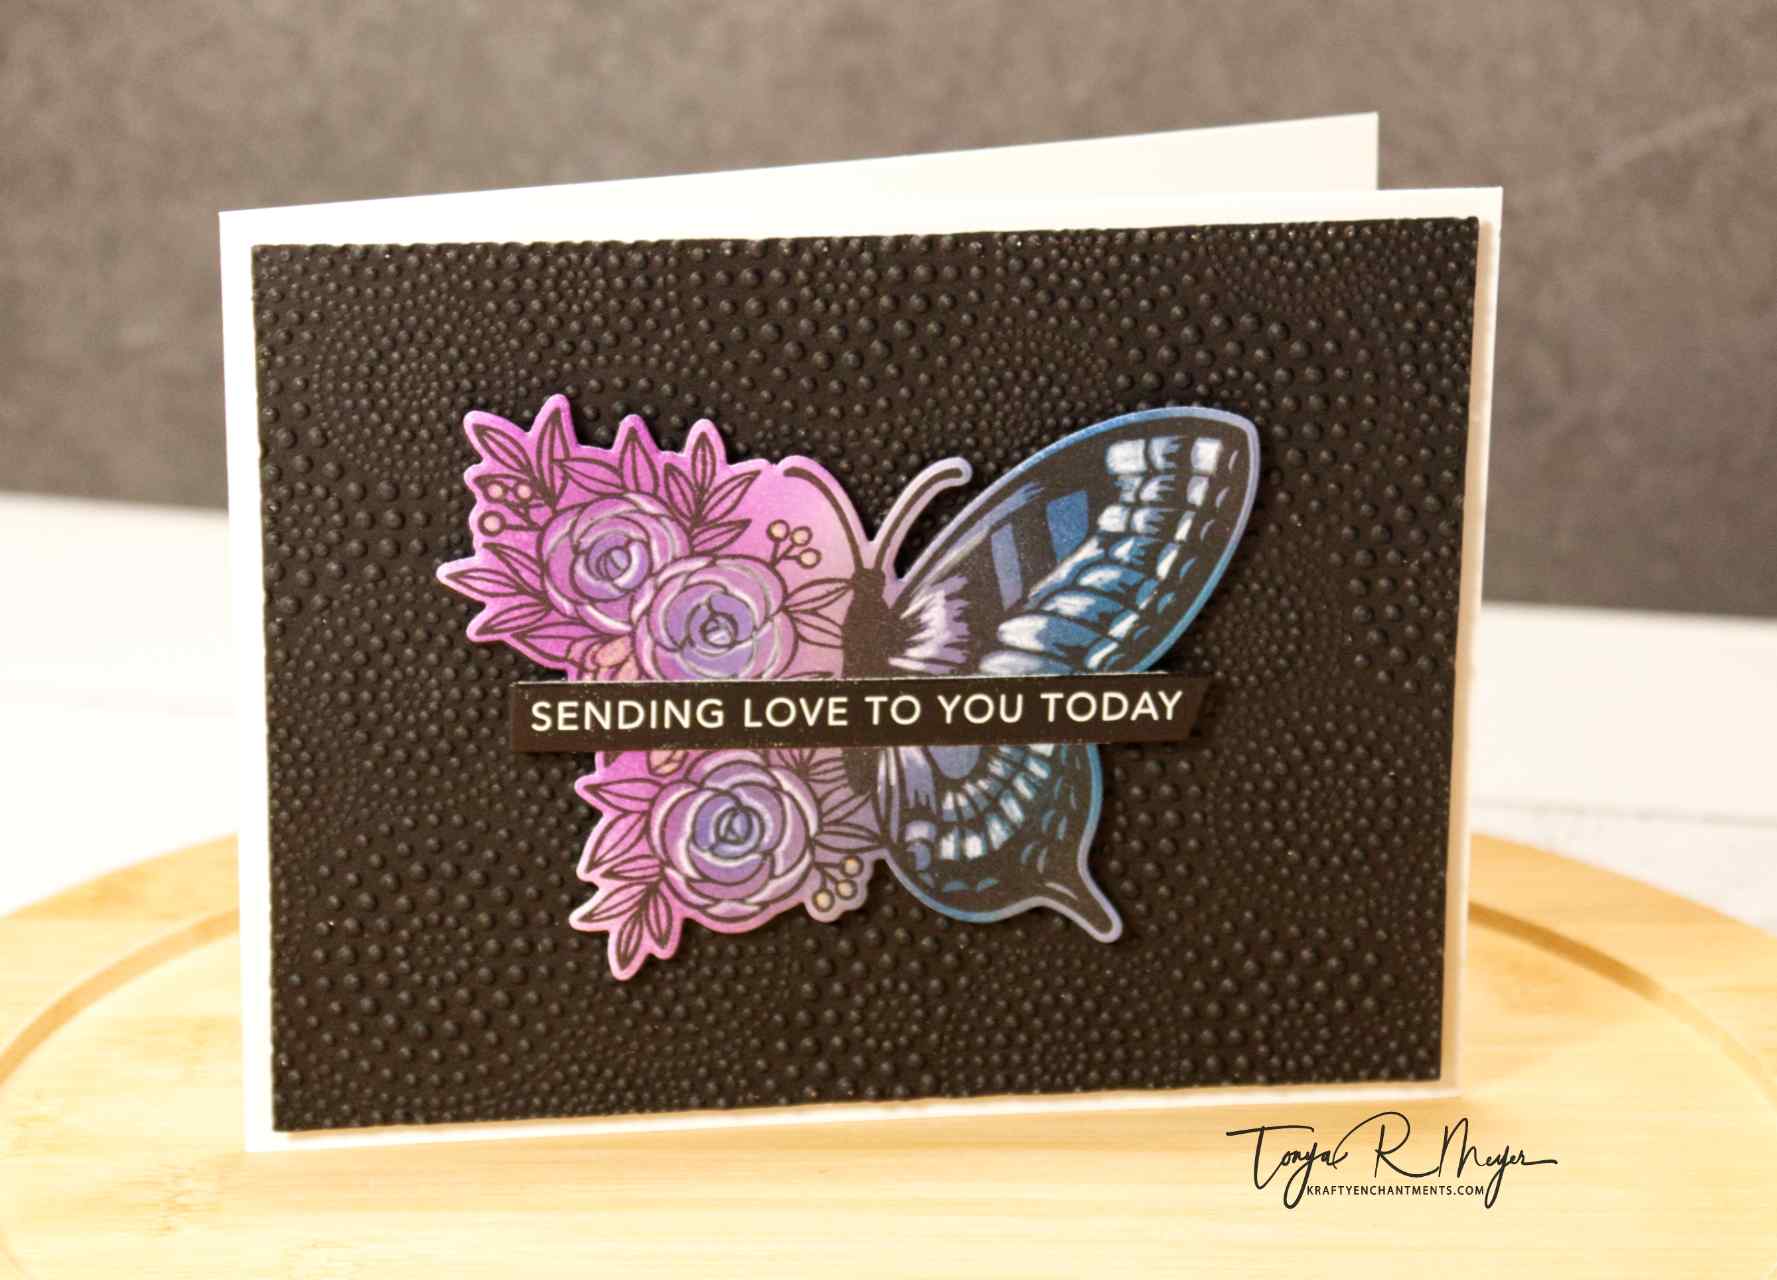
Next, I decided to try getting some more detailed blends and colors into my image using some detail blending brushes. These smaller brushes really allow me to get into smaller areas and add in some different colors and really bring the image to life.
I stamped and used the white colored pencil once again to add in my highlights and then used the detailed blending brushes to blend over the image with various colors. I was able to add in the green for the leaves using a combination of Cadette and Sunbeam which gave me some gorgeous green leaves. I added in blue and violet for the flowers which made them pop against the green.
Once again, when I finished my ink blending, I used my microfiber cloth and rubbed away the ink leaving the beautiful highlights on my image.
For this image, I used the coordinating die however I had to fussy cut around the berries at the top next to the antenna because the die did not cut that detailed. I went back in filling in the white space behind the leaves and flowers to make it look fuller and lusher.
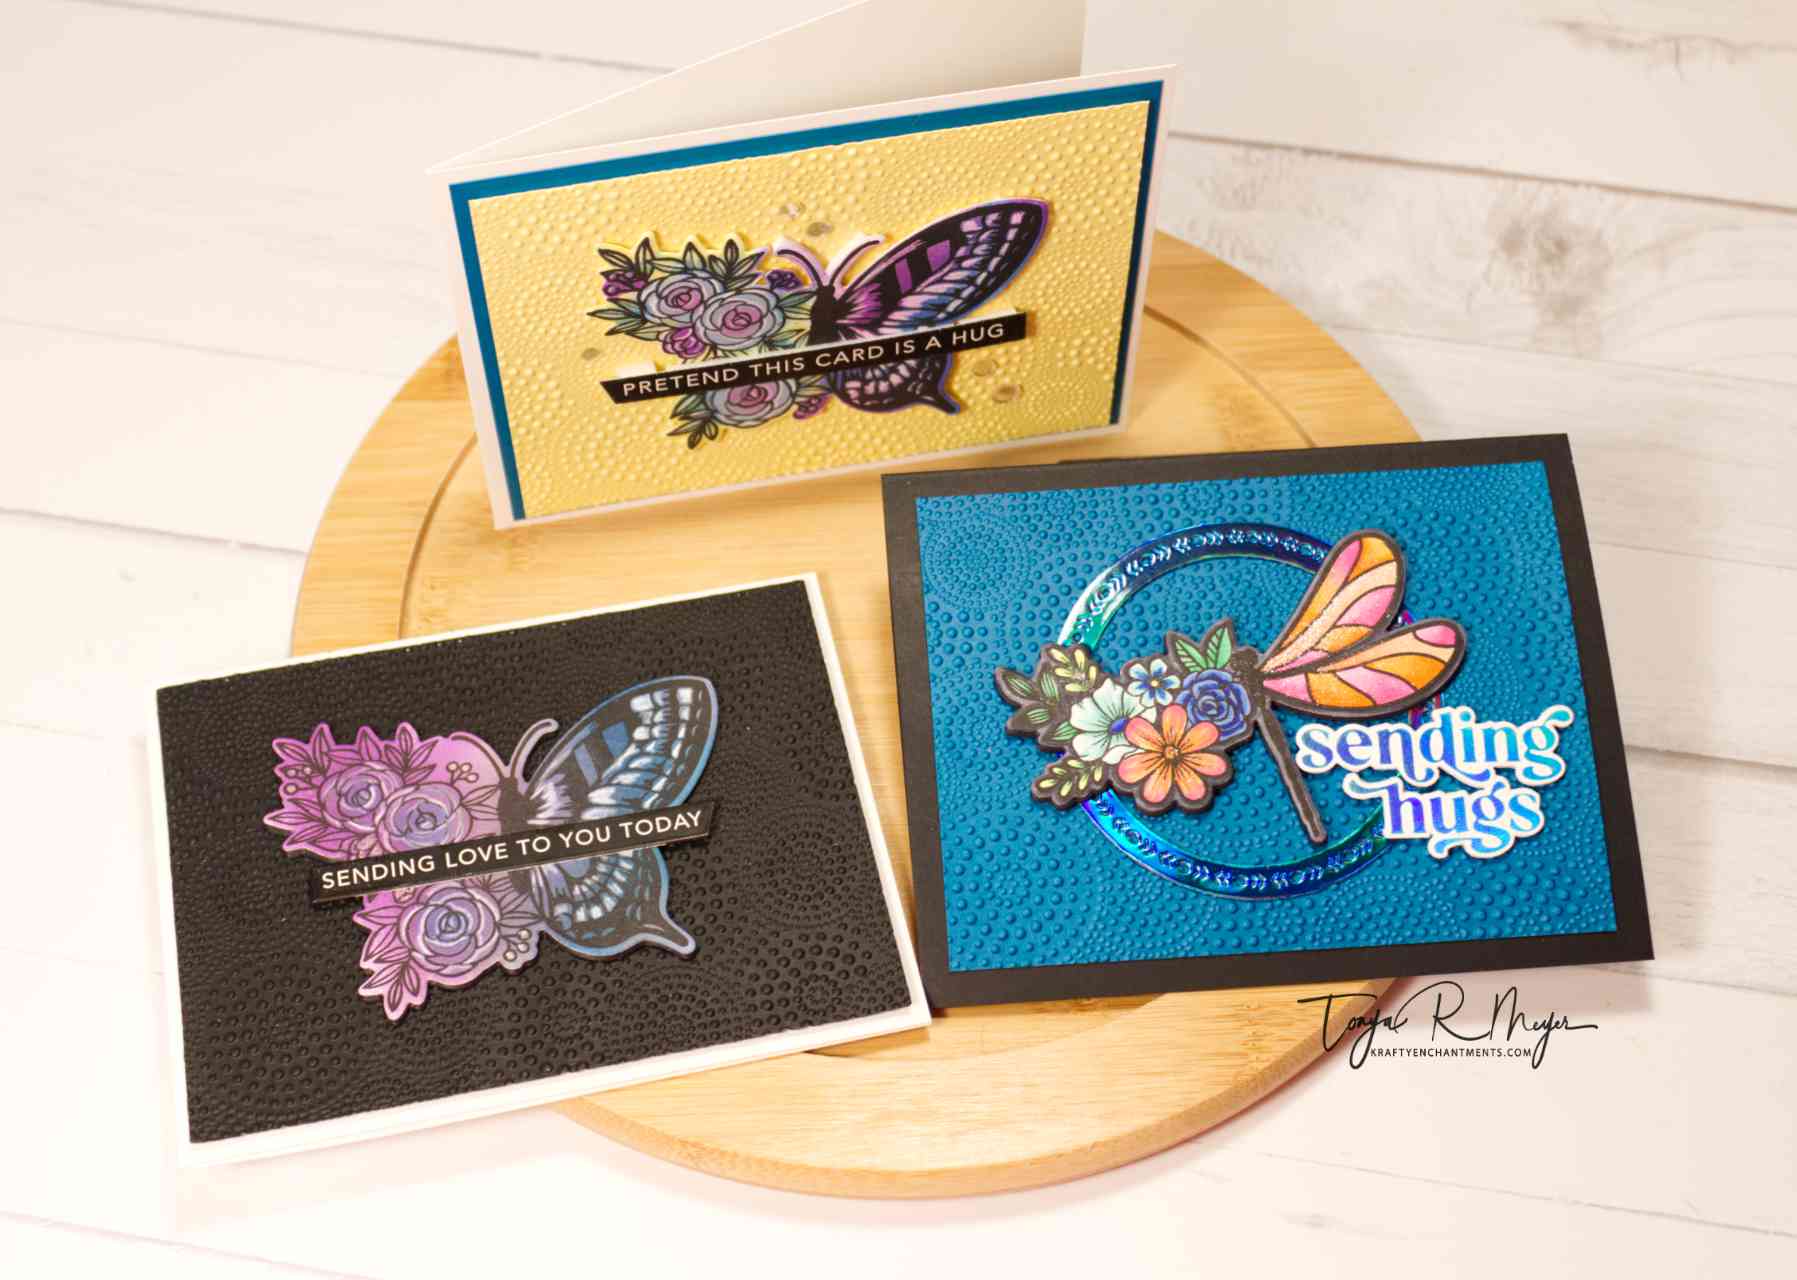
I cut several extra dragonflies and butterflies with black cardstock and layered them behind my first two colored images to give them a bit of dimension. For the one I fussy cut around, I did have to use foam tape on it.
I kept my cards simple electing to use and embossed background from Simon Says Stamp called Dibble Dot. This fun embossing folder adds a lot of great texture for your background. I lightly misted my cardstock before running it through with my embossing sandwich. I embossed three pieces of cardstock in yellow, blue-green and black.
For the butterfly cards, I kept them simple opting to use some Taylored Expressions Simple Strips in Reverse for my sentiments. These quick and easy, pre-printed sentiments are a breeze to use on cards when you just need to use a coordinating Simple Strips die to cut them out and they are ready to go on your card panel. I used the Asymmetrical Simple Strips die for my strips. The strips were added to the front of the butterflies.
On the dragonfly card, I cut one of the Folk Edge Circles from Pink Fresh Studio with some Tonic Studios Marina Mist iridescent cardstock. I adhered it to the center of my embossed background on the blue-green cardstock with some liquid glue.
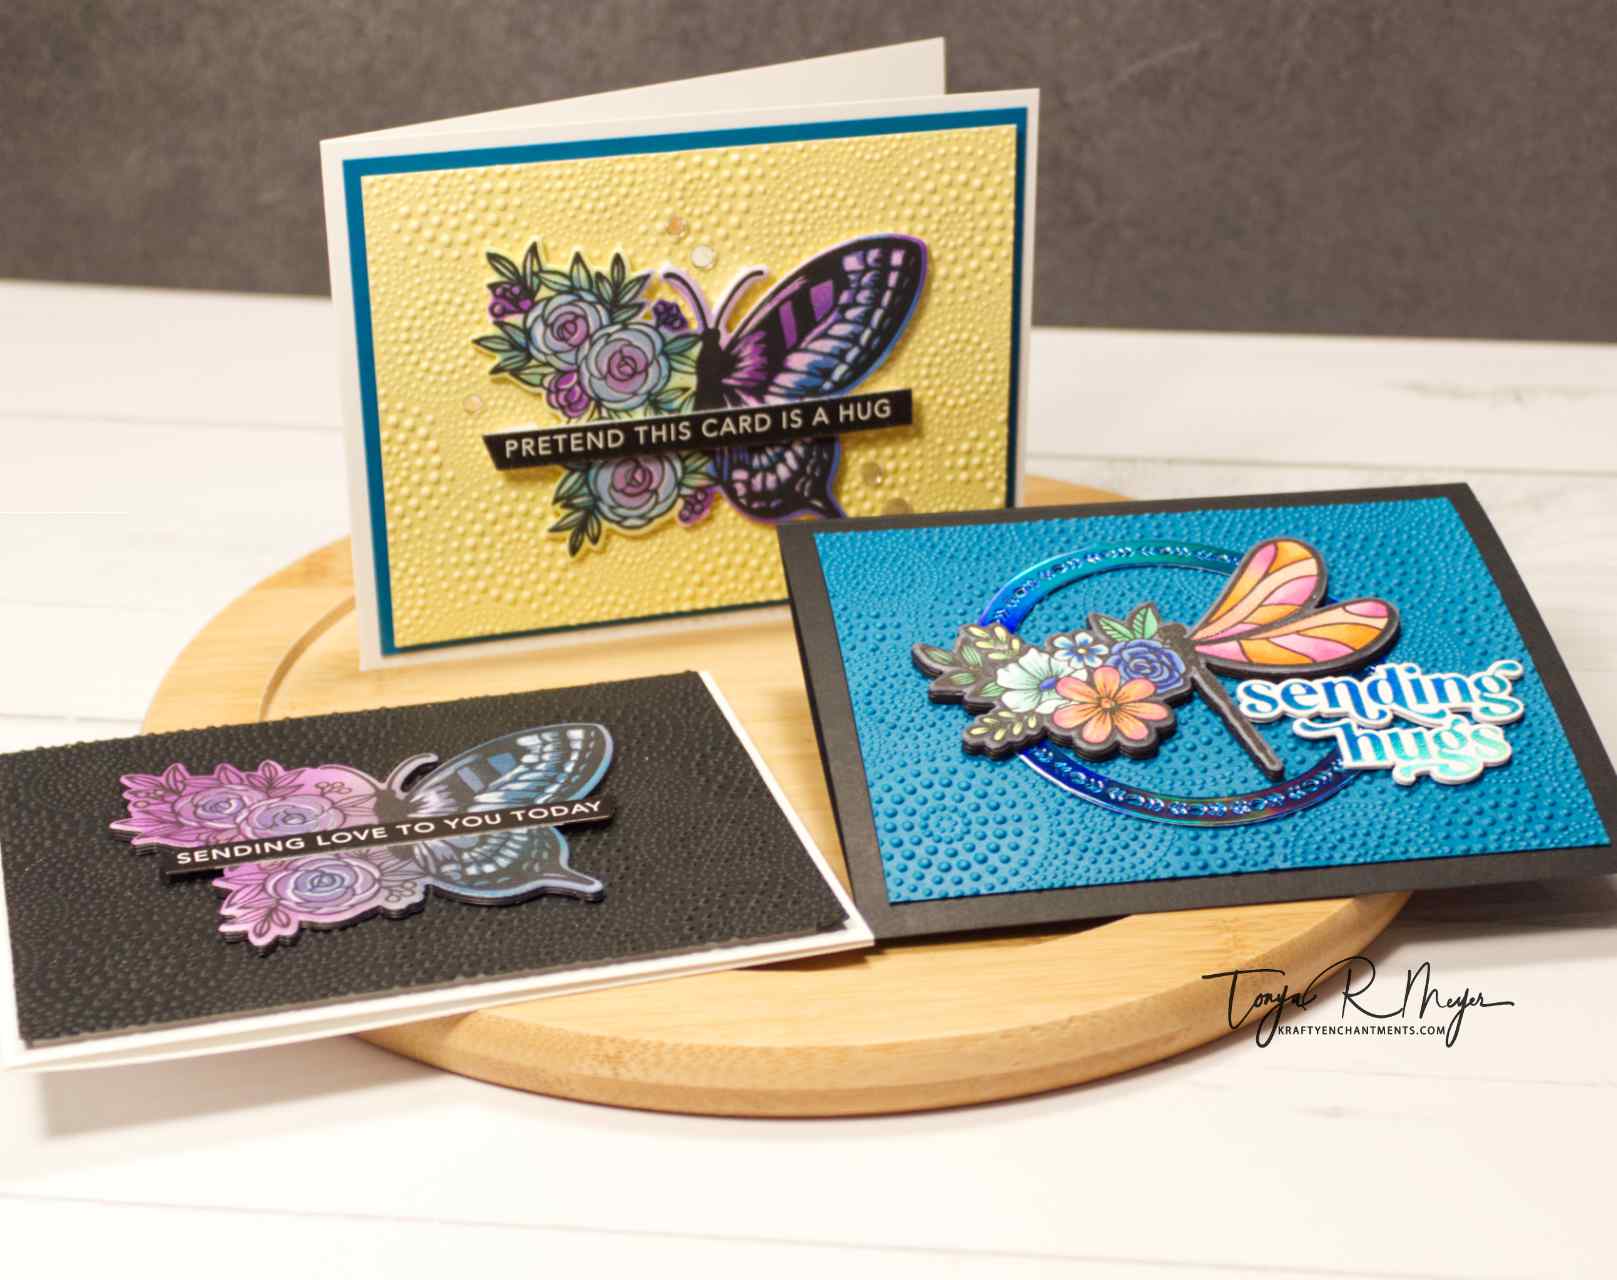
I had some leftover hot foiled sentiments from Pink Fresh Studio’s Perfect Sentiments set in my stash. I had foiled and cut a bunch of these, so they are great options for quick sentiments as well. I added some additional die cuts behind the foiled sentiment, “sending hugs” to give it a bit of dimension before adding it just below my dragonfly on the card front.
All my backgrounds were adhered to A2 card bases cut from Neenah 110lb White cardstock and Recollections 110lb Black Cardstock.
Other than a few sequins on my butterfly and some aqua shimmer on my dragonfly wings, I did not add any other embellishments.
That finishes off my cards today. I hope you have enjoyed them and are inspired to try out the Pink & Main Floral Wings stamp and die set. Not only is this set great for stamping and coloring or inking, but I think you could really make some great mixed media cards with this set, and they would be fun on tags or slimline cards. Lots of options.
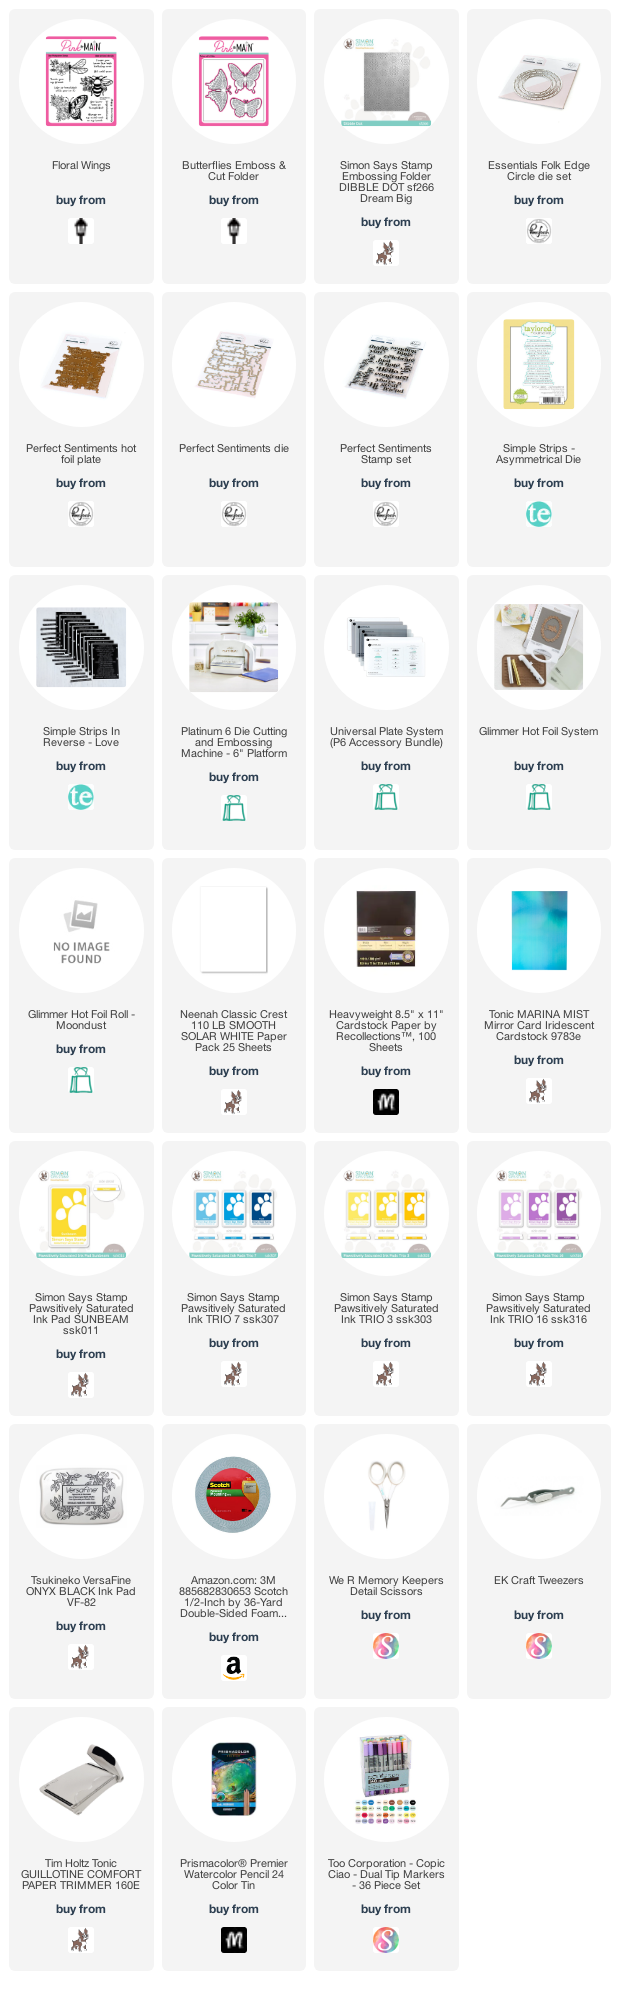
I have linked all the products used in today’s cards below for your convenience.
Thanks for stopping by!
Have a krafty day!
Hugs,
Tonya
https://linkdeli.com/widget.js?id=f5e8378456858c916708


These are stunning! I must try this technique!
LikeLike