A Little Hello
Hello crafty friends—welcome back!
Today I’m sharing a fun, easy card design that’s perfect for mass-making or putting together as a thoughtful gift set. If you need something quick but still beautiful, this one checks all the boxes.
I’m working with the Little Wonders stamp set, which is full of adorable critters. I chose the dragonfly (I can’t resist them!) along with a small flower cluster. To keep things simple and cohesive, I used just a couple of colors—purples and greens—for all my coloring. Once finished, I cut the images out using the coordinating dies.
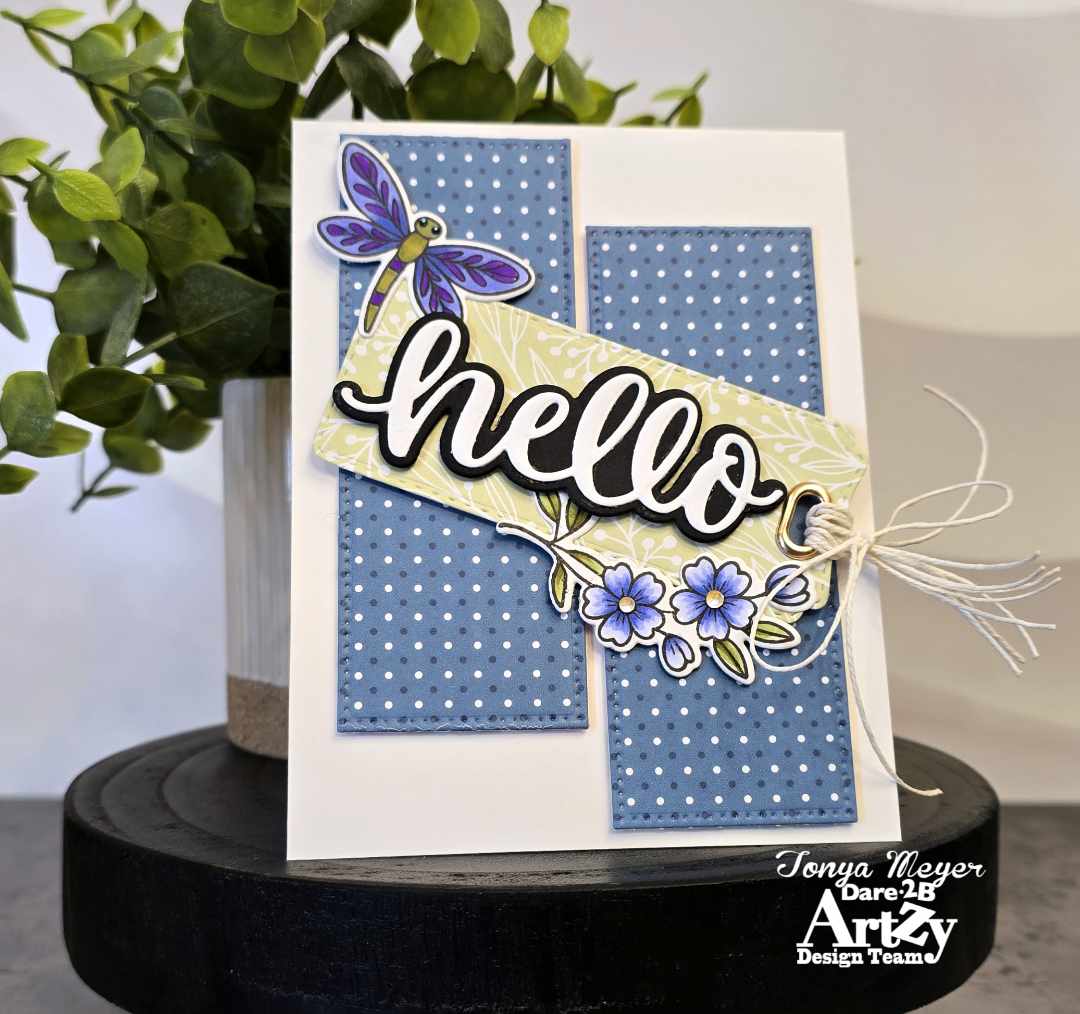
For the sentiment, I die cut the “Hello” word die from white cardstock and its shadow from black cardstock, then adhered the two layers together with liquid glue for a crisp, bold look.
Next, I created my tag using an older tag die from my stash and cut it from Sweet as Honey patterned paper. The soft sage green on the reverse side makes such a lovely, subtle background. After cutting the tag, I used my Crop-a-Dile to punch a hole at the top, added a metal reinforcer, and secured it in place.
Since I didn’t have a ribbon that matched, I improvised with white twine. I cut a long piece, folded it into four strands, and looped it through the tag hole to create a soft fringe effect. A small twine bow at the base adds just the right finishing touch.
To give the tag some dimension, I added foam adhesive to the back. Then I attached my colored images to the edge of the tag using liquid glue, holding them in place with reverse tweezers while they dried. The “Hello” sentiment was added at a slight angle with more foam adhesive for extra interest.
For the card base, I kept the background clean and simple. I used two strips of blue polka dot paper and paired them with white cardstock panels cut using a stitched rectangle die. This layout adds a bit of pattern while still leaving plenty of white space.
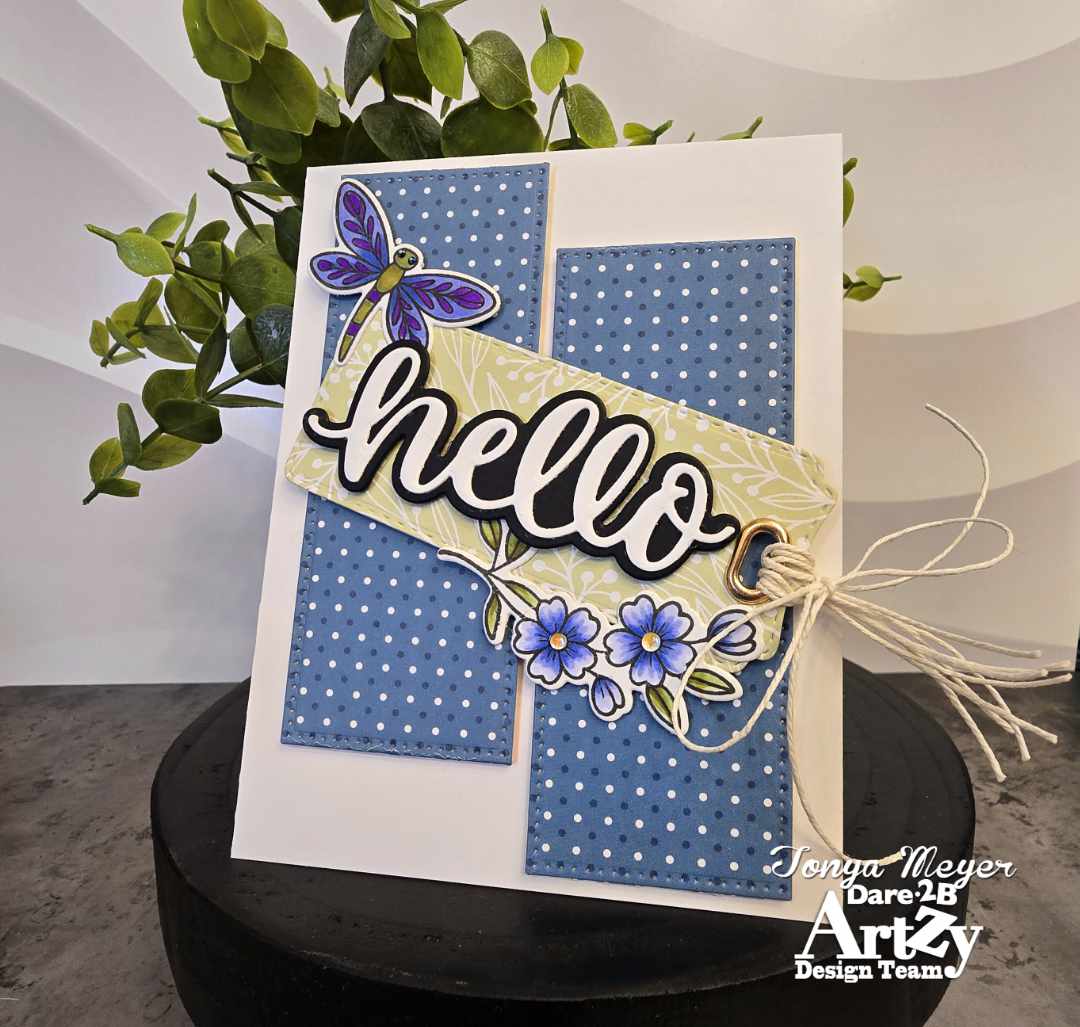
I adhered the patterned paper to a top-folding A2 card base using foam adhesive, then attached the tag on top. A quick design note—I originally planned to angle the tag the opposite way, but my dragonfly placement didn’t quite allow for it. A good reminder that sometimes you just go with what works!
To finish the card, I added yellow iridescent gems to the flower centers and tiny green gems for the dragonfly’s eyes—just a bit of sparkle to bring everything to life.
I hope you enjoyed today’s simple project! These cards come together quickly and are great for making in batches. If you want to save even more time, you could swap in pre-printed images and dies instead of coloring.
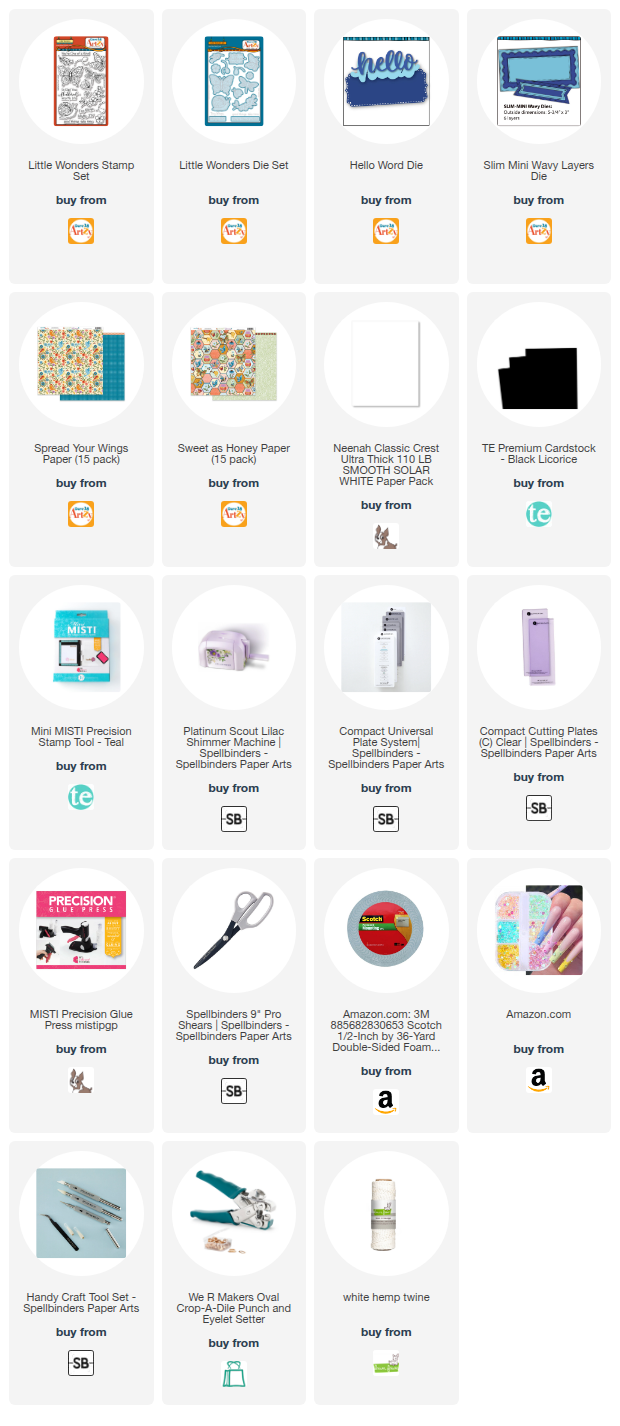
Thanks so much for stopping by. I’ll have all the products I used listed below for your convenience.
Hugs,
Tonya
 https://linkdeli.com/widget.js?id=f5e8378456858c916708

