You’re Sweet Honey
Hello crafty friends, and welcome back!
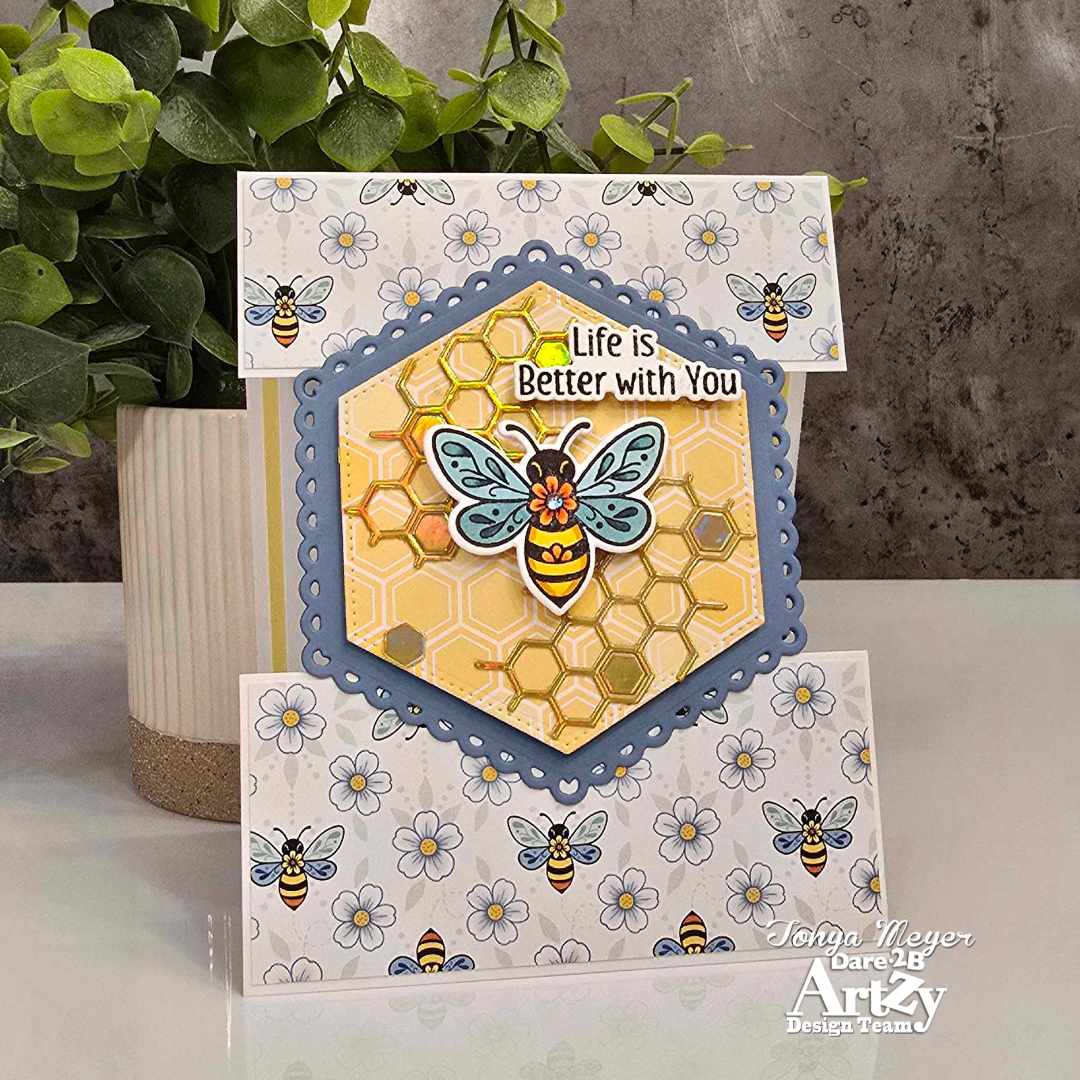
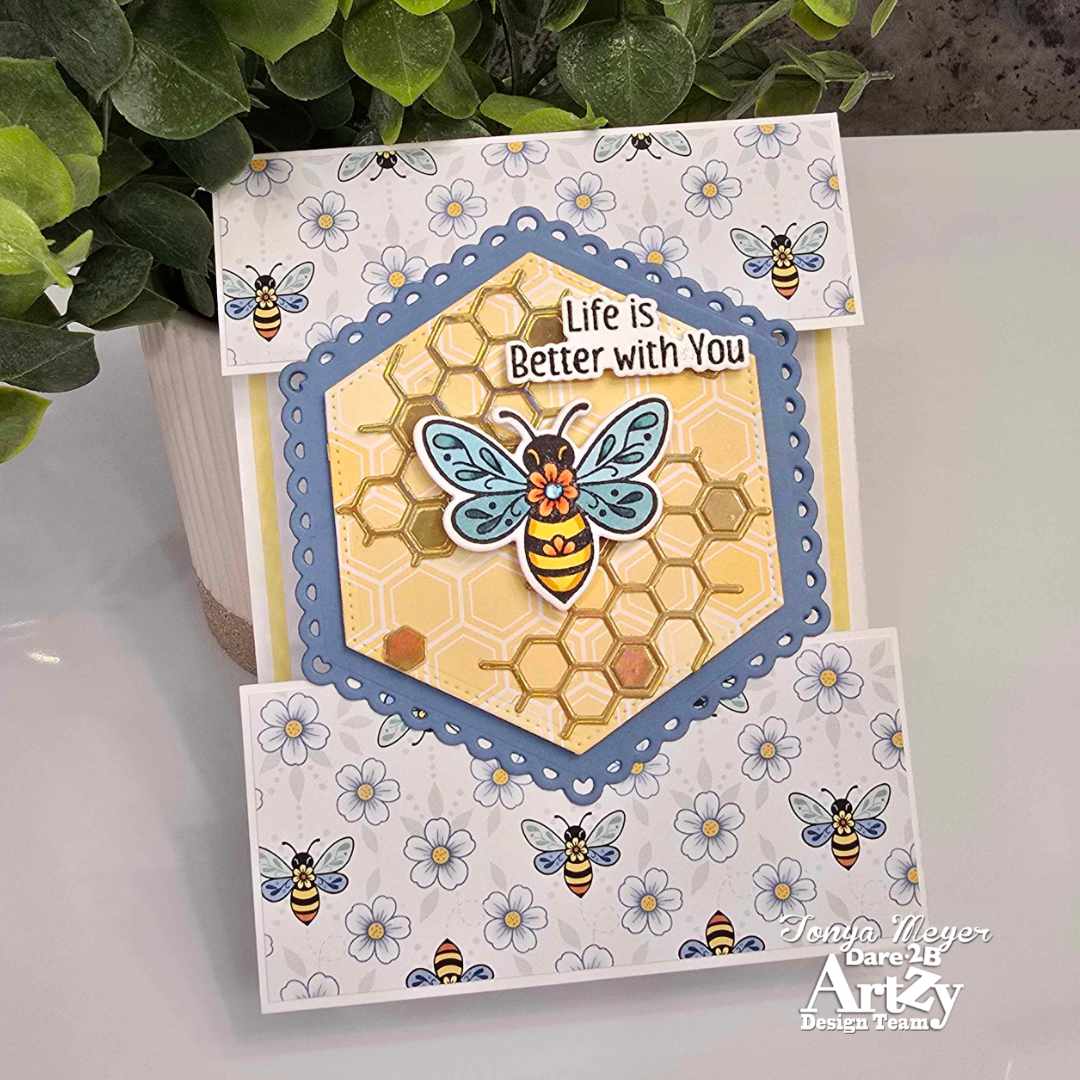
Today I’m sharing a fun new card project for Dare 2B Artzy featuring the Sweet as Honey stamp set and coordinating dies. To complement the bee and honey theme, I also incorporated the Hexagon Nestables die set for a sweet honeycomb-inspired design.
To begin, I created a top-folding card base from Neenah 110 lb. Solar White cardstock, cutting it to 4¼” x 5½” and scoring it at 5½”.
Next, I placed the card base flat in my guillotine trimmer and cut 1½” from the score line on the front panel. Using the remaining cardstock, I trimmed off 2″ sections, setting one aside to use later for stamping my sentiment.
Using heavyweight blue cardstock, I die cut two scalloped hexagons from the Hexagon Nestables set. Then, with the next smaller hexagon die (measuring approximately 2¾”), I cut a panel from the Bitzy Bees paper collection using the yellow hexagon-patterned side.
From the reverse side of the Bitzy Bees paper, I cut two pieces measuring 4⅛” x 1⅜” and one piece measuring 4⅛” x 1⅞”. I adhered the smaller patterned piece to the top flap of the card front and attached the larger piece to one of the 2″ cardstock sections.
To create the new card front, I temporarily taped the patterned cardstock section into place, aligning it with bottom edge of the card base. I wrapped the temporary tape around the back of the card to keep everything secure while assembling the design.
Next, I added liquid adhesive to the top and bottom portions of one scalloped hexagon and adhered it over the opening, creating a bridge between the upper and lower sections of the card front. For added stability, I adhered the second scalloped hexagon directly behind it on the inside of the card.
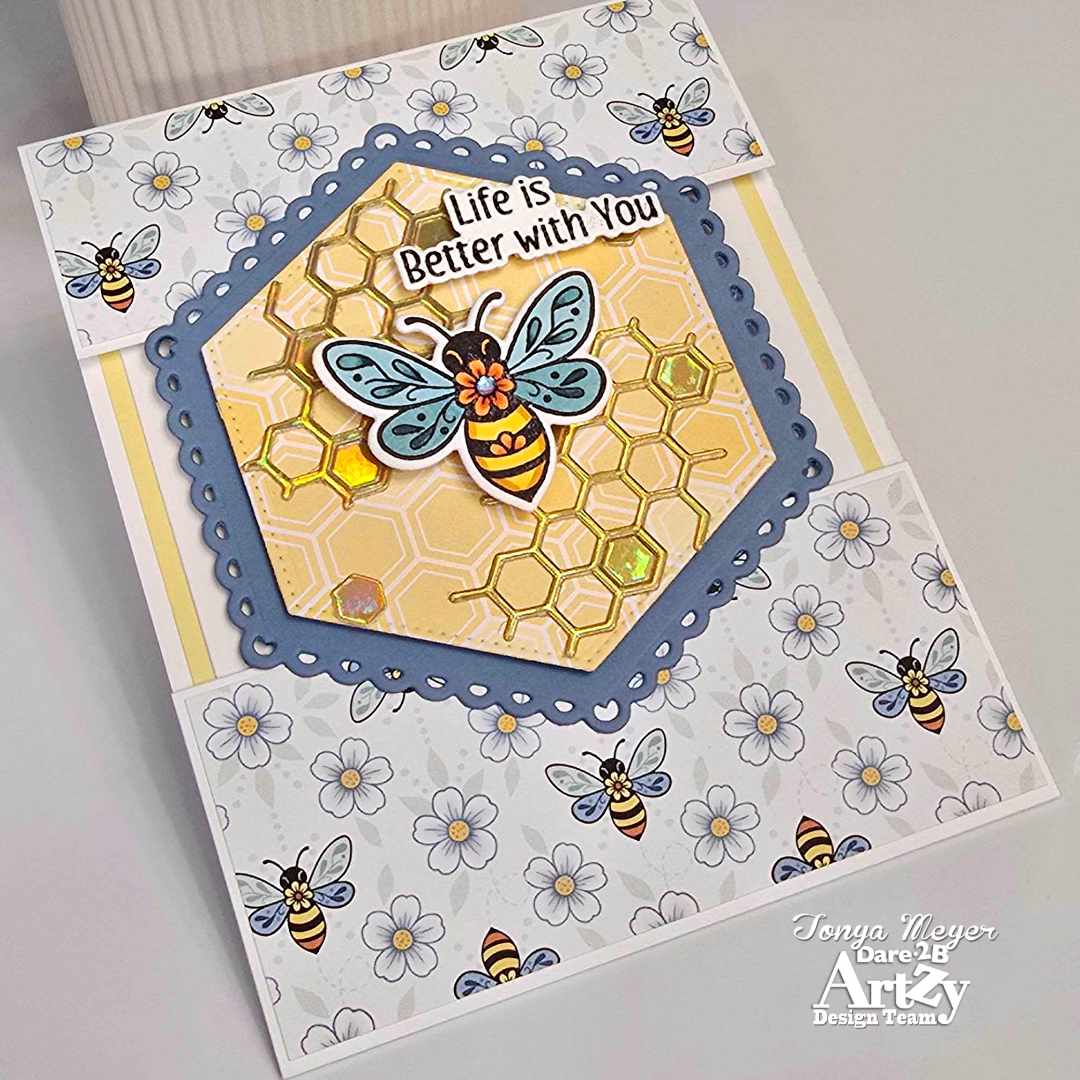
Before attaching the smaller patterned hexagon, I die cut two Mini Honeycombs from gold iridescent cardstock. I adhered them along two edges of the hexagon, leaving a few of the honeycomb pieces intact for extra sparkle and dimension.
The patterned hexagon was then mounted onto the scalloped hexagon using dimensional foam adhesive.
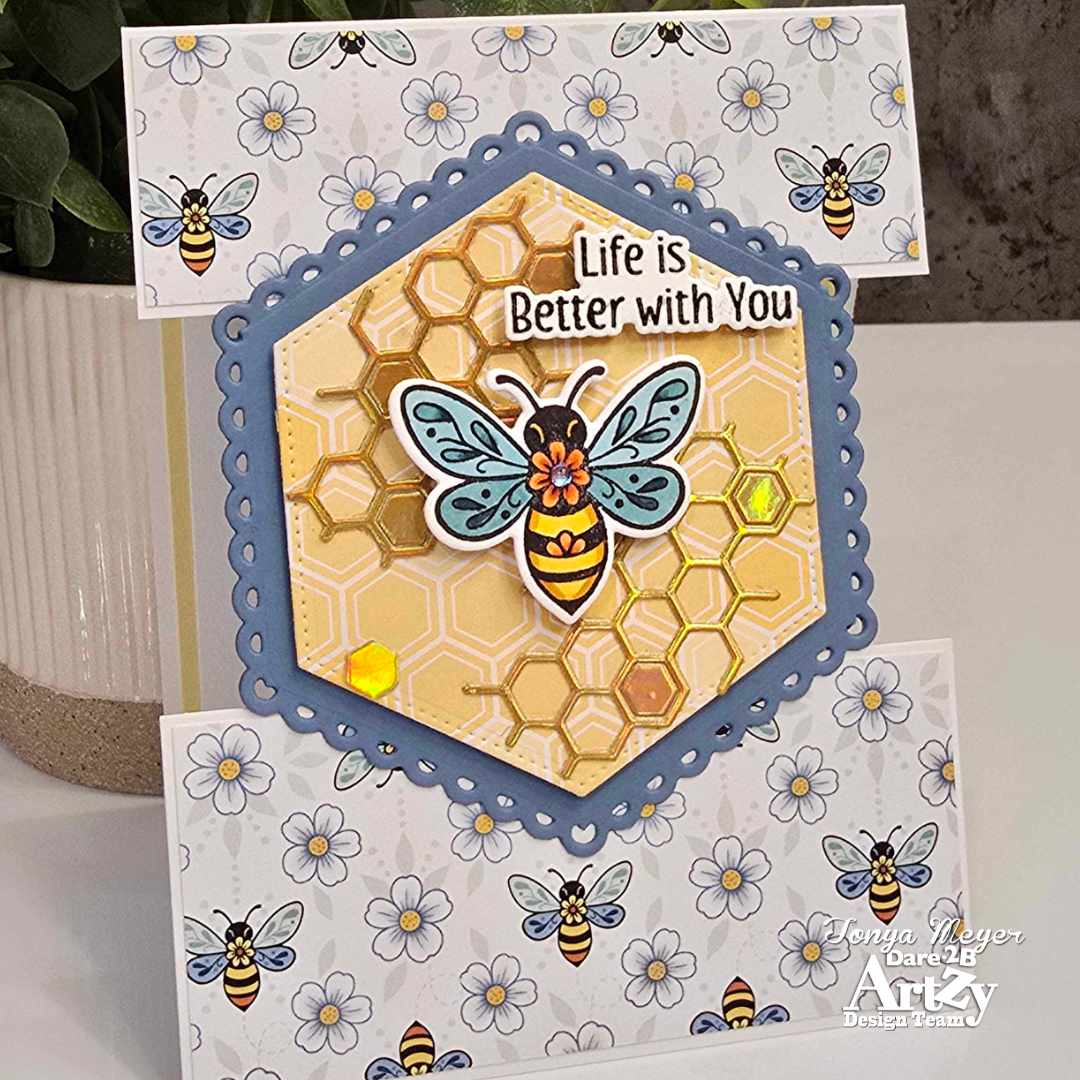
For the focal images, I stamped and colored a bee, honey jar, and honey dipper from the Sweet as Honey stamp set and used the coordinating dies to cut them out. While gathering supplies, I found a few previously colored flowers that matched perfectly, so I decided to incorporate them into the design as well.
I attached the bee to the front of the card with dimensional foam and added the sentiment, “Life is Better with You.”
For the inside of the card, I created a layered panel using light yellow cardstock cut to 4″ x 5¼” and topped it with a white panel measuring 3¾” x 5″. After adhering the layers inside the card, I stamped the sentiment, “You’re Sweet Honey,” and added the honey dipper just above it.
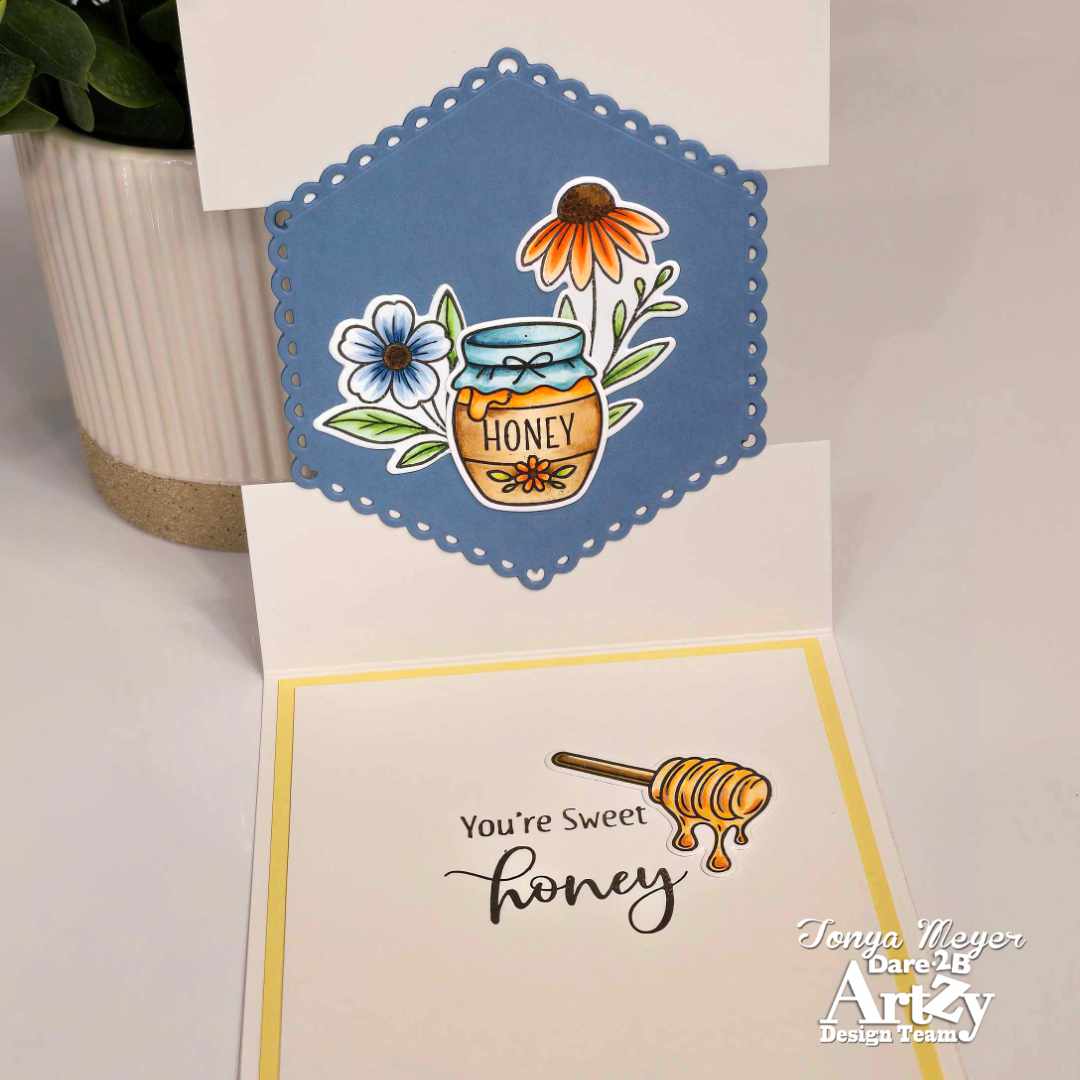
To finish the inside, I arranged the honey jar and flowers opposite the sentiment, placing them over the blue scalloped hexagon for a cohesive look.
As a final touch, I added a small iridescent gem to the flower on the bee and accented the honey dipper inside the card with a Gelly Roll Stardust pen for a bit of shimmer.
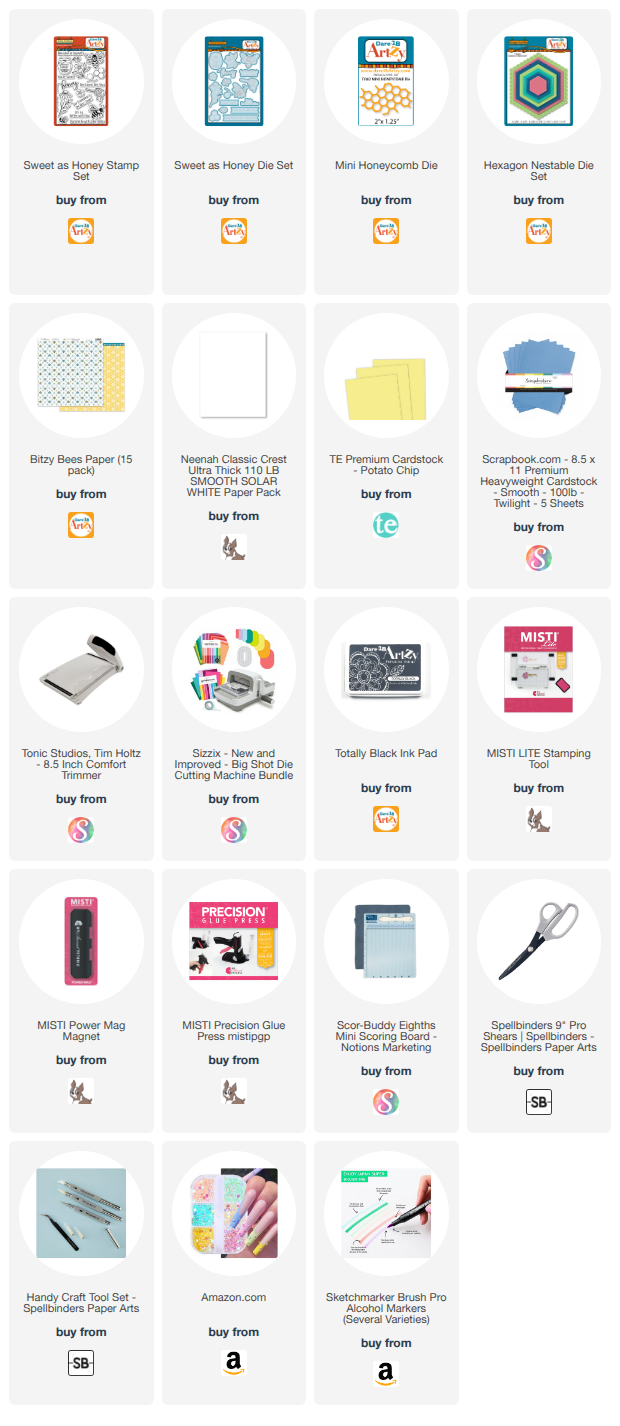
That wraps up today’s project! I hope you enjoyed seeing how this sweet honey-themed card came together. I’ll link all of the products used below for your convenience.
Thank you so much for stopping by!
Have a crafty day!
Hugs,
Tonya
https://linkdeli.com/widget.js?id=f5e8378456858c916708

