Challenge: Spirit of the Season
Hello crafty friends! Can you believe that it’s already December 3rd? Where has the time gone? I was thinking the other day that it seemed like Halloween was just last week. Its crazy how quickly time goes by isn’t it?
Speaking of time, it’s time again for a new Dare 2B Artzy Challenge as we’re now in December. Our Challenge Theme this month is

I love this theme! There are SO MANY POSSIBILITIES with all of the awesome Dare 2B Artzy stamps for the holidays! Plus who doesn’t love the Holidays? I know it can be hectic and stressful, but if you just take a moment to enjoy everything that the Christmas holiday represents. It gives you a renewed spirit and a warm fuzzy feeling all over.
For my challenge project, I stumbled upon an awesome tutorial by Allison Cope that I knew I had to try. Here’s the link: https://yourmemoriescanada.blogspot.com/2017/11/inspire-me-monday-turnaround-technique.html. We all know that the Turnaround Stamp craze has been taking the crafting world by storm. Now with this tutorial you can create your own Turnaround stamp projects – and it’s not too difficult.
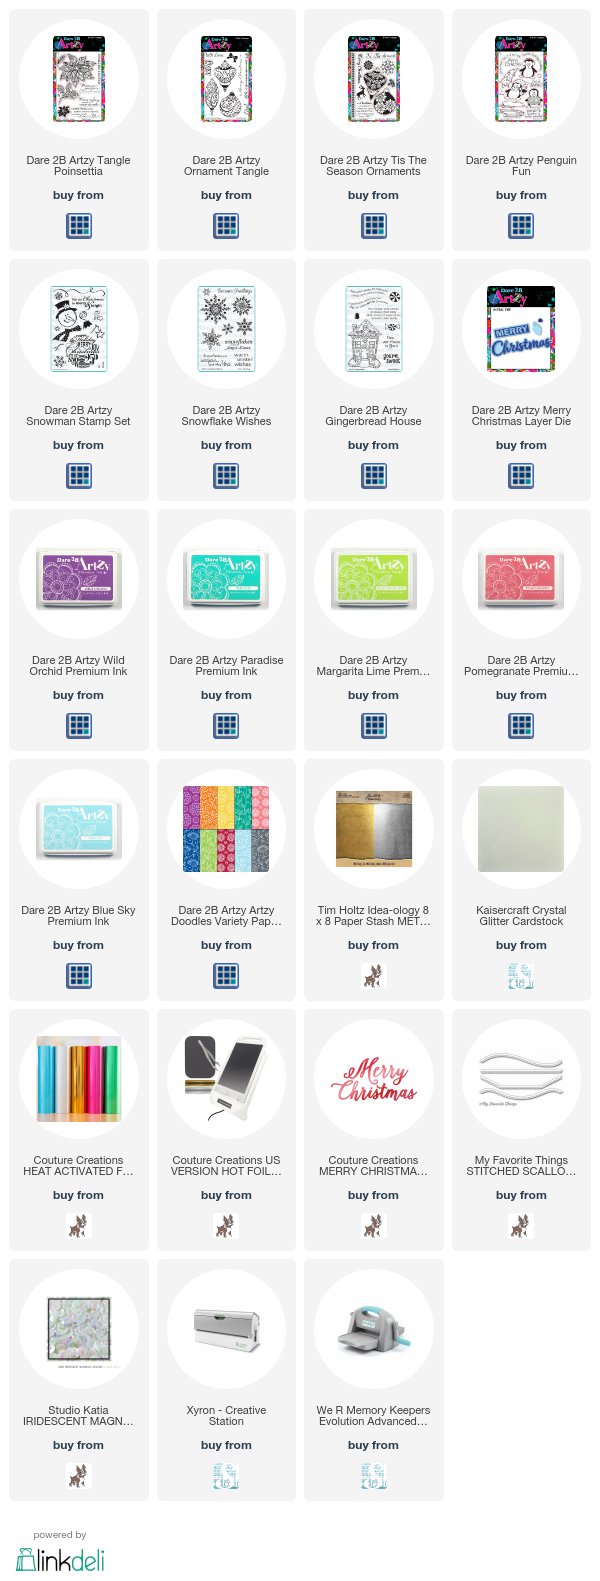
To start, I went through my entire Dare 2B Artzy Stamp collection and pulled out the stamp sets that had smaller “complimentary” stamps in them. These can be small images or even small sentiments or word stamps. I used stamps and sentiments from 7 different Dare 2B Artzy Stamp sets. Most of my stamps were dime to quarter sized. You can use images that are a bit larger, but it’s a bit different technique.
Next, I pulled out some Graph Paper. You’ll need to cut the paper down to be 6 x 6 which is a good size for card making.
Once my Graph Paper was cut to size, I wrote “top” on the very top of one of the sides. I then measured in one inch increments across the top of the grid paper and drew a line all the way down to the bottom at each one inch mark. I did the same thing from side to side. When you’re finished, you’ll have a piece of grid paper that’s marked off with 6 rows of, 1 inch squares across and 6 rows of, 1 inch squares down the page for 36 total squares. It will look like the example below. This is going to be your guide for positioning the stamps you’ve selected for your turnaround.

For the next step you’re going to need some markers, colored pencils or even crayons so that you can mark off the squares with different colors. I used my Tombow brush markers. I used 10 different colors to create my first grid.
To start color mapping my grid, I selected a 1 inch square in the top row. In the example below, I used the pink and colored in the whole square in the 5th position from the left on the top of my sheet. To make it easier to follow, I’ve labeled the square with an A on my sheet.
Next, I’m going to rotate my paper one turn to the left. So now the row that you’ve marked with “TOP” is to your left. Once again, I’m coloring in the 5th square from the left in pink in the first row. I’ve labeled the square with a B on my sheet.

I will once again, rotate my paper one turn to the left. The row I’d marked with “TOP” is now upside down facing me and I’m going to color the 5th square from the left in the first row pink. I’ve labeled this square with a C.
One final rotation of my paper to the right. The side I’ve marked with “TOP” is now to my right and I’m coloring the 5th square from the left pink. The 4th and final square is labeled D on my sheet.
Do you see the pattern? You’ll pick a square to color and then with each turn, you’ll color the square that’s in the same space on the new side the same color or draw in the same pattern as I have with my Blue and Orange colors above. There will only be a maximum of 4 squares per each color you’ve used. You’ll keep selecting squares and coloring or filling in and then rotating to fill in the square on the next side that is in the same space until your entire grid is filled in.
Once it’s filled in, you’re ready to position your stamps. Having a MISTI will certainly make this process easier, but you could do it without.
I placed my fully colored grid into my MISTI and held it in place with some magnets. Now here’s where all the coloring comes in handy. Each stamp you selected will need to be placed onto a colored square on your grid. Once a stamp is placed on that color – it’s eliminated. In other words, don’t place another stamp on the same color square anywhere else on your grid. The reason for this is because as you stamp and turn your paper, that stamp on the pink square for example will stamp in the same position on the next side of your paper. If you were to place a different stamp on the same color square in another place on your grid – it’s going to stamp over your previous image as you turn the paper. NOTE: if you have a stamp that you want to use that is larger than a 1 inch square, you can use it – just position it so that it takes up two different colored squares on your grid. Again, you’ll need to remember that those two colors are eliminated.
The other thing that helped me is to space out what colored squares I was selecting. Half were on one side of my grid and the other half were on the other side. It just gives you a better finished background than if you group them all into one side or corner of the grid.
I’ve included my finished Dare 2B Artzy stamp placement below so you can see how I’ve spaced my stamps out on the grid below. This also comes in handy when I want to recreate this background again, as I already have a map.

Now that you’ve positioned your stamps, you can remove your color map from the MISTI and replace it with the paper you are going to stamp onto. For my project, I used Neenah 110lb Solar White cardstock which I cut to 6 inches x 6 inches.
I inked up my stamps with the Dare 2B Artzy Margarita Lime ink and stamped my first batch of stamps onto my panel. I stamped a couple of times to make sure I had a good impression. Next, I cleaned off my stamps and rotated the paper in my MISTI one-time to the right. NOTE: you can turn either direction, but make sure that you continue to turn your paper the same direction each time.
Next, I inked up the stamps with the Dare 2B Artzy Blue Sky ink stamping a couple of times to get a good impression.
I repeated the process two more times using the Dare 2B Artzy Wild Orchid and Paradise inks as well. Have I said how much I love, love these non-traditional colors for Christmas cards. The Dare 2B Artzy inks are so crisp – they’re gorgeous especially with the small detailed stamps!

You will now have a completed 6 x 6 stamped piece of cardstock with a wonderful variety of colors in a fun pattern.
You can also substitute one of the colored inks for Versamark and use embossing powder to add different element to your background pattern.

I created two panels using this technique. For the second panel I changed up the placement of a few of the stamps and swapped out the Margarita Lime ink for the Dare 2B Artzy Pomegranate ink.
Once the panels were finished, I used a few die cut borders and scalloped rectangles to cut down my backgrounds. I placed the backgrounds over some shimmery silver and gold cardstocks. On the larger card, I used the awesome new Dare 2B Artzy Merry Christmas die set. I cut it with some blue cardstock first and then with some shimmery white glitter cardstock next and paired the two. I love the look of this die cut sentiment. You can also use the words by themselves without the backgrounds. The scripty Christmas die is gorgeous. I love that its not pencil thin lettering as it makes it much easier to adhere into place.

For my second card, I used the Go Press & Foil to create the Merry Christmas sentiment in gold which looks so elegant.
For a bit of sparkle, I added some shimmery sequins to the front of the card panels.
I hope you’ve enjoyed this fun way to make your own turnaround stamp backgrounds. This may seem a bit intimidating, but once you get the hang of it – you’ll be scouring all of your Dare 2B Artzy stamps and others to make fun cards and projects using the turnabout technique.

Perhaps this project has given you some inspiration for the Dare 2B Artzy December Challenge: Spirit of the Season. We look forward to seeing the projects you share throughout the month. Remember the challenge goes until 12/31 so you’ve got some time in-between shopping, decorating and wrapping to show us your Spirit of the Season projects.
Sorry for long post today, but hopefully this has inspired you to try to create your own turnaround stamping. I have added links to all the Dare 2B Artzy products I’ve used in today’s post as well as the other items I’ve used.
Any questions or comments about this technique, please feel free to reach out to me. Remember that each Dare 2B Artzy challenge has a prize for the winner of the challenge so be sure to link up your projects to the Dare 2B Artzy blog post for your chance to win a stamp and ink pad of your choice. We’re looking forward to seeing what you make for the Spirit of the Season Challenge!!
Hugs
Tonya


The idea is terrific, though I did get a little confused with the written directions. A video would have been awesome, but I’ll give it a shot and see what happens.
LikeLike
Great cards and a fantastic tutorial on how you did them.
LikeLike