Celebrating Mother’s Day
Hello my friends!
Hope this Mother’s Day is filled with an abundance of love and joy for everyone. I believe there should be more than one day dedicated to our moms. They do so much for us from raising us from babies to supporting and encouraging us as we grow into our adult lives. They should be celebrated everyday.
As promised, today I wanted to share the special Mother’s Day cards that I put together for my own mom and my mother-in-law.
First I’d like to share the card I made for my mother-in-law.
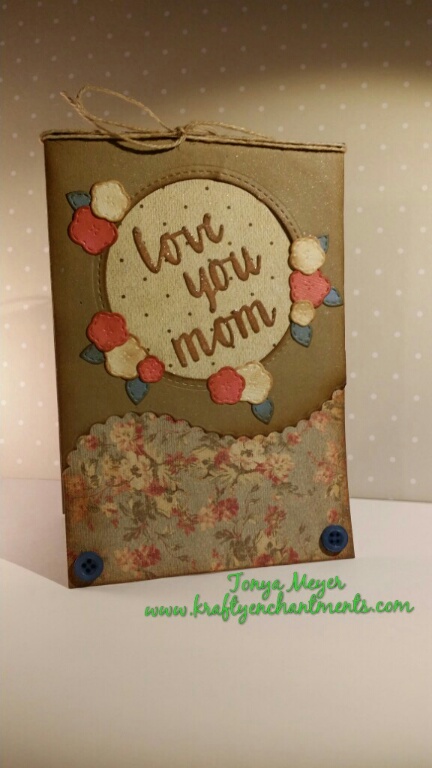
I started by creating a top folding card from some brown kraft cardstock. I wanted to create a fancy scalloped border on the front of the card so I did a partial die cutting technique.
For the partial die cut I used the second largest scalloped paisley die from the Quickutz nesting scalloped paisley die set.
To achieve a partial die cut I slipped the kraft cardstock paper through the center of the die so that only one side of the curved edge of the die was against the cardstock and ran it through my Evolution Advanced die cutting machine. This gave me the wavy scalloped edge to the front of the card base.
Once I’d cut the edge, I then created a circle at the top for my sentiment. For this I used the Stitched Circle from the Love Mom Layers Die by WPlus9.
I used some Tim Holtz distress ink on the edges of the card front, inside the circle and on the scalloped edge of the kraft cardstock to give it a vintage look.
To add some interest and color to the card front I used a floral pattern cardstock and cut it to the same width as the back of the card and only half the height. I then glued it to the front of the card beneath the scalloped cut. Then I cut another piece of card stock with a polka dot pattern and glued it at the top behind the circle that I cut from the card front.
To embellish the card front I used the cute little stitched flower dies from the Love Mom Layers dies. This set actually comes with 13 adorable little dies which can be used in so many ways especially with the matching stamp set. For the stitched flower dies I cut a bunch of these little flowers out of both pink and off white cardstock and then I cut the leaves out of a blue cardstock. I distressed the edges of each flower. I layered all the flowers and leaves to figure out the best arrangement before gluing each flower into place around the circle.
I used the words “love you mom” from the WPlus9 die set and cut them from the brown kraft cardstock and glued them on top of the polka dot card stock. I added a little clear Wink of Stella to the die cut words for some sparkle.
I spritzed the entire card front with some Tattered Angles Glimmer Mist in Pearl. Lastly, I tied a piece of bakers twine around the card center and created a bow on top and added two little blue buttons to the bottom of the card.
The second card I’d like to share is the one that I made for my mom.
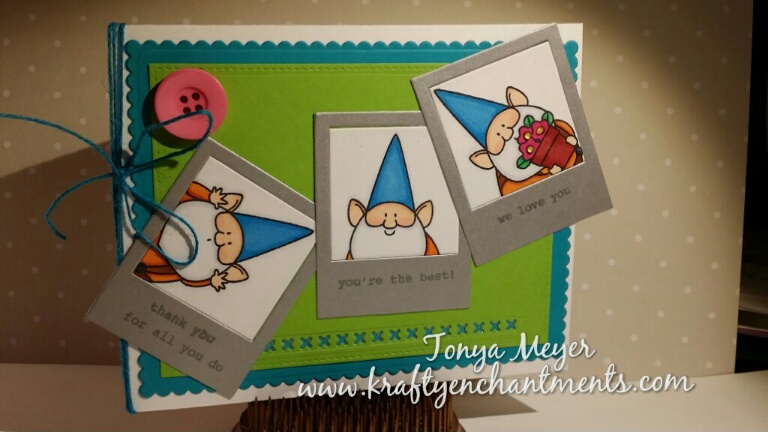
I went a completely different direction with my mom’s card. When I first saw the gnome stamps from My Favorite Things called You Gnome Me, I was in love with how cute they were. This stamp set has so many possibilities.
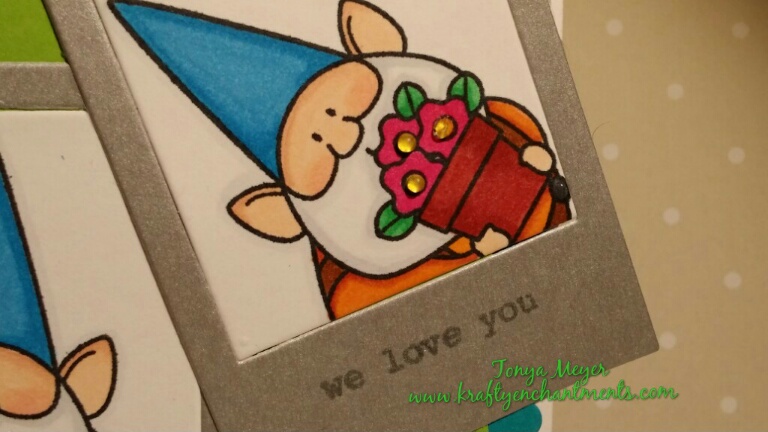
For this card I colored three of the gnomes with my Copic markers on Neenah Solar White cardstock. I used the same colors on all three gnomes. Once they were colored, I cut each of the gnomes with the largest of the four Die-namics LLC Precious Poloroids dies. Once cut I was left with each gnome in the little square in various poses.
For the Poloroid frames I didn’t want to cut it out of the same white cardstock, I wanted them to pop, so I used a light grayish-silver cardstock for the frames. At the bottom of each Poloroid frame I stamped a sentiment from the Love Mom stamp set from WPlus9.
I put the Poloroid frames together with each of the colored gnomes and arranged them to look like a succession of pictures that were taken. I adheared them to the lime green cardstock from Spellbinders Celebrations which I’d cut out the little X’s with the Die-namics Blueprints 20.
Then I layered everything on top of the small scalloped frame die which is also from the Die-namics Blueprints 20 die.
All layers were placed on a Neenah Solar White cardstock base. I added a pink button to the card front and a double wrap of bakers twine from the Spellbinders Celebration’s set. I also added some glossy accents to the flower centers to make them look three dimensional.
Here’s a look at the completed card.
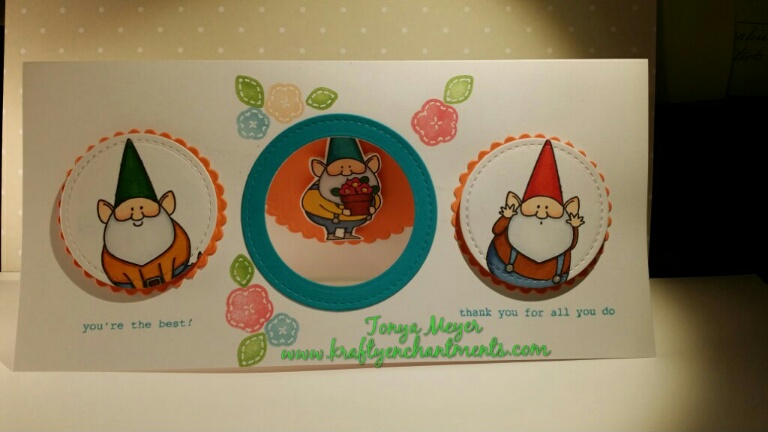
I’d created one additional card for my mom with the cute gnome stamps. I actually made this card first because I’d ordered the Poloroid die set as the gnome pictures were my original idea. However,the Poloroid dies hadn’t come as of midweek and I was worried I wouldn’t get a card done.
I gave both cards to my mom on Saturday when we took her out for brunch at a restaurant called Toast.
Hope you all have a wonderful Mother’s Day!
Thanks for visiting my blog.

