Be Always Blooming Magic
Hello and happy Wednesday on this long, short week! Hopefully everyone had a wonderful long Labor Day weekend! Mine was very nice. I spent some good quality time with my mom, hubby and my best friend and also got in some crafting time. However, I had grand plans to re-organize and clean up my crafting space but I wasn’t able to get to that. I might have been pro-craftinating though because the lure of coloring and crafting is often better then organizing and cleaning. I know I’ll have to get to it soon though.
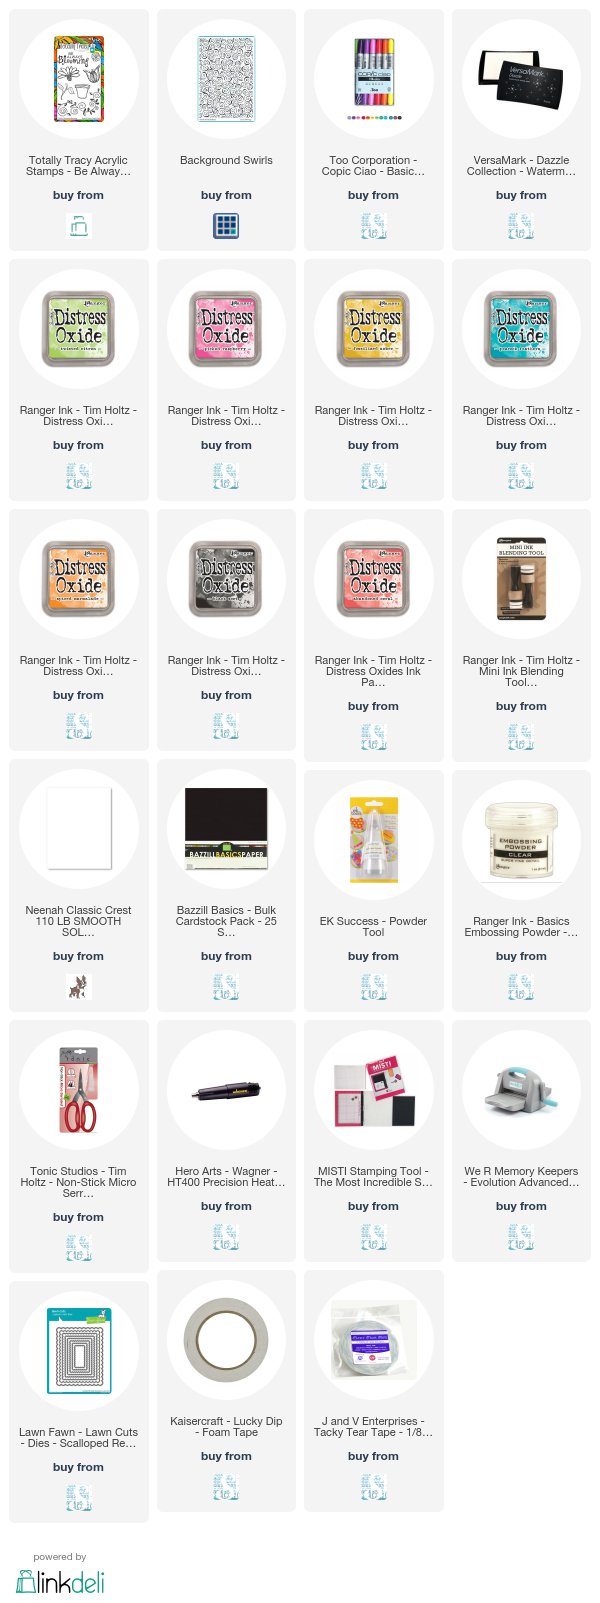
I’m popping in today to share a couple of fun cards I made using the Dare 2B Artzy Totally Tracy Be Always Blooming stamp set. I love the flowers that Tracy includes in her designs. They’re always so fun a whimsical. The Be Always Blooming set is especially nice because the flower, stem and pot are each separate images so you can do a variety of stamping techniques with them.
To create the flower images, I started out by stamping the flower pot. As with any stamp layering, you’ll need to create a mask for the foremost image in your stamping. For these flowers, the flower pot is the foremost image and so I created a mask by stamping the pot first onto some 90lb Neenah Solar White Cardstock. I then restamped the flower pot onto a Post-it Note. I used the full stick Post-it Notes for this, but you can just use a regular Post-it and align your stamp with the sticky edge and it works just fine to hold it in place.

With the flower pot stamped onto the white cardstock and my Post-it, I fussy cut the image out of the post it and positioned it over the flower pot I’d already stamped onto my cardstock. Now I was ready to stamp the flower stem. I positioned the stem so that a fair portion was going to be covered by the flower pot mask as I knew that the cards I was making would be a bit smaller than normal. Then I finally positioned the actual flower to line it up with the stem. These flowers lined up nicely otherwise I might have had to create a mask or partial mask for the stem.
Once both flowers were fully stamped, I removed my masks and was ready to color. I colored both flowers with my Copics, but I decided on keeping the colors pretty simple since there were other elements that would add color to the cards. When I’d finished coloring I went back with a white pigment pen and added some doodle detailing to the flower pots. I kind of regretted it, but I was at a point that I wasn’t going to start over so I just left the doodles.

I fussy cut each completed flower out and set it aside until I could create my background.
For the background, I wanted to try out a technique I saw the amazing Kelly Latevola (http://disp6194-kellyscraps.blogspot.com/p/about-me.html) demonstrate in a YouTube video. This technique is so super simple and the results are AMAZING!
To start, I used a piece of white cardstock that was about 5 x 6 inches. I pulled out my Distress Inks and gathered up the following colors: Abandoned Coral, Fossilized Amber, Peacock Feathers, Picked Raspberry, Spiced Marmalade, Twisted Citron and Black Soot. I started out with randomly blending and placing colors onto my white cardstock and blending it out with a blending sponge tool. I kept blending colors until my entire background was a mixture of gorgeous bright colors.
Next, I heat set the background a bit just to speed up the drying. It’s very important that the background is fully dry before moving on to the next step. You can test the dryness by sprinkling on some embossing powder. If it sticks – your background is still pretty wet.
When I was positive my background was dry, I placed the cardstock into my MISTI and inked up the Dare 2B Artzy Swirl Background die with some VersaMark ink and stamped it onto my ink blended background. I re-inked and stamped again just to be sure to get a good clean impression. I took the background out of my MISTI and sprinkled it all over with some clear embossing powder. I keep my clear embossing powder in a container I purchased at IKEA that has snap closures and I have a little spoon in there which makes it easy to cover a full background. I just held my inked background over the container and sprinkled on the clear embossing powder until I had full coverage. I used my heat tool to heat set the clear embossing powder until it had fully melted into the Swirl Background stamp design.

Now I know, when I tell you this next step, you’re going to scratch your head. Stay with me! I promise the end result is so cool.
I took my background piece and placed it onto a piece of scrap copy paper and I grabbed my Black Soot ink and took the ink straight to my background piece. You can use an ink blending tool, but I found it’s easiest to just take the ink pad to the paper for the best results. I smooshed the Black Soot ink pad all over the background covering every inch until it was totally black. Again, this is a dye ink and it stays wet quite a bit longer, particularly when you use so much of it. I could have let my background dry on its own, but I’m too impatient for that so I used my heat tool once again. You’ll need to be careful because heating the background can re-activate the clear embossing powder so it’s good to use the heat tool in short increments and keep in moving to just dry the ink.
Once the ink was dry, I used a paper towel and began rubbing the background. This lifts the black ink off of the clear embossing powder and reveals the colorful ink blended background underneath. Once I’d taken up most of the ink with the paper towel. I went back in with a baby wipe and a very light touch and went over just the swirls to remove more of the black ink. I was very careful with the Distress Inks as they are activated with water which can lift the colors in other areas you don’t want it too. I probably could have used a Q-Tip or something as well, but the baby wipe worked well.
The reveal of this background was like watching a magic show – seriously! It was so much fun and the result is amazing! This technique can easily be used for image stamps like flowers, shapes or background stamps. The sky is the limit as far as your ink blended background too. You could create a rain
Once my background was done, I used a simple scalloped frame die and cut a frame piece from black cardstock and a piece from white cardstock. Next I cut my colorful Swirled Background using a small rectangle frame and center. I used the frame for one card and the center piece with a white frame on the other. I layered up all the pieces onto a piece of black cardstock cut to 3 ¾ wide by 10” long and scored at 5” to create a top folding card. Then I took a piece of white cardstock and cut it to 7 3/8” x 5 and scored at 3 ¾” to make a side fold card for the other and once again layered up all the elements.
I didn’t add any embellishments, just adhered the flowers to the card front using some dimensional foam. I think the background and flowers give each card enough pop that you don’t need to add anything additional.

I left the insides of my cards blank for now, but I think these would be great for a quick pick-me-up card to drop in the mail to a friend or relative. You can stamp any sentiment that’s appropriate for your message or just send a lovely hand-written note. Who wouldn’t love to get one of those?
Hope you’ve enjoyed my cards today and are inspired to try out this fun background technique.
Thanks for stopping by! Have a wonderful day!
Hugs!
Tonya


Thanks so much Karen. I love this technique. It’s like magic when you reveal. Thanks for the kind words.
LikeLike