Smile it’s your Birthday!
A very happy Friday to everyone! Hope your day is off to a great start and that you’re ready for the weekend! Hopefully you have crafty plans or fun plans. Hard to believe that summer is winding down.
Today, I’m sharing a card I made for a friend and co-worker whose birthday was this week. She’s such a fun person who’s always happy and laughing and her laughter can be heard throughout our offices. She’s a true ray of light around our office and I’m thankful to know her and consider her a friend.
I wanted to create a bright, sunny card for her birthday. I used a hodge-podge of different products to create this card, but it came together beautifully.
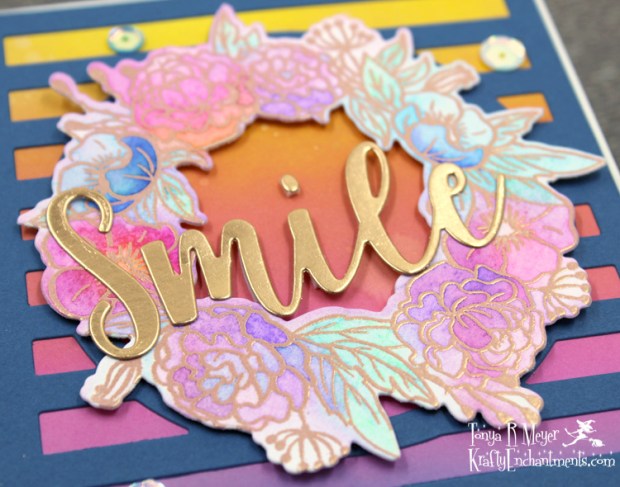
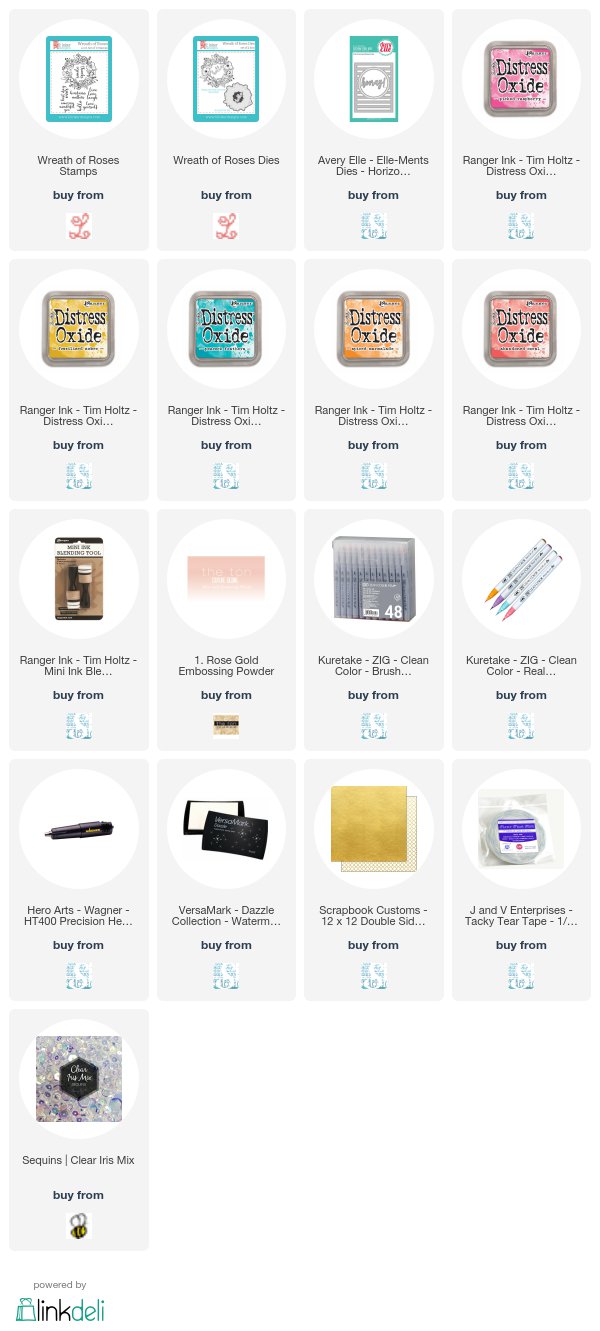
To start, I used the Lil’ Inker Designs Wreath of Roses stamps. I stamped it onto some Arches Cold Press 140 lb water color paper using some VersaMark embossing ink and my MISTI. I sprinkled on some gorgeous Rose Gold embossing powder from The Ton Stamps and zapped it with my heat gun.
I wanted to water color the Wreath of Roses, but I didn’t have a lot of time to work on water color so I decided to try my hand at the next best option. There’s not really a name for this technique so I’m calling it Zig scribbling and it’s just as described. I selected several of my Zig Clean Color Brush pens in various colors. Once I’d picked my colors, I began scribbling onto my wreath. I’m not talking about neat, color within the lines, make it perfect coloring. I’m talking about scribbling random color inside and outside the lines. I changed colors frequently, but I didn’t color specific flowers with specific colors. I just scribbled color in the general area that I wanted to put each color. I did leave several patches uncolored across the image. Once I was done scribbling on color it was time to make magic by spritzing on water. You may have to experiment with various papers if you’re planning to try this technique. I’ve tried it with three different kinds of cardstock and got very different results from each.
I used my Ranger Ink, Distress Sprayer and sprayed on the water until my paper was fairly wet and the ink from the Zig pens was starting to move. I did blot off some of the excess color/water as it started to run. I didn’t try to control where my colors went or how they mixed. I just turned and tilted the paper until I was happy with the color blending. I blotted off the remaining excess water that pooled around the edges and I used my heat gun to speed up the drying process. Once it was mostly dry, I set it aside as I didn’t want the heat to warp the cardstock too much.
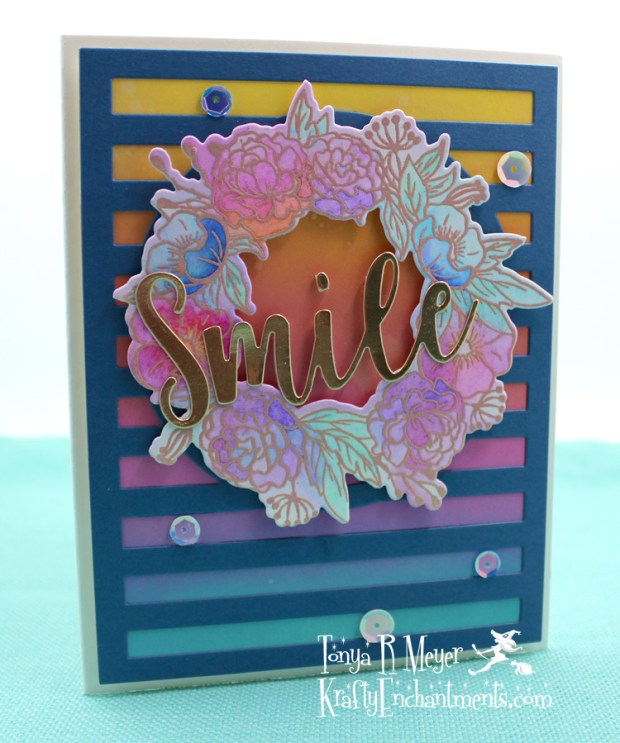
Next, I used several distress oxide inks (colors linked below) and sponged it onto a piece of cardstock blending the colors together. When I was finished I cut the blended background down to an A2 size.
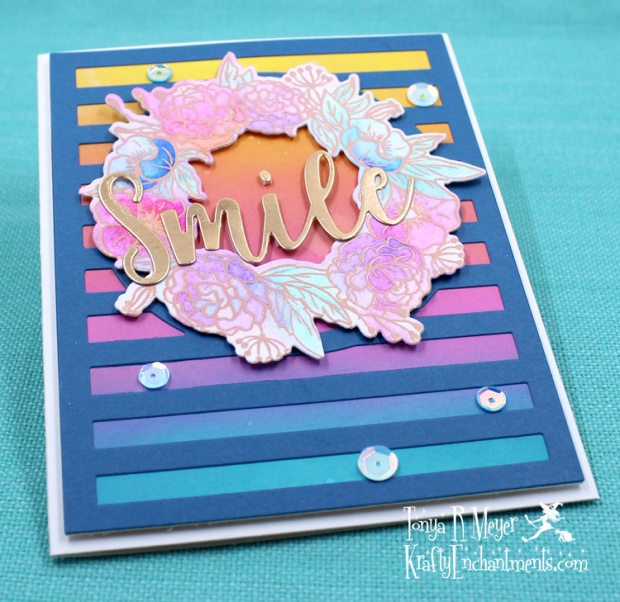
I wanted to add a die cut piece over my distress blended background so I paired it with the Horizontal Stripes die from Avery Elle. The die features a circle element which would showcase my Wreath of Roses stamps perfectly. I used a piece of dark navy colored cardstock and cut the Horizontal Stripes. I added some Elizabeth Craft Designs 1/8 inch permanent adhesive tape to the back of my die cut piece. I never thought I’d used my 1/8 inch adhesive tape, but it sure does come in handy for adding adhesive to narrow dies such as this. I placed the die cut piece over my distress ink blended background. I love the vibrancy of the background with a darker card front. It really makes the background pop!
Now it was time for me to die cut my wreath. I will preface this by saying that I probably should have die cut the piece first and then stamped it. I don’t know why I don’t do that as it does make it much easier to line up your image with your die to get the perfect stamped image. I guess I have to do things the hard way. I used my die and placed it over my stamped image and then took a peek under the edge of the die to see if I had it lined up correctly. Luckily, I was able to get it lined up pretty closely otherwise it could have been disastrous, LOL! Next time, I’ll remember to cut first and then stamp.
I added some dimensional foam to the back of my wreath, and played with placement on the front of my card where the circle area was.
I thought it needed a sentiment within the circle, so I used the Smile die set from My Favorite Things card kit for July and die cut it using some gold foil cardstock. This die is very scripty and narrow so I added some Darice foam strips to the back so I could make it stand up in the center of my wreath. The Darice foam strips are about 1/8th inches wide so they’re perfect for narrow things like word dies.
Once everything was adhered to the card, I glued on some iridescent sequins to my card front. On the inside I stamped a Happy Birthday sentiment.
I’m thrilled with this card. It turned out so bright and beautiful. It was the perfect card to give to my friend. I love pairing a variety of products from different stamp and die companies and having them come together to create something I’m thrilled to share with you and as a way to brighten someone’s day.
Hope you’ve enjoyed today’s mish-mash of products card. Hopefully you’ll try out the Zig Scribbling on your next project. It’s really fun and it gets great results not to mention that it’s a great time-saver when you want to create a beautiful card in about half of the time.
If you’re a fan of my blog, please stay tuned as I’m planning an awesome giveaway very soon. I’ve destashed a lot of my stamps. Some new, some gently used and I’m planning to have a giveaway in the next couple of weeks. Just a hint at the awesomeness, in addition to some great stamp sets; one of the prizes is a brand new tool that a lot of people have been excited about from Tim Holtz and Tonic Studios. Everyone wants one of these tools. Trust me – you’ll want to keep your eyes peeled for this giveaway. I have so many stamps that I’ve destashed, I will likely have two giveaways. Be sure to follow my blog here and over on Instagram @m3yergirl for the upcoming details.
Hope everyone has a fantastic weekend. I’ll be back here on Sunday with the new Dare 2B Artzy challenge for the month of August. You’re going to love it!
Hugs
Tonya


Absolutely love the rainbow 🌈 ladder and creating a wreath with the die cut.
LikeLiked by 1 person
Thank you!
LikeLike