A Big Thanks
Hi crafty friends! I’m back today to share another card. As I said in my post last week, I’m working on replenishing my stash of thank you cards.
I’d had this Zen Bouquet image stamped and colored for a few weeks and it’s been lurking about on my desk. When I cleaned off my desk last week it popped up again and I said to myself that I needed to finish the card. So this week it finally made it off of my TO DO list and into this beautiful card.
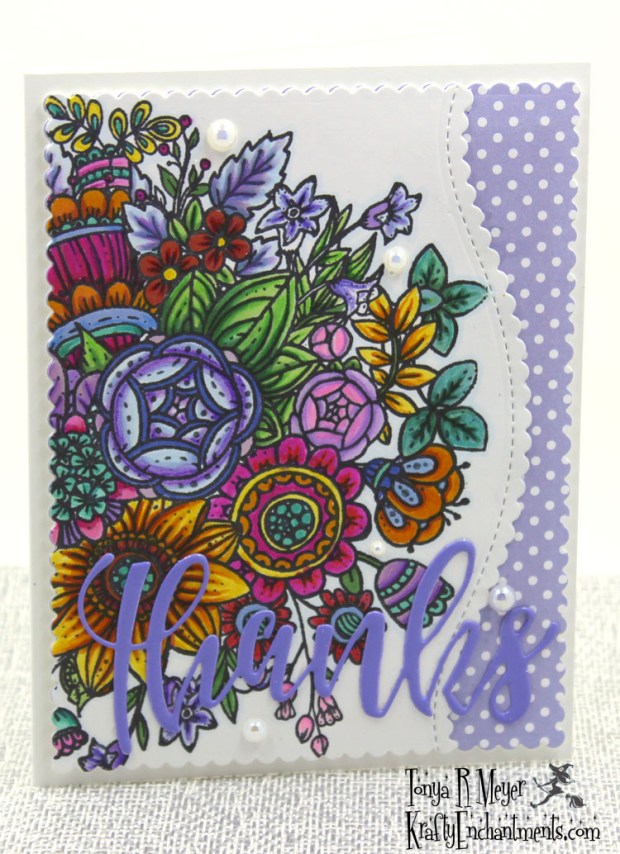
If you’re not familiar with Honey Bee Stamps, you need to check to make sure you’re not running a fever. Go ahead….I’ll wait! Honey Bee Stamps is a wonderful stamp company that’s been around since before 2013. Recently they’ve had some awesome releases with their Bee’s and this months Mermaids. In addition to the new releases there are some amazing floral stamp sets called the Zen Bouquet and the Zen Floral stamp set. The Zen Bouquet is this amazing jumble of flowers. It’s one of those images that you notice something new about it each time you stamp it. The stamp is large enough to easily cover an A2 size card entirely so you can stamp in a variety of ways.
For my card today I used a piece of cardstock that was A2 size and stamped the image using my MISTI with some Memento Tuxedo Black ink onto a white 80 lb piece of white cardstock. I made sure to press my image firmly in my MISTI and stamped it a couple of times to get a crisp image.
For anyone who knows me they know that I’m a Copic girl. My crafty friend, Carissa from Inky Fairy Designs turned me on to Copics and that’s usually what I use to color. However, I’ll never say that I’m not willing to try something different. For this background, I decided to use my Chameleon Markers.
I’ve had my Chameleon Markers for over a year and I’m still learning to get the hang of them. I think coloring these flowers was a good way to learn a bit more how to use them and get the feel for the mixing in order to lighten up your coloring. If you’ve never tried Chameleon markers just be aware that there is a learning curve to them. However, they do offer some bright, bold gorgeous colors and they don’t seem to bleed too much which is a plus.

I colored the entire floral background using a pretty limited number of markers. I used only the individual sets which contain 5 markers in each set. So I used the warm tones, blue tones, nature tones and floral tones to complete my image.
Once I’d finished coloring everything with my markers, I went in with my Chameleon pencils and added some more depth and smoothed out some areas where my blending wasn’t as good as I’d liked it. The great thing about the Chameleon pencils is that the colors coordinate really well with the markers so it’s really easy to match up colors.
I added a bit of Clear Spectrum Noir Sparkle pen to a few of the flowers to give them some shimmer.
After my finishing touches with the colored pencils, I die cut the colored background with a scalloped rectangle die and then used a fun curvy scalloped border die to cut a nice edge along one side of the image.
Next, I die cut the Honey Bee Stamps thanks from some heavy cardstock and inked it up with some Versamark ink so that the entire word was covered in ink. I used my purple Ranger Ink embossing powder and covered the entire word with the embossing powder and tapped of the excess before heat setting it. I ended up doing the same process 2 more times. This was a great trick that was originally shared by Jennifer McGuire. The finished result is a beautiful enameled look to your die cut sentiment. It looks so cool. I think this purple embossing powder is my new favorite color – it’s just so pretty in person.

Finally, I cut another scalloped rectangle from some purple polka dot paper that really pulled the colors of my flowers and sentiment together.
Now I was ready to assemble my card. I cut some 110lb cardstock to A2 size with a side fold. Added the purple polka dot base layer with some dimensional foam. Lined up my flower layer and adhered it with some adhesive. Next, I added the thanks at the bottom of the card.
For a bit of shine, I added some of the new Honey Bee Stamps pearls to the card front. They’re so shiny and pretty in person. They really look like real pearls so they’re a great addition to the card I think.
I’m looking forward to popping this card in the mail for it’s intended recipient. I hope that it brightens their day.

Thanks so much for stopping by today. I hope you’ve enjoyed my card and it has inspired you to get crafty!
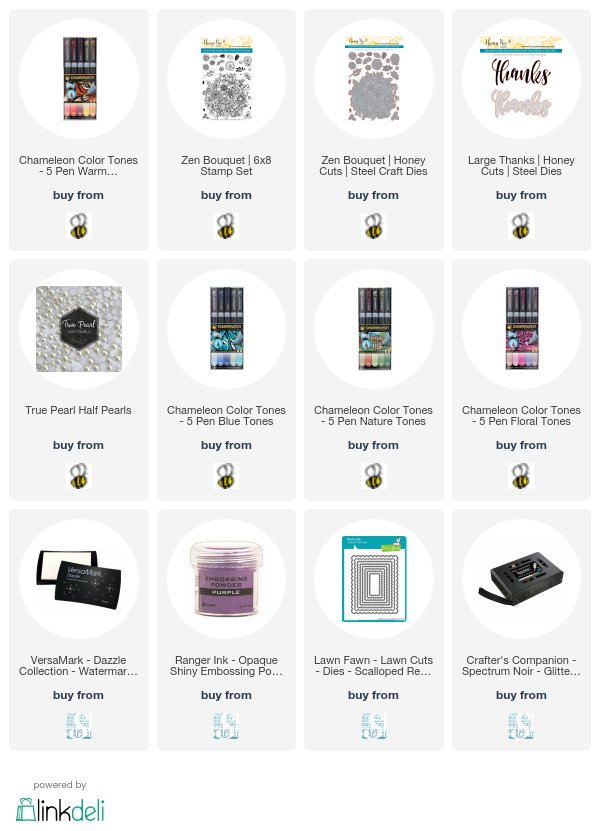
I’ve added links to the products I used to create this card. Many of the Honey Bee Stamps and dies are on sale right now so it’s a great time to pick up your favorites.
Hugs
Tonya
![]()


Gorgeous card. I love how bright and cheerful the flowers are, it’s a really fun feel
LikeLiked by 1 person
Awe, Thank You!!
LikeLiked by 1 person
Lovely card! The colors are great! 🙂
LikeLiked by 1 person
Thank you!!
LikeLike
You did a wonderful job coloring this!
LikeLike
Awe, that’s very sweet! Thank you! Appreciate it!
LikeLike