Ice is the New Black
Hi everyone! I’m popping in today to share another card using the new Dare 2B Artzy stamps. This technique is so cool. When I first saw it, I was reminded of the old tintype photographs.
This technique is called Black Ice. It’s a technique that has been featured by several Stampin Up representatives. It’s really easy to create this effect.
To start, I cut a piece of silver cardstock to a 4 x 4 square. You can use any metallic cardstock for this technique and it looks equally as good.
With the metallic cardstock cut, I used a solvent black ink pad like StazOn and pulled it down it across the metallic cardstock from top to bottom. The trick is to get your ink as straight as possible as you drag it. I used a piece of scrap paper and covered ½ of the cardstock and then put my ink pad to the edge of the paper to keep it straight. You want to use a light hand with this. You want light streaks of ink with a little darker edges at the top and bottom.

Once you’ve inked the entire piece of metallic cardstock, it’s a good idea to take a heat tool and make sure it’s dry before moving on to the next step. If you chose not to dry between layers, the ink might smudge or smear a bit with the Versamark step.
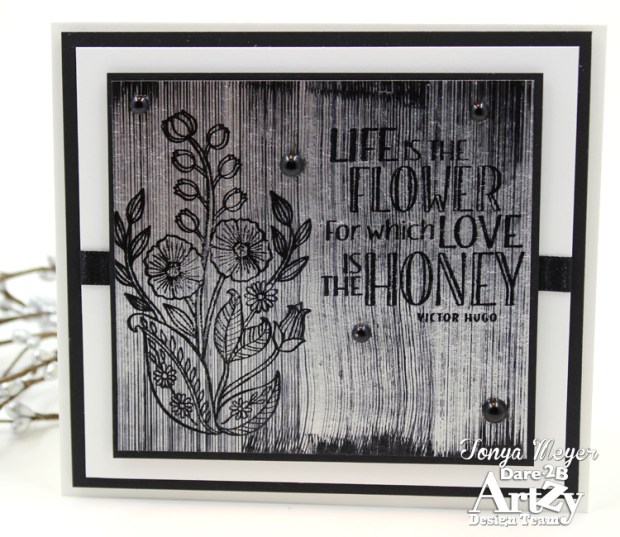
Next, I put the metallic panel into my MISTI stamping tool and positioned my stamps where I wanted them. I used the gorgeous new BEEutiful floral stamp and the coordinating sentiment is from the same stamp set. This stamp is one of my favorites from the new release.
I inked both stamps with my StazOn Jet Black ink and stamped them a couple of times to get a good impression.

Once I was happy with my stamping, I removed the cardstock and heat set it again to make sure the ink was dry.
The next step adds the ice to the panel. I used a Versamark pad and just like with the StazOn, I pulled the Versamark stamp pad down the panel. It’s not as important that you keep the ink pad straight as it was with the black. I ran the ink pad across my panel a couple of times to make sure it was inked pretty thoroughly. Once done, I sprinkled on clear embossing powder over the entire panel. When finished, I used my heat tool to heat set the entire thing. I actually ended up adding a second layer of Versamark and clear embossing powder. My Versamark ink pad was kind of dry so I felt a second layer would help. I think this technique would be pretty with a clear embossing powder that has a bit of a shimmer to it for a holiday card or something similar.
The end result is a piece of cardstock that looks aged with the black streaks but still has a clear coat that looks kind of aged and crackled.
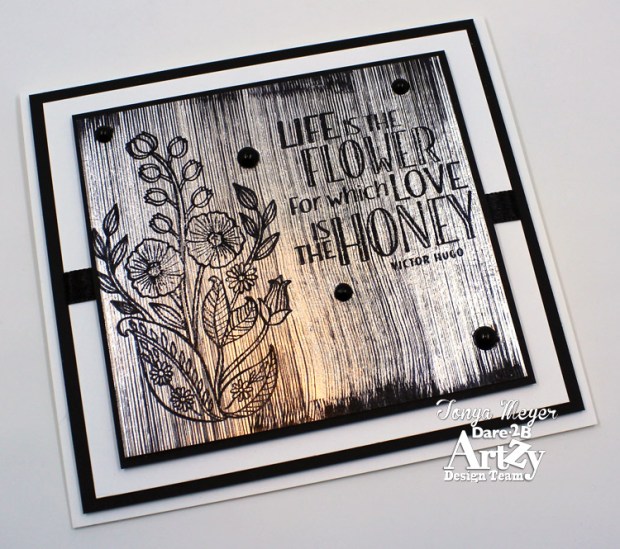
I kept my entire card clean with a black & white theme. I mounted my metallic cardstock to a piece of black cardstock cut 1/16th of an inch bigger. Then I cut a piece of black ribbon and adhered that to a piece of white cardstock and placed the panel with the stamped image on top. Finally all of the layers were added to another piece of black cardstock and added to a white cardstock base. I did use some dimensional foam between layers to pop the card up a bit.
I kept my embellishments simple with some black pearls added to my card front.
That’s it! This card was fairly easy to put together since there’s no coloring. You could easily make some really elegant thank you cards to give as part of a set.
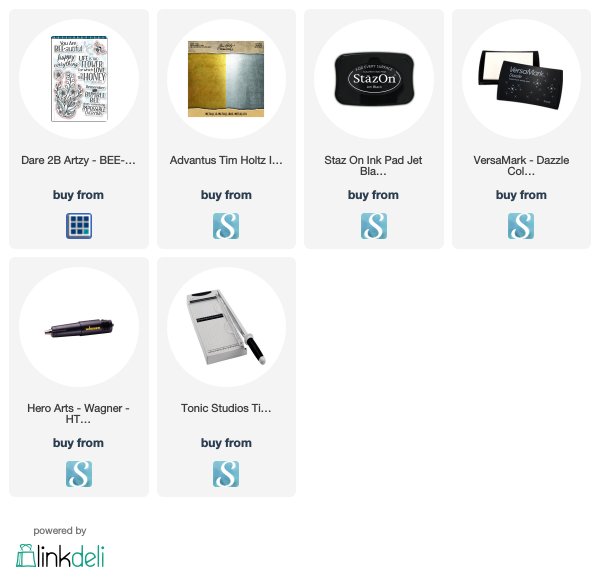
Thanks for stopping by today! I’ve linked to the products I’ve used in this card below.
Be sure to check out all of the fun new stamps, dies and fabulous new stencils on Dare 2B Artzy.com. Don’t forget that we’re having a new challenge for April: Pastel Colors. Be sure to include a link to your projects at the link below to the Dare 2B Artzy blog for a chance to win a free stamp set and ink pad of your choice.
Dare 2B Artzy April Challenge: Pastel Colors – http://www.dare2bartzy.com/wp/april-challenge-pastel-colors/
Hugs,
Tonya


Interesting technique! Wish you had a video to go with it.
LikeLiked by 1 person
Sharon, thank you for stopping by! It is an interesting technique. I’m really wanting to start doing videos – I just need to find the time to film and edit which is a challenge with a day job that has me working 9-10 hrs days sometimes. It’s definitely a goal of mine though.
LikeLike
I love this idea. I will have to see if I have all the supplies so I can try it too! This card looks amazing! I can see this as a great way to make masculine cards too!
LikeLiked by 1 person
Thanks Verna! This would be a great technique for masculine cards!!
LikeLike
Beautiful! I can’t wait to try this technique! Thanks for always inspiring me with your projects!
LikeLiked by 1 person
Awe, thank you Melody! You’ll enjoy trying this technique!
LikeLike