A Magical Bean Thank You Card
Hi All,
We’re almost through another week. The summer has whisked by so quickly. It’s hard to believe that the holiday’s are right around the corner.
Today I wanted to share a sweet card that I made for my co-worker who so generously baked me a basket of goodies for making her daughter’s birthday card. Her muffins, zucchini bread and brownies she made us were delicious. I probably didn’t need them (and neither did hubby), but we’ve been savoring them making them last.
A while back I had the opportunity to order the Magical stamp set which was from The Greeting Farm and couldn’t pass it up. These stamps are so cute! I just adore all the different, funky hairstyles in this set. It begs to be colored with some wild hair colors….and that’s just what I’ve been doing with them. Sadly I believe that they are currently sold out in the TGF store as I didn’t see them there.
I colored up the little Bean with my Copic’s. I gave her some fun blue hair. Who doesn’t want some blue hair besides punkers and little old ladies, LOL.

Cute little Bean from The Greeting Farm’s Magical stamp set.
I also gave her a nice purple bikini and some bright purple and yellow flowers in her hair. Once I was finished I fussy cut her out and added some dimensional foam to the back of her and set her aside to prepare the rest of the card.
For my card base, I used some Neenah Solar White cardstock. Next, I cut a piece of Neenah Naturals Cardstock called Husk so that it was 1/4 inch smaller than my white card base.
Next, I selected a colorful striped and glittered cardstock from a stack called Tahiti Beach. I cut this piece using my small scalloped die from Die-namics Blueprints 20.
To add to my layers, I cut two of the square with one rounded corner from the Die-namics Blueprints 14. One was cut with a sky blue cardstock and the other was cut from a piece of cardstock I had in my stash that looked like sand. Once the sandy square was cut I used my Rolling Hills border die from Die-namics. I layered this piece in front of my sky blue to make it look like a scene from the beach.
I added my little Bean to the beach to make it appear as though she was walking along with her toes in the sand. Which is where we’d all like to be, right?
Before I glued all of the layers to my card base, I took a piece of twine and wrapped it around the layers and tied a bow on the front. I secured the twine in place on the back with some double stick tape. Then I added some glossy accents to the back and glued everything in place on my white card base.
Finally for the sentiment, I cut a piece of white cardstock and layered it with a piece of waxed paper and used the largest die my Spellbinders Conversation Bubbles 3 to cut a little word bubble. (NOTE: I used the waxed paper to make it easier to get the paper out of my die as these dies tend to be a bit tricky and the paper sticks into the die. You can risk tearing the paper if you’re not careful getting it out. Waxed paper between the die and the paper really helps keep the paper from sticking).
I stamped the You Totally Rock sentiment from the Paper Smooches Uplifters stamp set with some Persimmon Dye ink from My Favorite Things Stamps. I’m loving the font on these stamps. It’s very unique. I also added a little ink around the edge of my word bubble with the Persimmon ink as I didn’t want the edge of the word bubble fading into the background of my card. I popped my sentiment onto the card with some dimensional foam. I didn’t stamp a sentiment on the inside of the card as I chose to write a nice handwritten note of thanks.
I added a few sugar dots to the front of my card as well. Here’s the finished card:
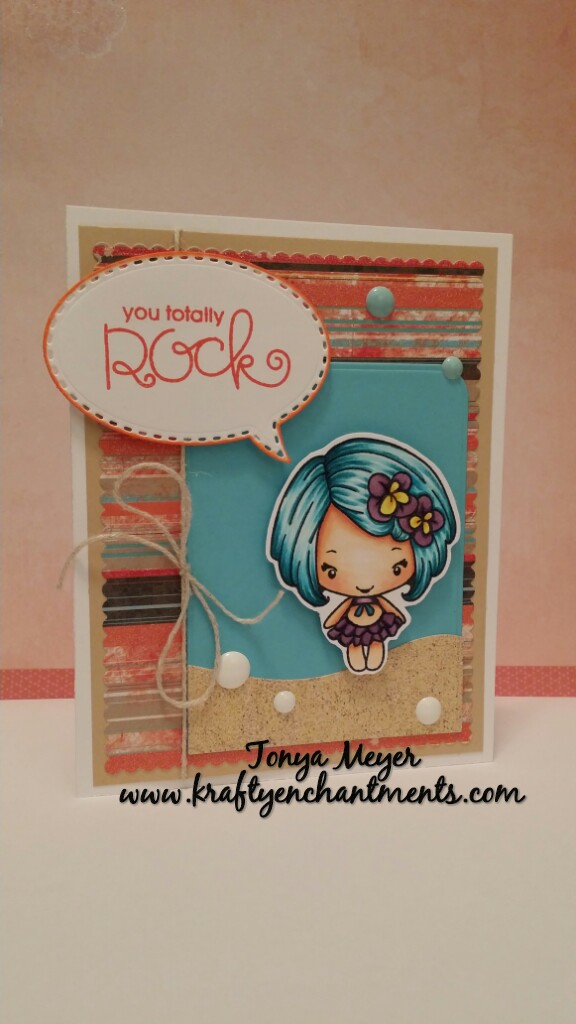
Thank you card featuring Magic Bean from The Greeting Farm.
So that’s my cutie-patootie thank you card. Hope you enjoyed seeing it.
I also wanted to share a cool gadget I found on Amazon that I will be using to take pictures of my cards with. The brand is the RIF6 T-Pod for camera’s and smartphones. I have a Samsung Galaxy Note 3 which is a huge monster of a phone. Normally I simply hold the phone when I take pictures but sometimes it’s hard to get a steady shot and they come out a bit blurry which means taking more pictures to get the perfect photo. The tripod actually adjusts to multiple phone sizes as the cradle expands. The legs are bendable so it can adjust to various terrains as the package says.
Here’s a couple of pics so you can see what it looks like without the phone and with my phone.
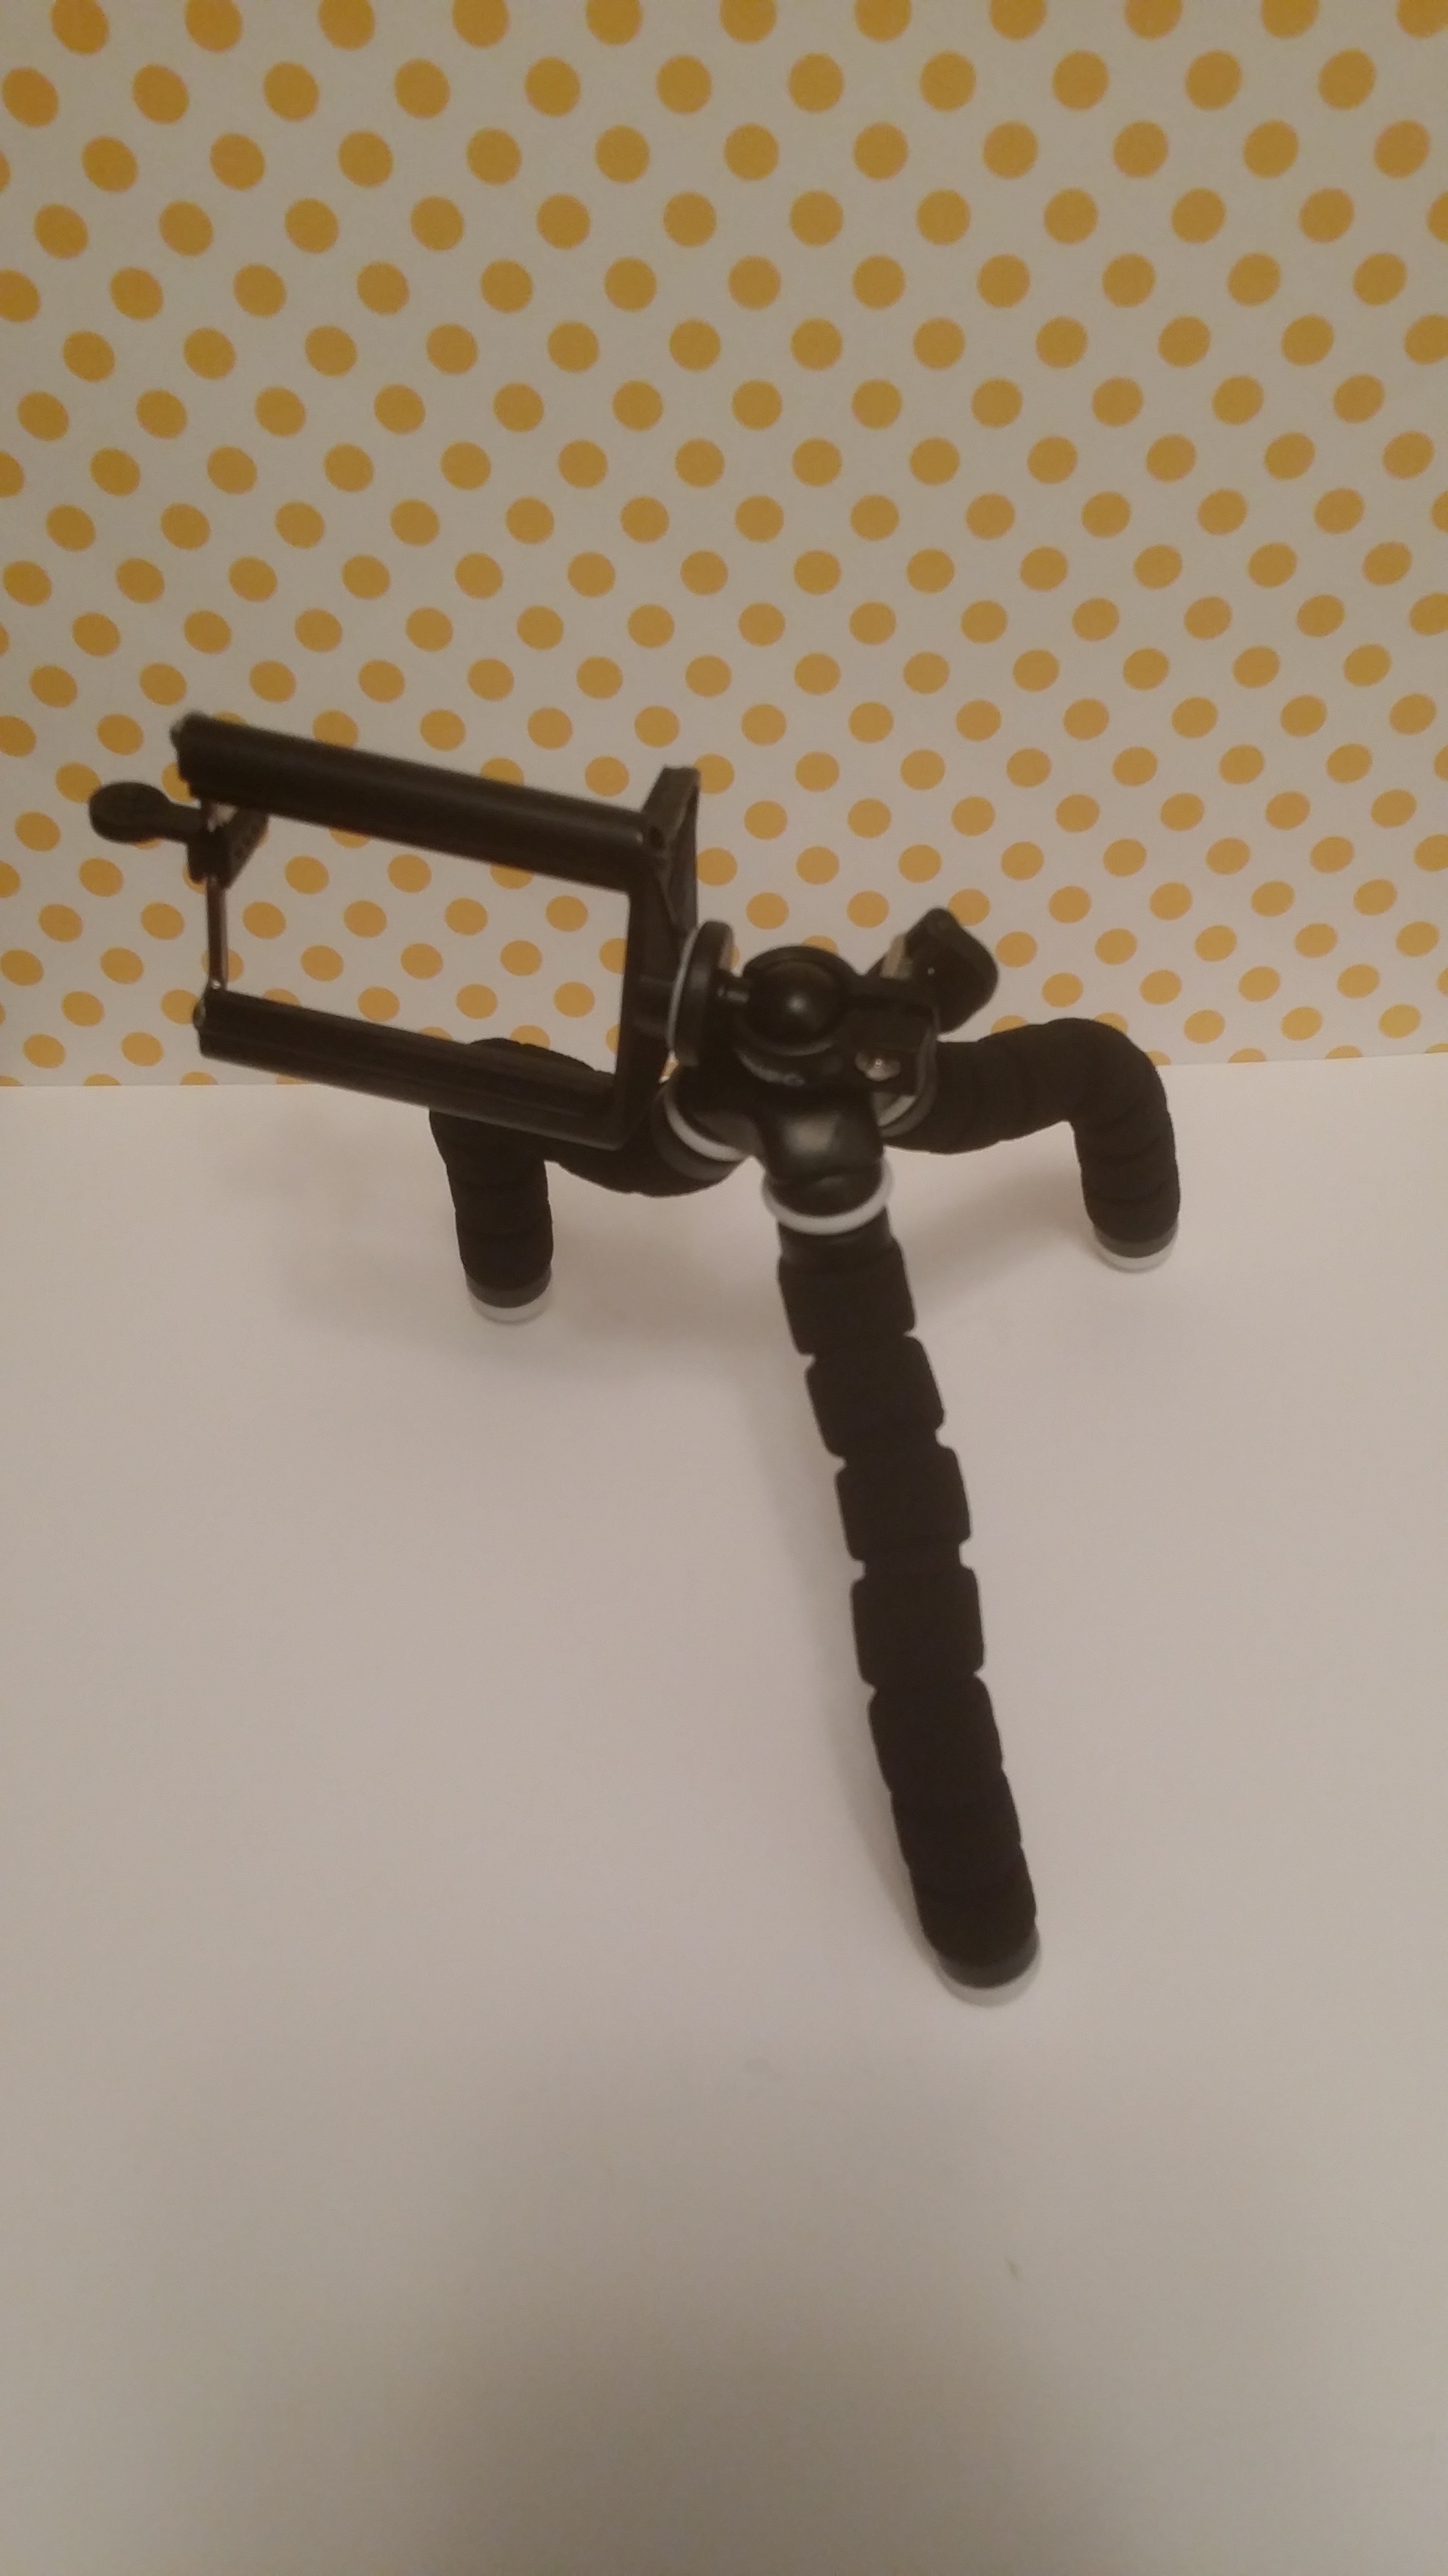
Tripod without camera phone.
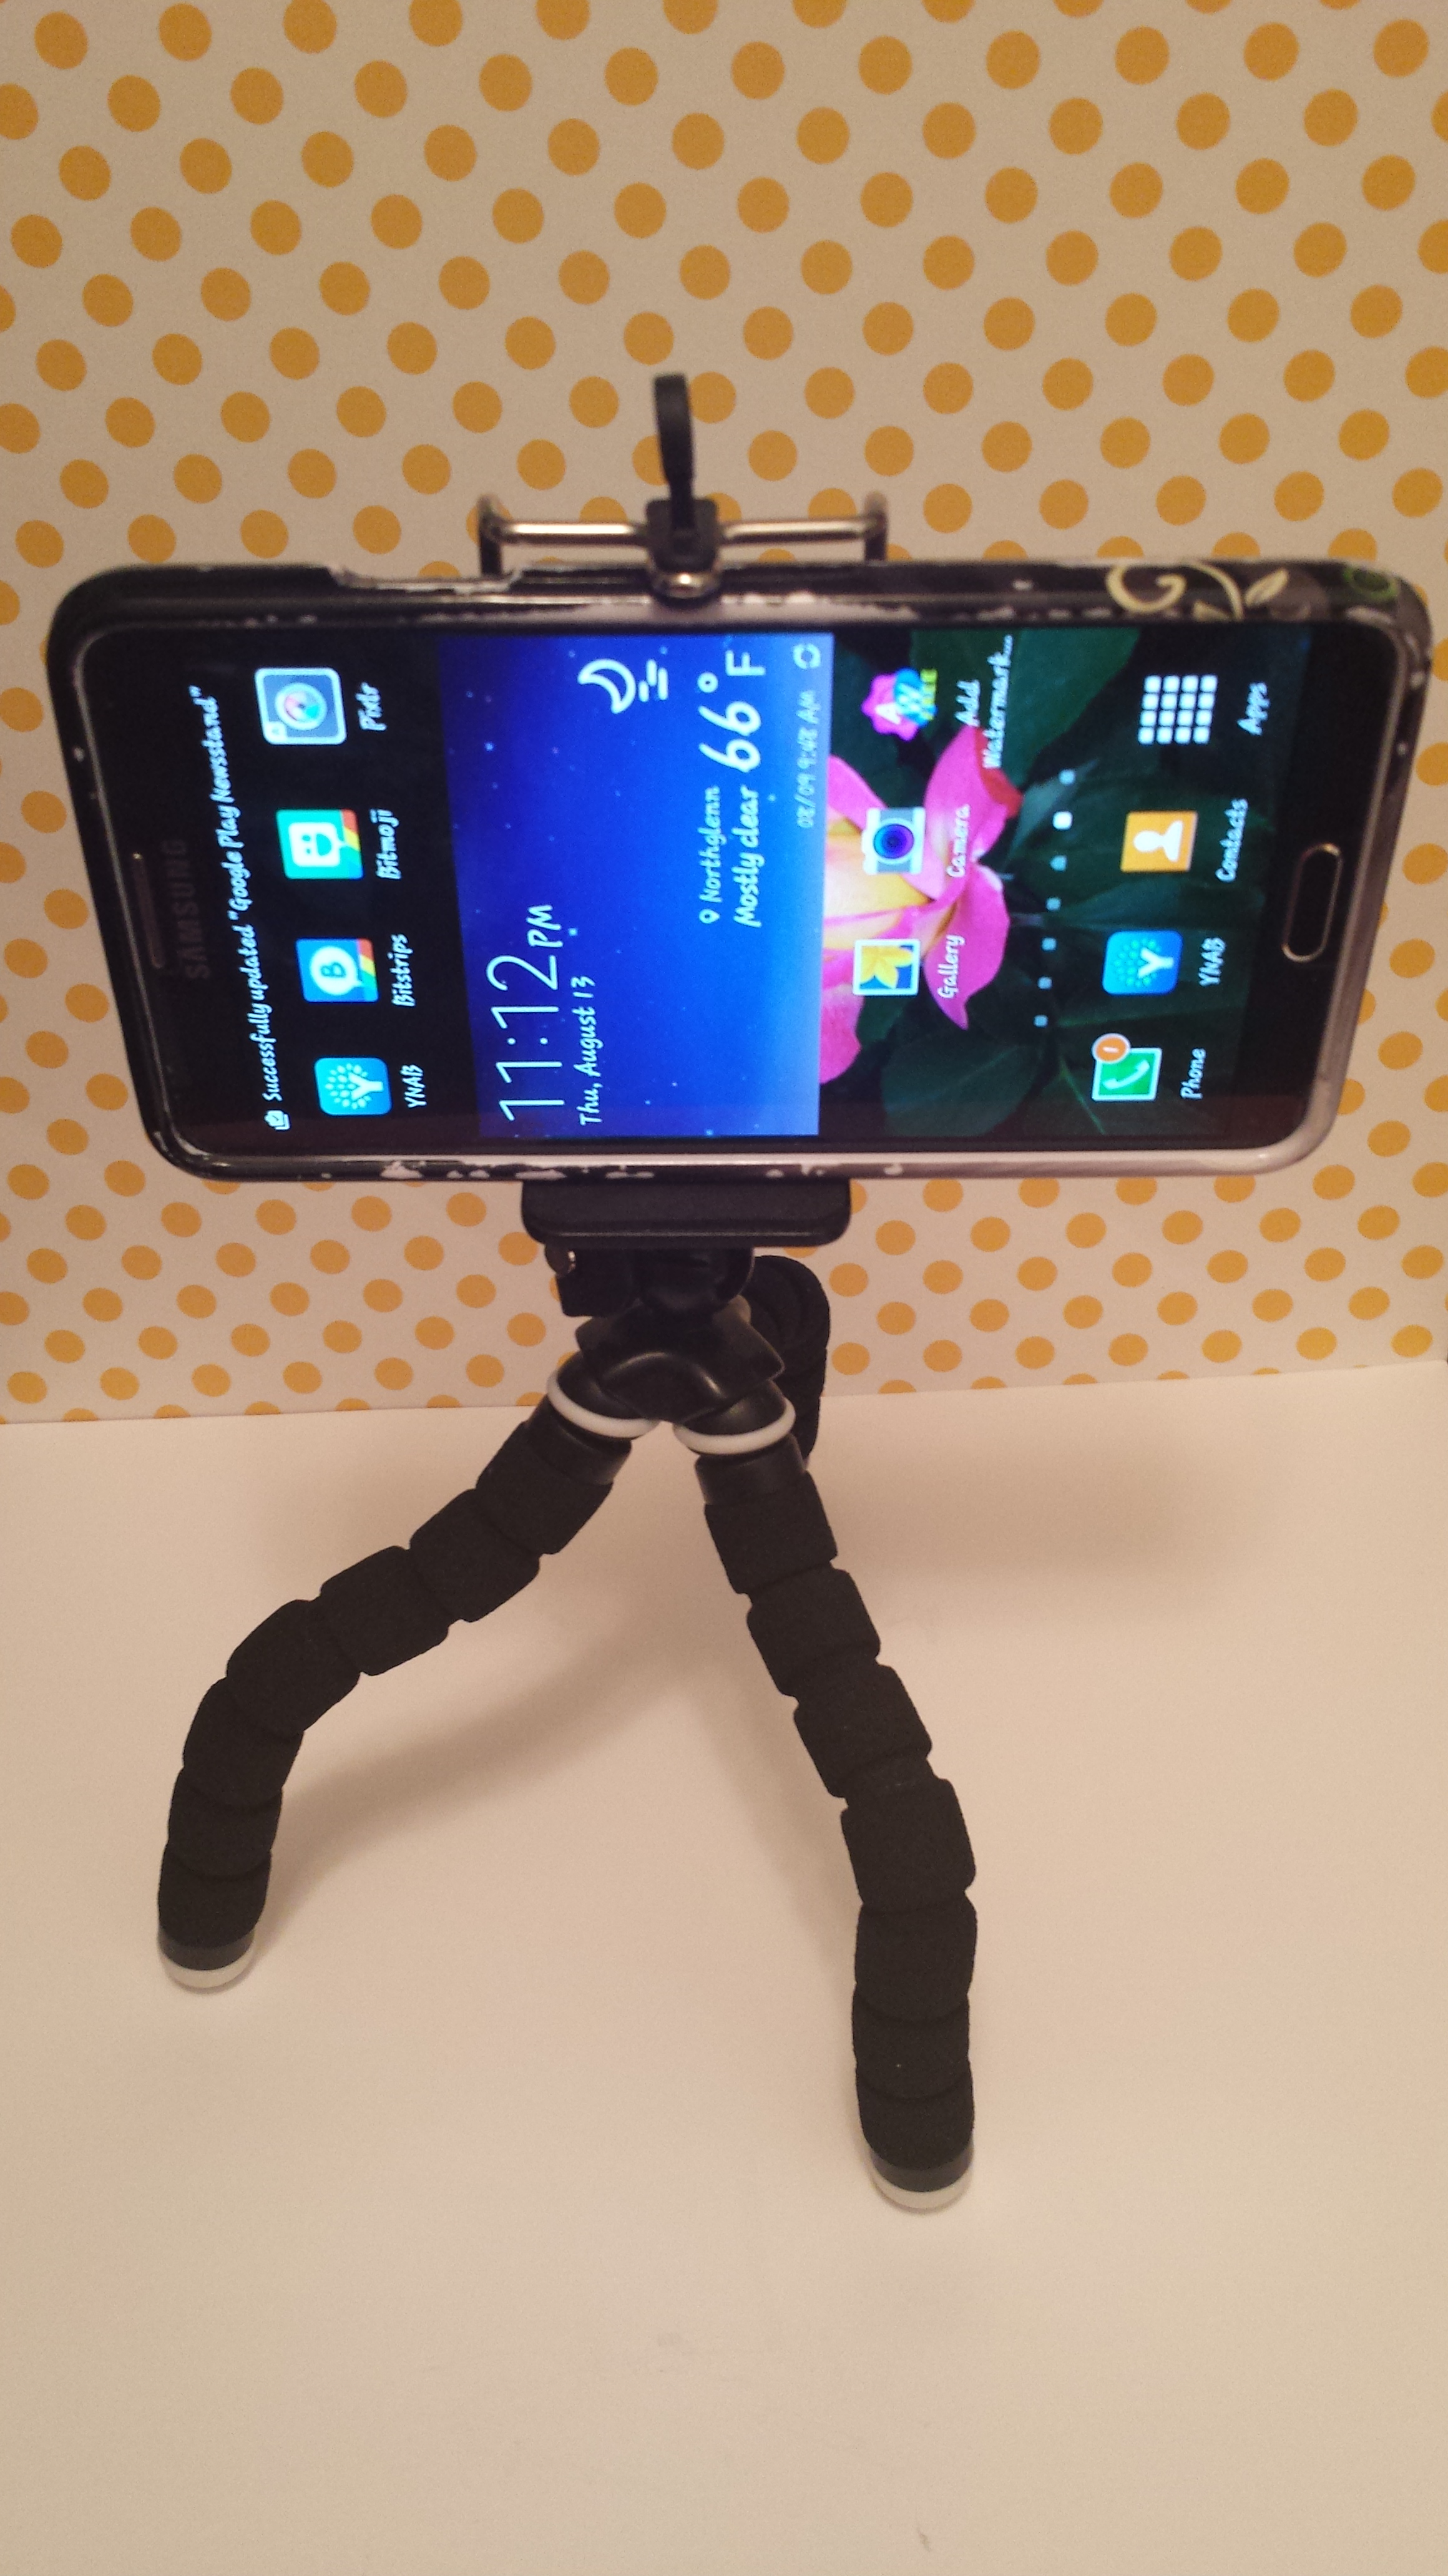
Tripod with Samsung Galaxy Note 3.

