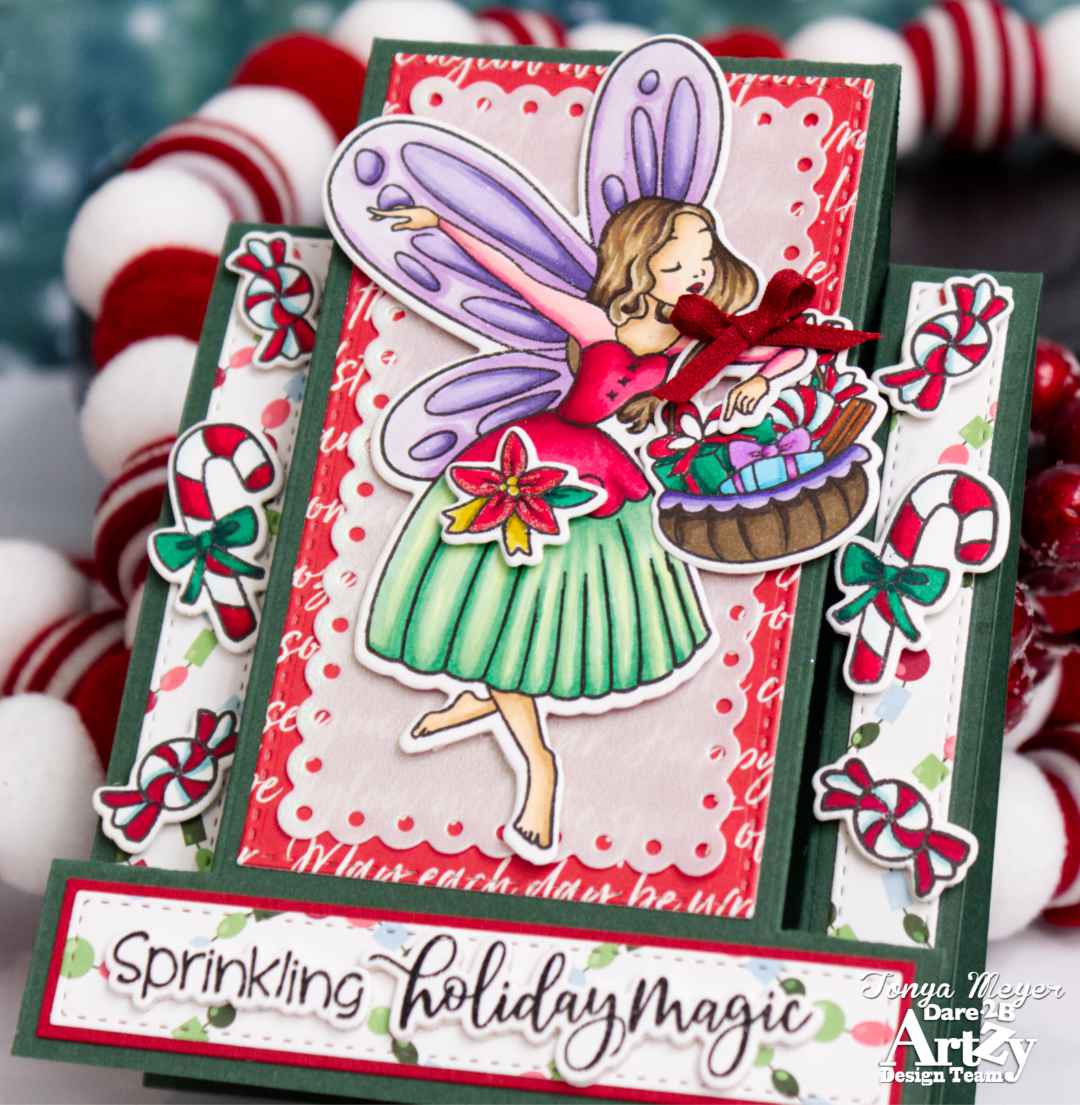
Sprinkling Holiday Magic
Hello Artzy friends! Thanks for stopping by today.
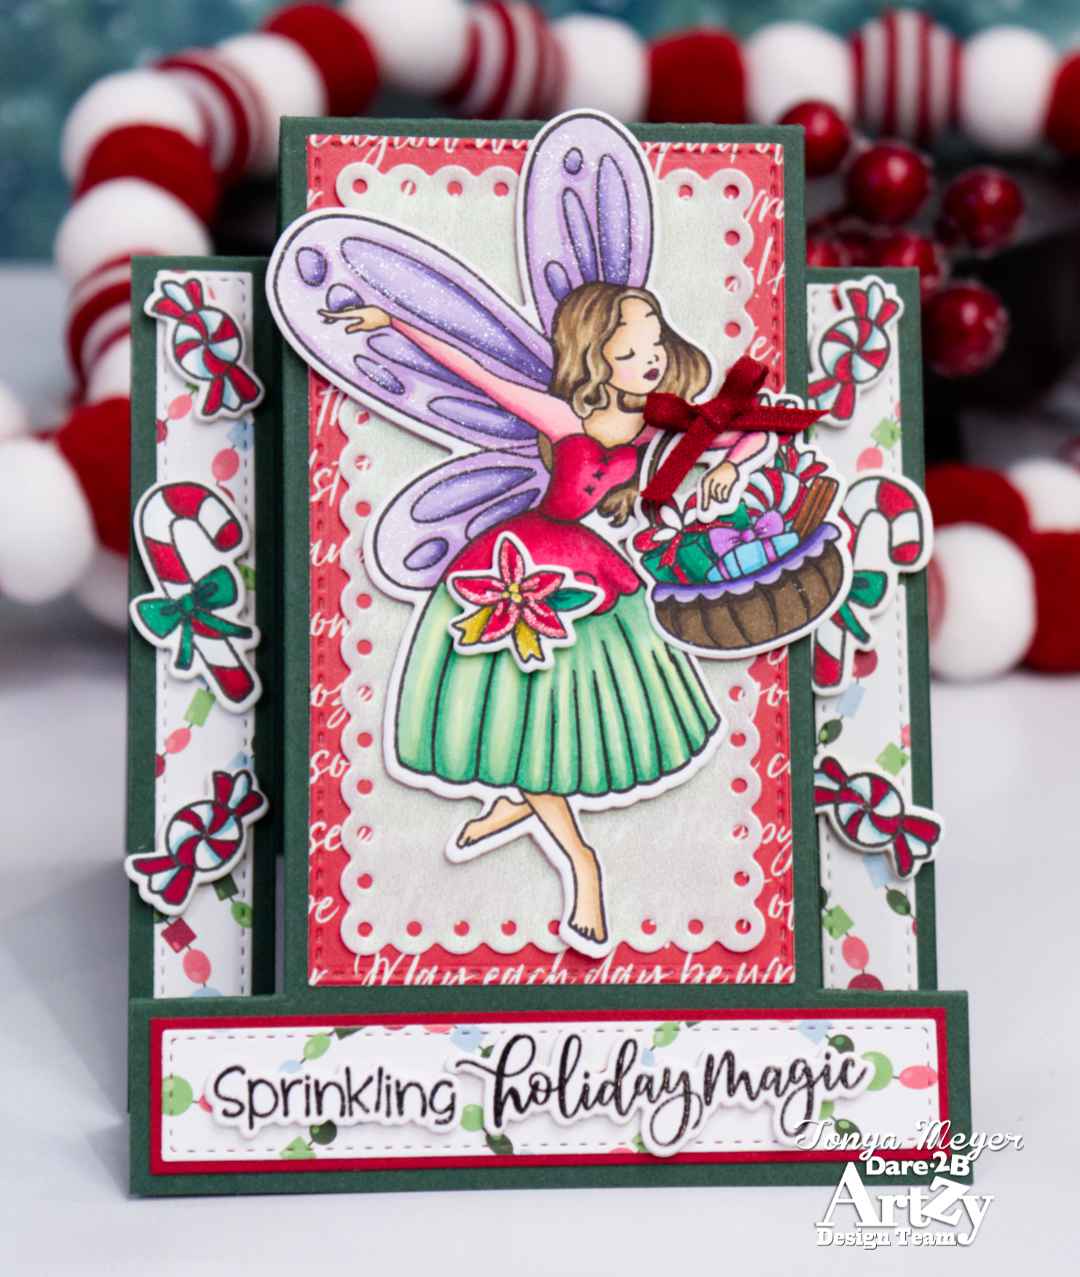
Today I have a fun fold card featuring the Holiday Fairy stamp and coordinating die set and the Center Step Die. I also used the candy cane stamp and die from the Christmas Magic Stamp set.
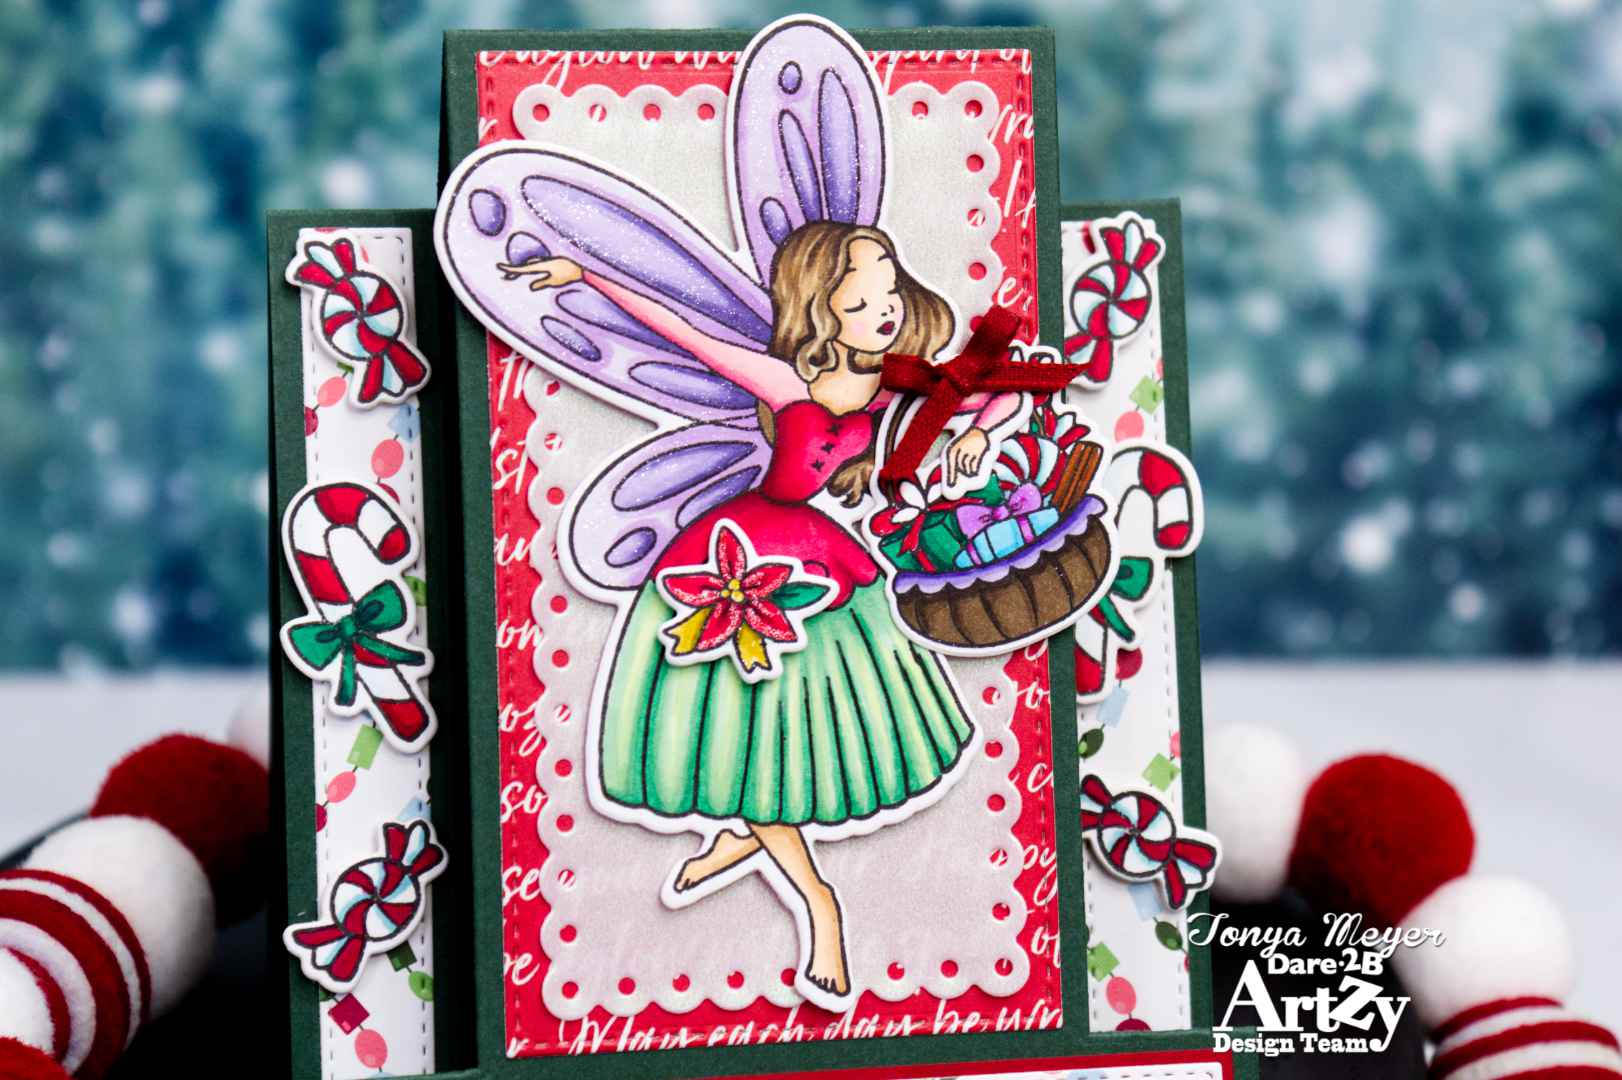
I stamped my Holiday Fairy. I also stamped the basket, small poinsettia flower, and the little wrapped candy pieces. I used Neenah 110lb cardstock with Dare 2B Artzy Totally Black ink for all of my stamped images. For the wrapped candy pieces, I did stamp and color 4 total. I also stamped 2 of the Candy Canes from the Christmas Magic stamp set
All of my images were colored with Sketch Marker Brush Pro Alcohol Markers. I stuck with a pretty traditional color pallet for Christmas. However, I chose to color the fairy’s wings a soft purple color.
When I finished my coloring, I added some Spectrum Noir Sparkle detail to the wings. I also added sparkle to the poinsettia flower. The bows on the candy canes received some sparkle as well.
I used the coordinating dies to cut out all of my images.
Next, I used the Center Step die. I cut a piece of heavyweight green cardstock to be 4 ¼ x 11 inches. I adhered my Center Step die near the bottom. Then, I taped it in place with some temporary tape. I ran it through my die cutting machine.
After cutting the Center Step die from the cardstock, I carefully folded the scored lines at the top and bottom by hand. Then, I used a bone folder to make the final crease in my paper.
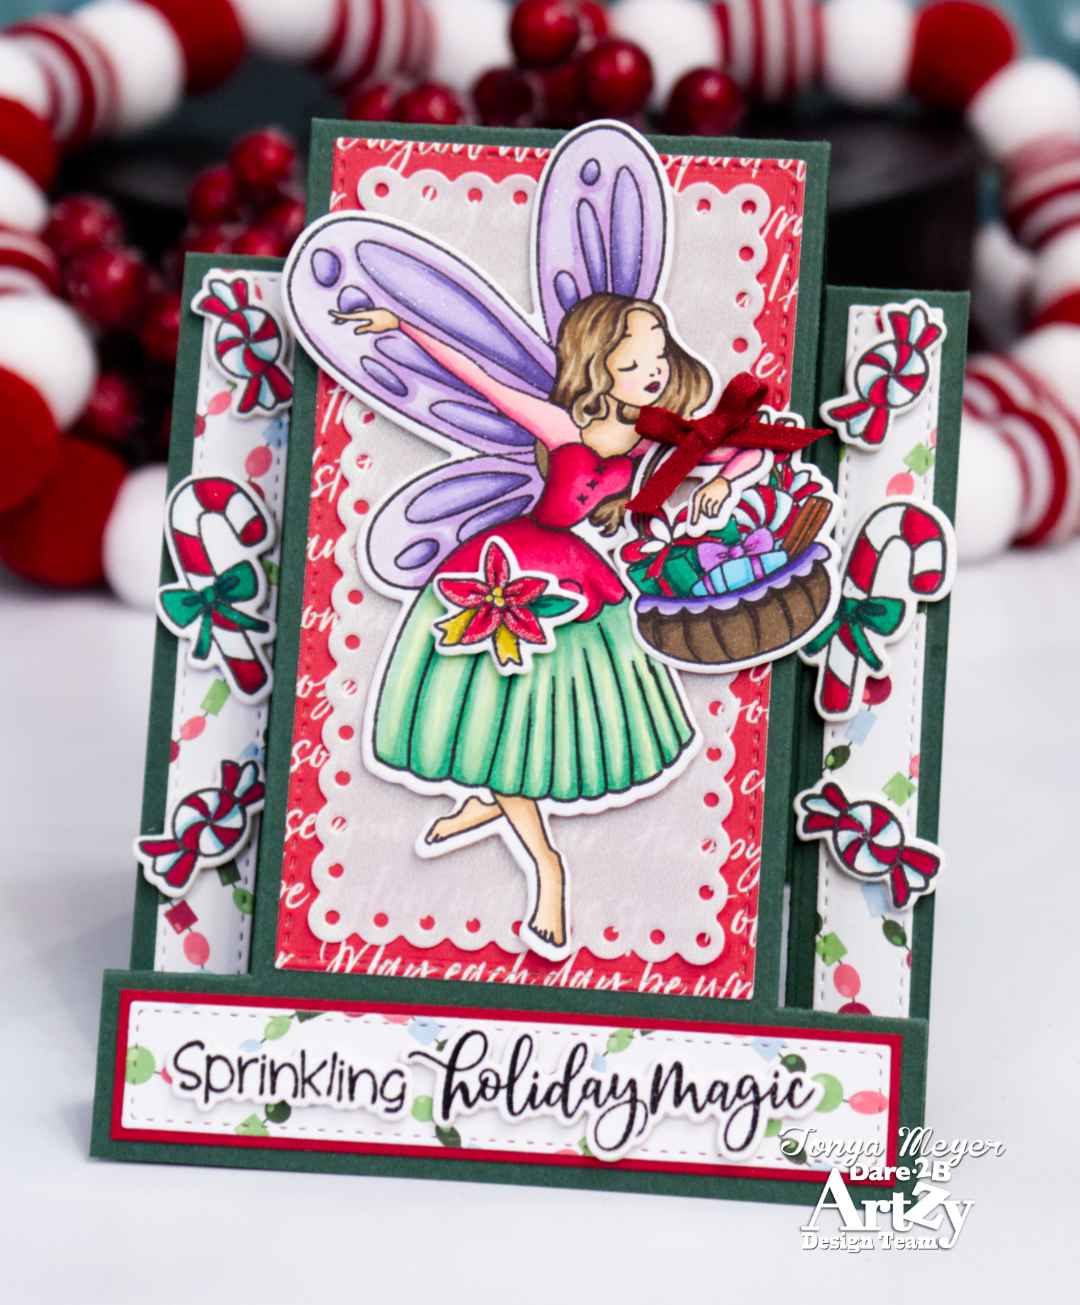
I used the coordinating stitched die from the Center Step die. I cut a piece of the red paper with the Christmas messages on it from the Winter Escape paper collection. I used the scalloped center piece layer and cut it from some shimmery vellum paper. I adhered these to the center panel on the Center Step die with some Score-Tape. For the vellum, I put a small piece of Score-tape down the center. I did not want it to show through behind the fairy.
The Holiday Fairy when die cut can hold the basket with the Christmas goodies. The basket die cuts a little hole that’s big enough to fit the fairy’s arm through. It is such a fun detail for this stamp and die set. After the basket was added to her arm, I layered my holiday fairy on top of the scalloped vellum with some dimensional foam.
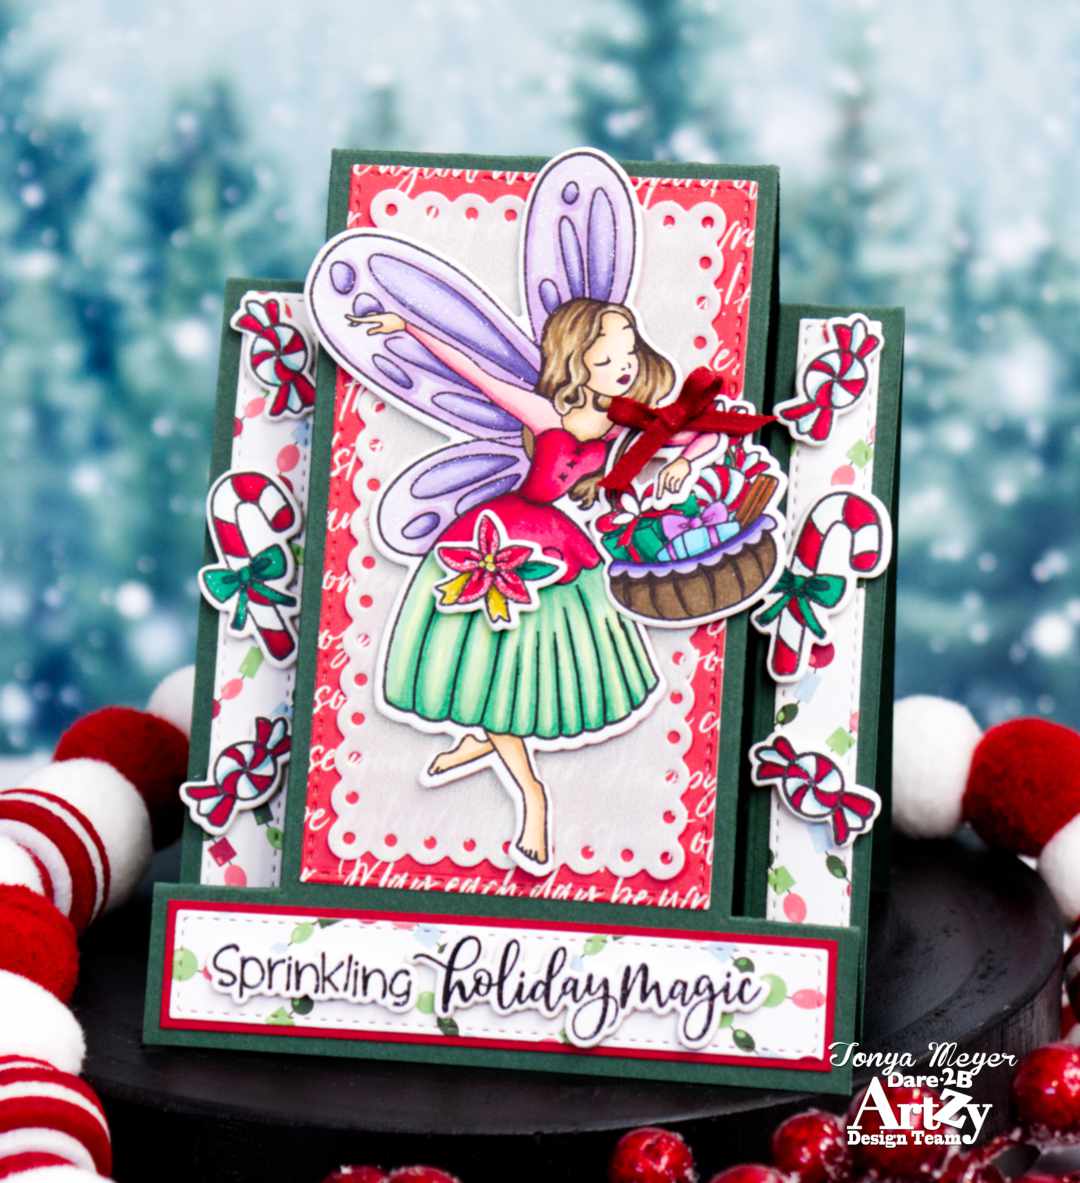
I used a piece of paper from the Holly Days 6×6 paper pad for the side panels on the Center Step die. I used the paper that looks like beads strung together. I cut three strips of that. Two were for each side of the card panel. One was for the bottom where my sentiment would be placed.
I adhered the side pieces of cardstock in place with more Score-Tape. I added my die cut candy canes to the sides with dimensional foam. I also added the wrapped candy pieces to the sides.
For the bottom, I layered my cardstock onto a piece of red cardstock that I cut to frame it.
I stamped and heat embossed the Sprinkling and the Holiday Magic sentiment and die cut them with the coordinating dies. I cut some extra to add dimension and I glued those behind my stamped and embossed sentiment. I glued the final dimensional pieces to the bottom of the Center Step Die.
For an added touch, I had a fun idea. I decided to create a small bow from some ribbon. Next, I attached it to the top of the basket on the fairy’s arm with a bit of liquid glue.
That finishes off my card. It features the Holiday Fairy stamp and die set and the Center Step Die set from Dare 2B Artzy.
Thank you for stopping by today. I hope you are inspired to create some holiday magic with this fun stamp set from Dare 2B Artzy.
Hugs,
Tonya
https://linkdeli.com/widget.js?id=f5e8378456858c916708

