3D Gift Card Holder & a HOP
Hello and welcome back!
Today I am sharing a special project that is part of the Dare 2B Artzy 3D Holiday Project HOP taking place this weekend on Instagram. If you have not checked out the Instagram HOP you can do so by starting here with Dare 2B Artzy the first stop in the HOP https://www.instagram.com/dare2bartzy/

The project I created for this weekends HOP is the 3D Purse Gift Card Holder. This is such an innovative little die set and it is very easy to put together with the included detailed instructions.
To start, I cut the Purse Gift Card holder from a piece of the Christmas Joy paper. The die measures 8 3/4 x 5 at the widest point so you need a piece of paper that is about 9 x 6 to accommodate the die.

Using my bone folder I reinforced all of the scored lines that are embossed into the paper when you cut the purse die. This just ensures crisp fold lines when assembling the die. The included instructions will indicate which flaps will need adhesive or glue. For my box I used 1/8 inch Red Line Tape. I like this tape because it’s very secure and easy to manipulate around shapes. You can add a bit of liquid glue on top to give you a bit of wiggle room also.
Once my Red Line tape was added to the indicated flaps, I removed the release tape and began to assemble the purse. I started with the mini tabs and adhered them first and then adhered the side tabs. Once the sides were flush, I used a ruler on the inside to make sure that the adhesive was sticking to the paper.
Next, I cut 2 of the insert pieces. The insert is what will be the backer for your gift card on one side and the other side you can stamp images/sentiments or write a personal message. I cut one insert piece from the Chocolate Moose paper with the snowflakes and one from 110 lb card stock.

I glued the Chocolate Moose die cut insert to the piece of white cardststock to create my insert. On the blank white card stock side, I stamped a Merry Christmas sentiment from the Toboggan Fun stamp set using Paradise Ink from Dare 2B Artzy. I love the mix of block lettering an cursive for the sentiment. I also stamped 3 snowflakes from the Frosty Hello and Toboggan Fun stamp sets using Blue Sky Dare 2B Artzy ink. To finish the insert, I die cut the Gift Card Pocket from a piece of the Holiday Stripe Paper. I adhered the two sides to the insert piece and left the bottom flap without any adhesive as it acts as the stopper flap to keep the insert from falling out of the purse. I used the small banner from the Curves Border set and cut a strip from the Holiday Stripes paper pack. I folded the banner in half and glued the end to back and front of my insert. Using a small “Pull” stamp from my stash, I stamped the Pull on both sides of the banner.
To create the scene for the front of my purse, I stamped the adorable snowman in the top hat and one of the trees from the Frosty Hello Stamp set. I colored each with my Copic markers. I opted for a bright pink tree as I was thinking of the bottle brush trees and thought a pink tree would be fun. I cut out my colored images with the coordinating die set.

Next, I used a piece of Hammermill cover card stock and foiled it with some Spellbinders Opal Foil and the Night Sky hot foil plate. I felt like the Opal foil was subtle and the Night Sky hot foil plate could pass for a snowy backdrop – even though it’s stars. You just have to squint a little, use a bit of imagination and its the perfect snowy backdrop, LOL!
I added a bit of Distress Oxide ink in Shaded Lilac and Spun Sugar at the top of the foiled background. It’s ok to ink blend on foiled surfaces, you just have to gently wipe away the ink from the foiled areas when you are finished.

Using the Wavy Slimline Border dies I cut two snowy hill sides from some white glitter card stock I used the Purse Die insert piece to cut my hills so that they would match with the insert and the stitched detail. I adhered them to the foiled background with some liquid glue.
The snowman and tree were added to the background with a combination of dimensional foam and liquid glue. I added a little pink clay heart to the front of the snowman and some iridescent snowflake sequins to the background.
I die cut the purse handle from a scrap piece of 110 lb card stock You definitely do not need that heavy of card stock for the handle, it just happened to be the scrap that was sitting on my desktop. I adhered the handle between the scene for the front of my purse and the purse itself with some Redline Tape and a bit of liquid glue. To finish of the handle and add a bit of holiday pizzazz, I had some tinsel fringe from my stash. I have no idea where I got this, I added some Redline tape on both sides of the handle near the top of the purse and then simply wrapped the tinsel fringe around the handle, making sure that the ends were secured to the Redline Tape to keep it in place. It’s so fun and sparkly!

On the back of the purse, I die cut the purse flap from the Chocolate Moose Card stock and used Scandinavian snowflake border on the paper as a trim piece on my purse flap. I added some Ruby Glitter drops to the center of the snowflakes on the trim for a bit of bling.
Once the purse was all assembled, I was able to tuck a little Starbucks Gift Card into the card holder slot and stick it into the purse.
I added a little tag with some twine using the tag from the Rectangle Framelets die set and the little To and From stamps in the Frosty Hello Stamp set.

I love that this will be a festive gift card holder for someone. I think it could even double as a holiday ornament if the recipient wanted to add it to their tree.
Have you had a chance to check out the Instagram HOP today and all of the amazing inspiration that my fellow design team members have created! So much inspiration for your holiday projects. Head on over and check it out. There’s also a discount code that you can find over on the HOP that’s good through December 10th for 15% off all Dare 2B Artzy Products. It is the perfect time to pick up products used in today’s post or other favorites! There is also a chance to win a $20 gift card to Dare 2B Artzy for one lucky winner of the HOP. Don’t miss out on that!
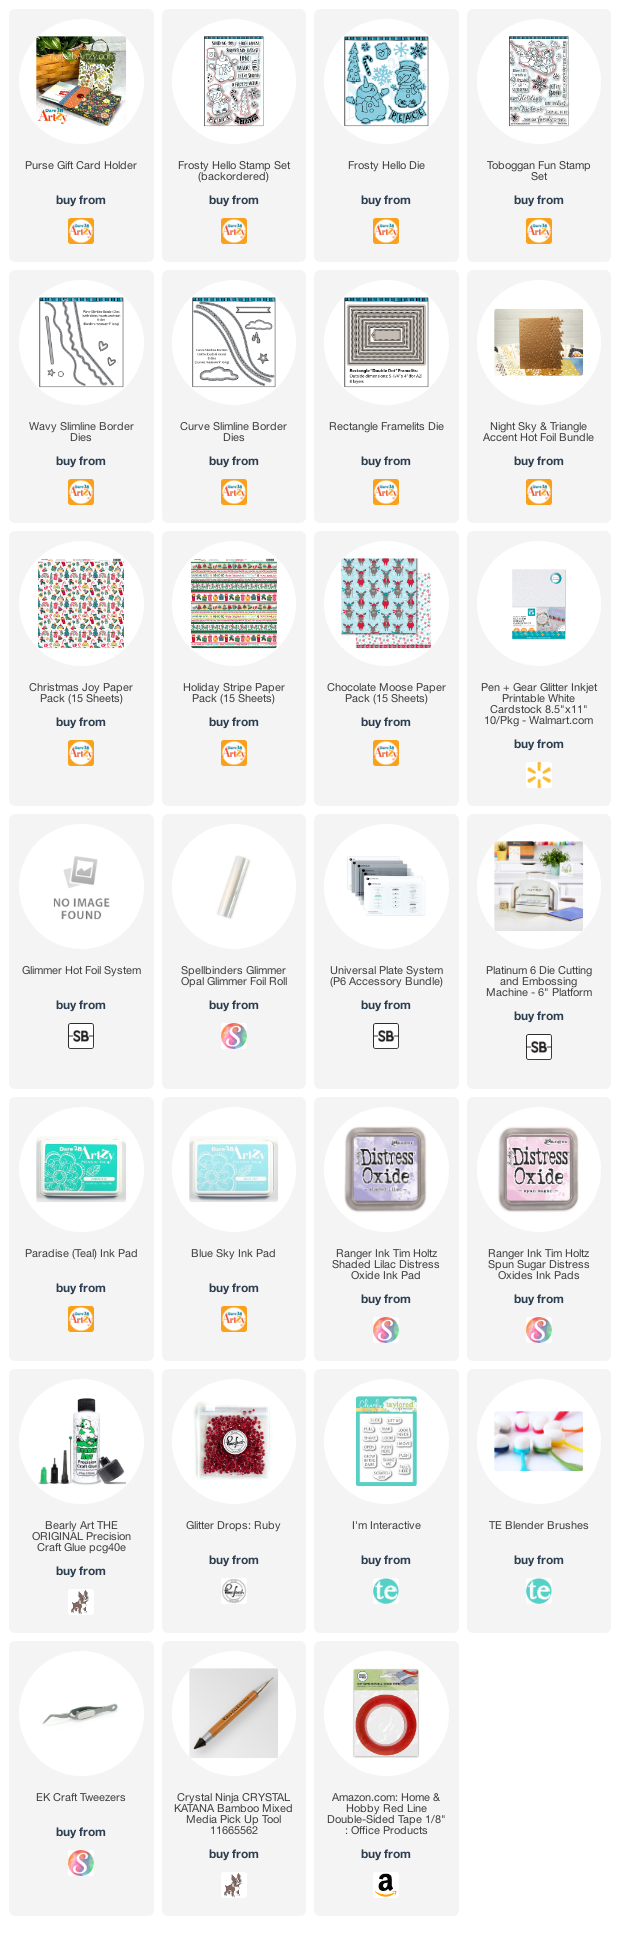
Hope you are inspired to create your own gift card holder or other 3D project for Christmas! I’ve added links to all of the product used in today’s project below for your convenience.
Have a wonderful day!
Hugs,
Tonya
https://linkdeli.com/widget.js?id=f5e8378456858c916708

