Beautiful blended Peonies
Hello crafty friends!
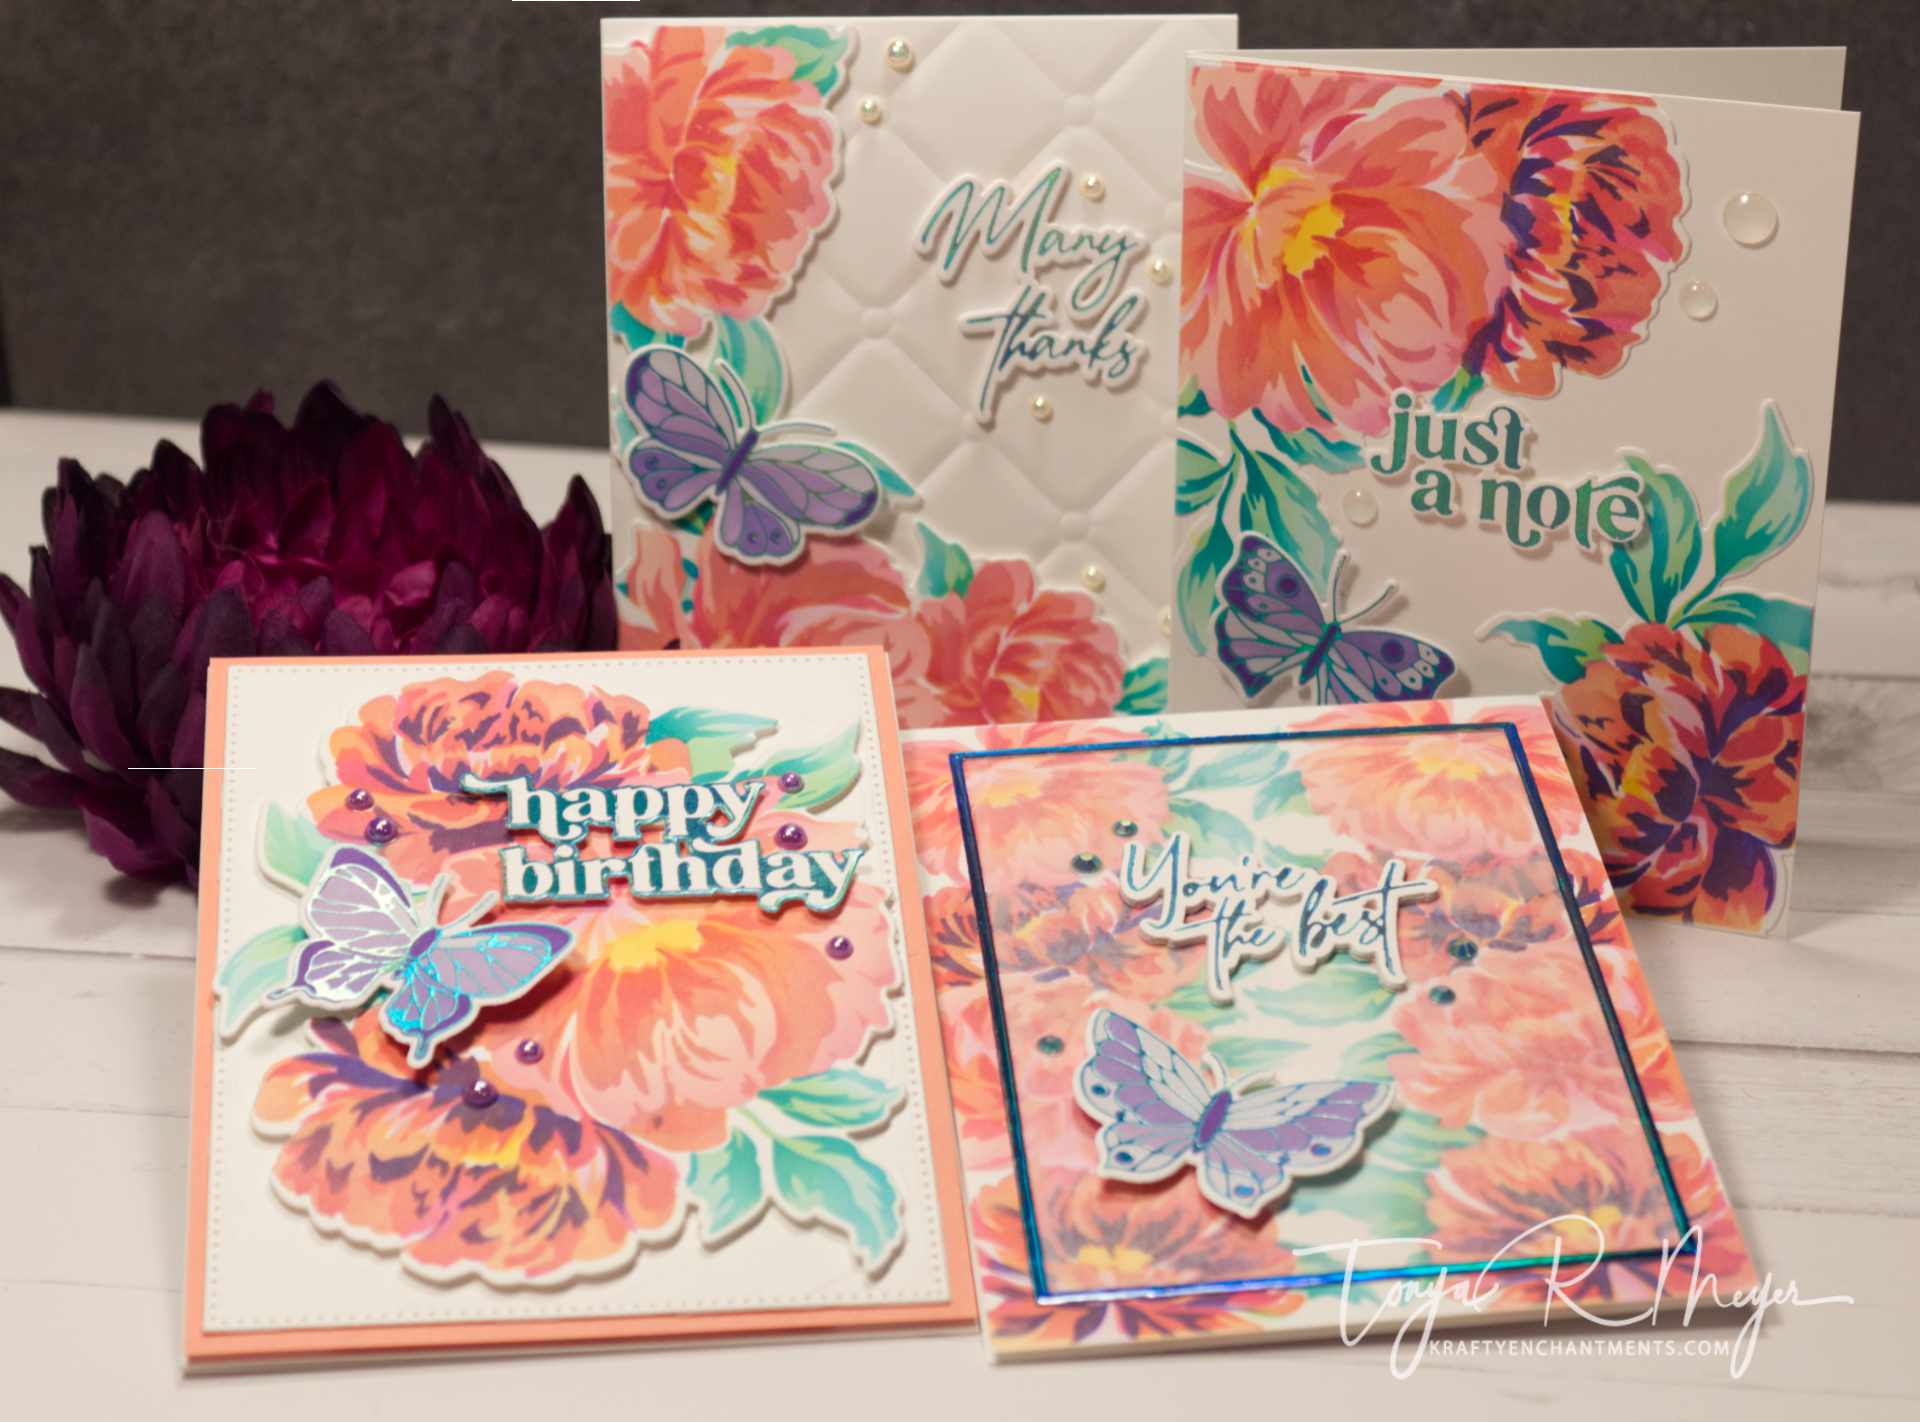
I am back today with four new cards I created using the new Blended Peonies Large Stencil and coordinating die from The Ton.
This is a long post, so if you would rather watch the video for these cards click the link below to head over to my YouTube Channel.
I have to say I was giddy when I saw a short video on this set on the Instagram channel for The Ton for a number of reasons.
- Beautiful Peonies stencils…hello!
- Create four card designs at once (can you say time saver?)
- Layering stencils – which I love, love, love!!
- Coordinating dies – yes please!
Not that I needed justification, but those are four very good reasons for everyone to own this stencil set.
A little about this stencil set, it contains 6, 8 ¾ x 12-inch layering stencils. Using 8 ½ x 11 paper you will have an end result of 4 completed cards panels that are A2 in size (4 ¼ x 5 ½). Since there is a coordinating die set that cuts out the layered peonies, you could make any size card you like with the die set. Either way, this permits you to create stunning cards which come together quickly!
There are a couple of things to note about the stencils. They are laser etched in the lower left corner with the number, so you know what order to use them in.
On stencil number 4, which is the most detailed of the layered peonies, you will want to be careful to note that the upper left quadrant has the flower centers. You will want to save that quadrant for last so that you do not accidently blend the little amoebas over your beautiful flower in that corner…. ask me how I know? LOL!
The last two stencils, 5 and 6 are used to create the leaves for the flowers.
I had a specific color pallet in mind for the flowers in this stencil and I achieved it but not without a bit of panic and some additional ink blending.
To start, I did a soft blend for my base color using Simon Says Stamp Pawsively Saturated Ink in Peachy. Stencil 2 was blending in another Pawsitively Saturated Ink in Cantaloupe and then Guava for my third stencil. The fourth layer was where I started to question myself. I blended on Iris Pawsitively Saturated Ink.
For those who have done layered Ink blending with stencils, it is always exciting to see the reveal once you pull away the last stencil. Right?
I finished my blend and pulled away the fourth stencil and I was not thrilled with the way the colors looked. There was a stark contrast between the colors I chose, and they did not seem to mesh well, despite my consultation of my all-knowing color wheel. I mean, peachy-orange, pink and purples are all in the Triad of complimentary colors – it should have looked great. However, It did not.
I tried adding in my flower centers with the Sunbeam Pawsitively Saturated Ink thinking that the yellow centers would help to pull the colors together. While it made them look complete, it did not help harmonize the colors.
Setting aside my blended peonies, I slept on it overnight while I contemplated scrapping them and starting over.
The next morning, I decided I did not want to scrap them so I thought I would try to soften the peachy orange a bit with some more pinks.
I went back over stencil layer one with Kitsch Flamingo Distress Oxide Ink and layer two with Picked Raspberry. These two colors really helped to soften back the orange layers and pull the other colors together.
I also went in with a touch of the Watermelon Pawsitively Saturated Ink for Layer 3 to deepen and darken the color a bit.
Finally, I had achieved the beautiful, layered Peonies I had envisioned. Of course, my Iris layer is still extremely dramatic, but I love the way it looks now in conjunction with the blended colors. I am glad that I did not throw it away as I had considered. Sometimes it helps to sleep on it.
To finish my flowers, I blended on the leaves. I really love the detail on the leaves. Even though they are just two stencils, I chose to use a four-color blend on the leaves to give them more depth.
I started my blend using the Pawsitively Saturated Ink in Seafoam which is a very pretty light blue. Obviously blue leaves are not conventional, but neither are my Peonies so I needed a color that would pop next to them. Next, I wanted a hint of green in my leaves so I added Concord & 9th Sprout ink; it added the perfect touch of green.
For the sixth and final leaf stencil I added in Surf ink and then added shadow details using the Ocean ink and a detail blending brush.
I went back in and added a second dark shadow to the yellow in my flower centers for a bit more depth using the same Sunbeam ink.
The final blended panel was cut down to four panels that measured A2 size.
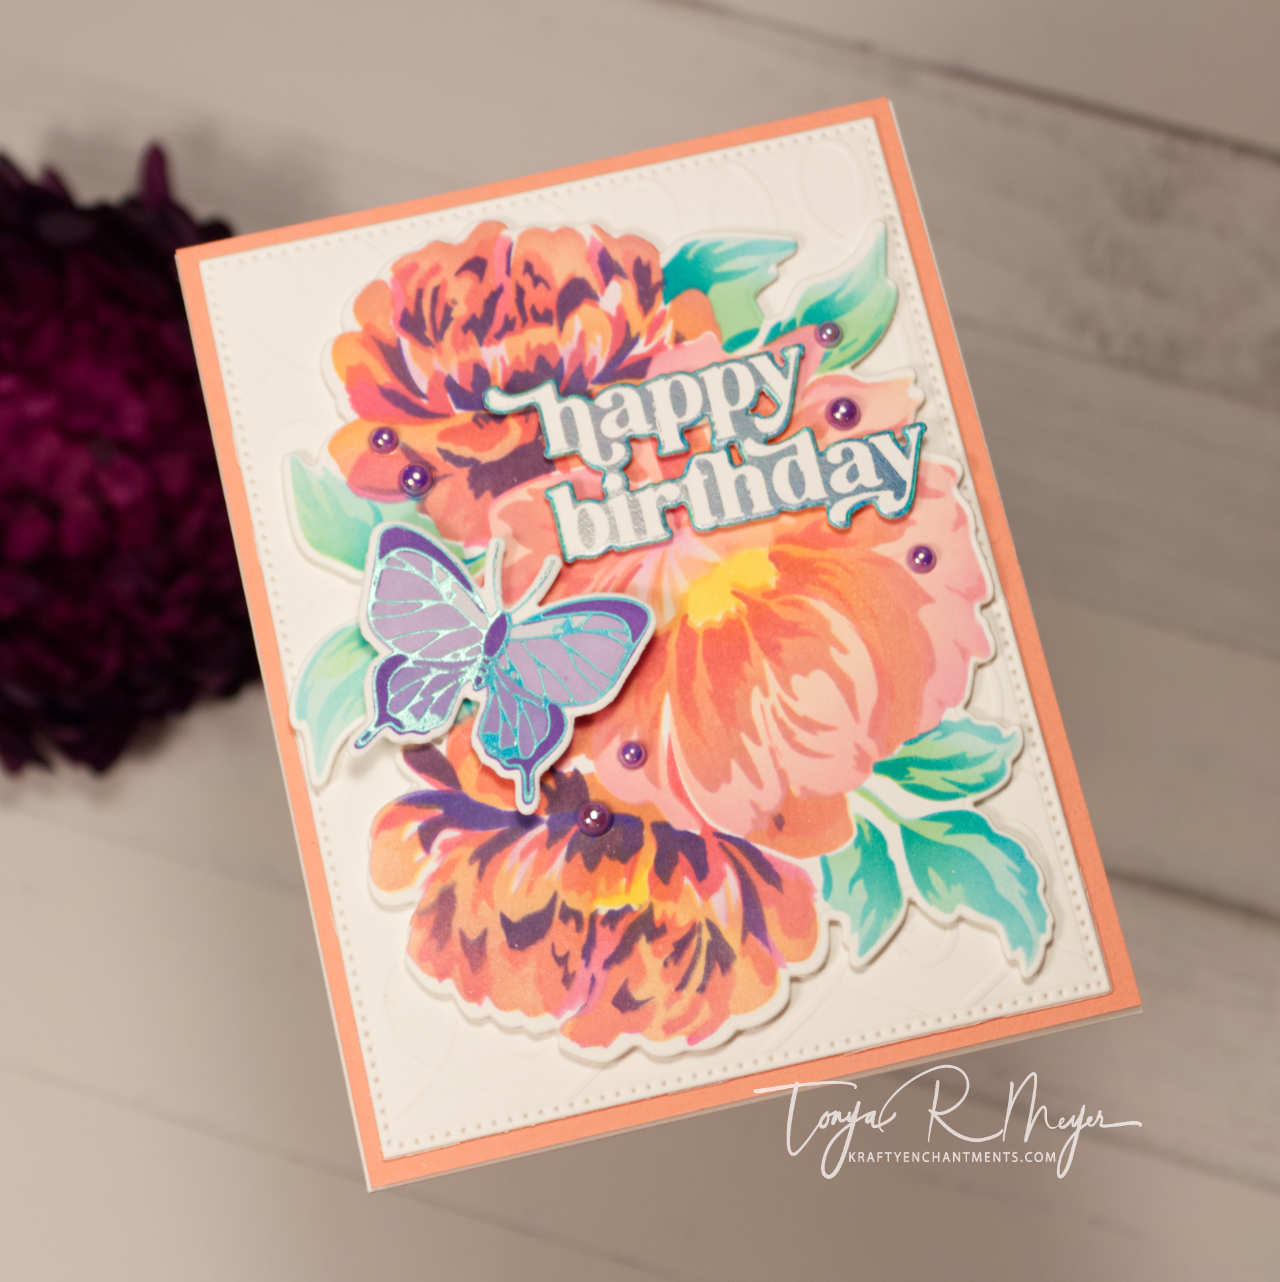
I got a touch of ink on a couple of my panels in not so easy to hide places, so I was glad that I had the coordinating dies to cut out the flowers. I ended up cutting out three of the flower panels and keeping the fourth one as a single layer card panel. I love all the possibilities with this stencil and the coordinating die.
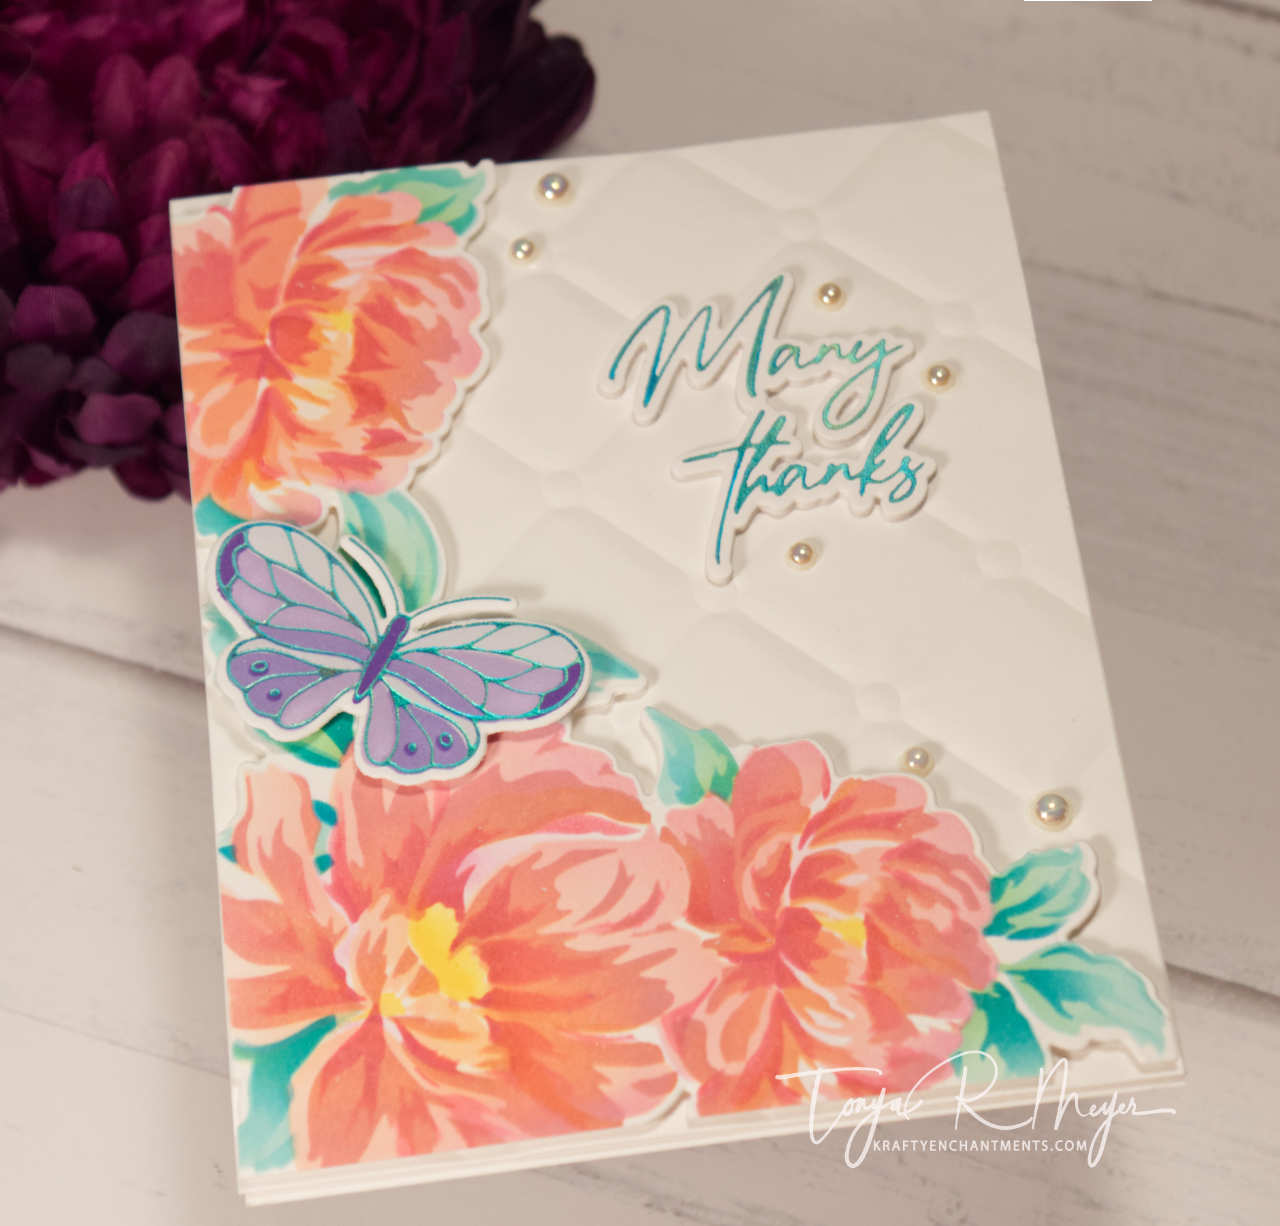
To create my finished cards, I used the Spellbinders Tufted 3D Embossing Folder for the Many Thanks card and the Loops Embossing Folders for the birthday card. I embossed those with some 110 lb. Neenah Solar White Cardstock and cut them down to 4 ¼ x 5 ½ and added them to my A2 size card bases.
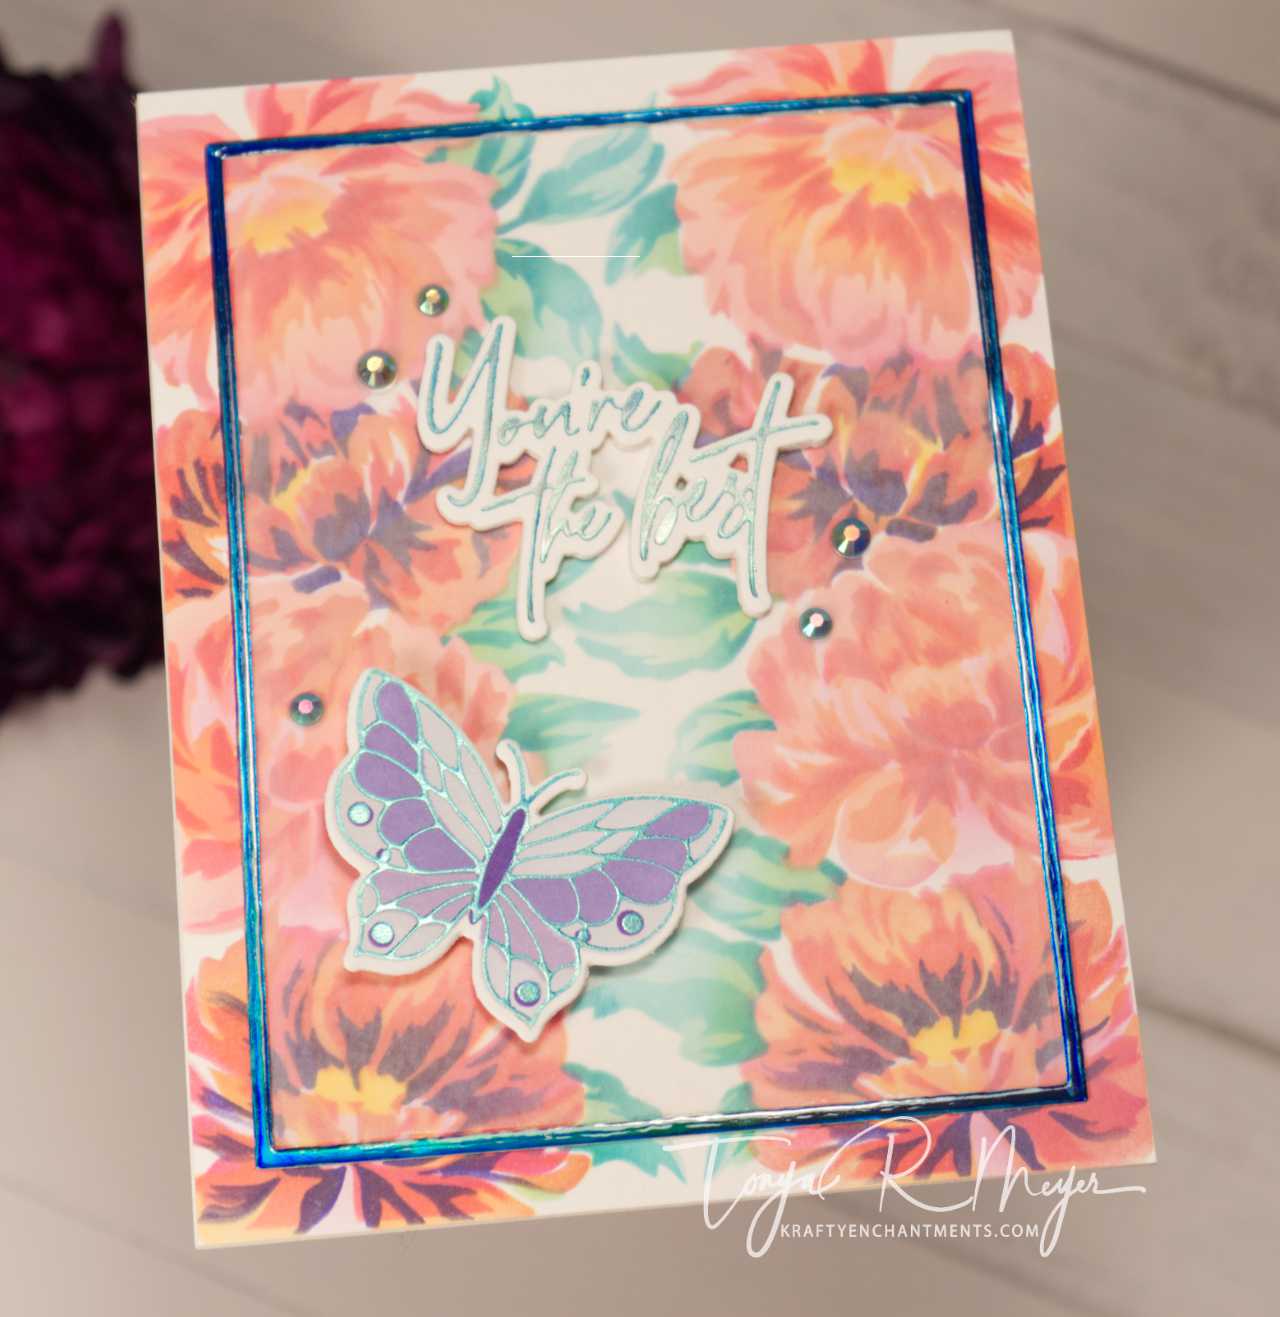
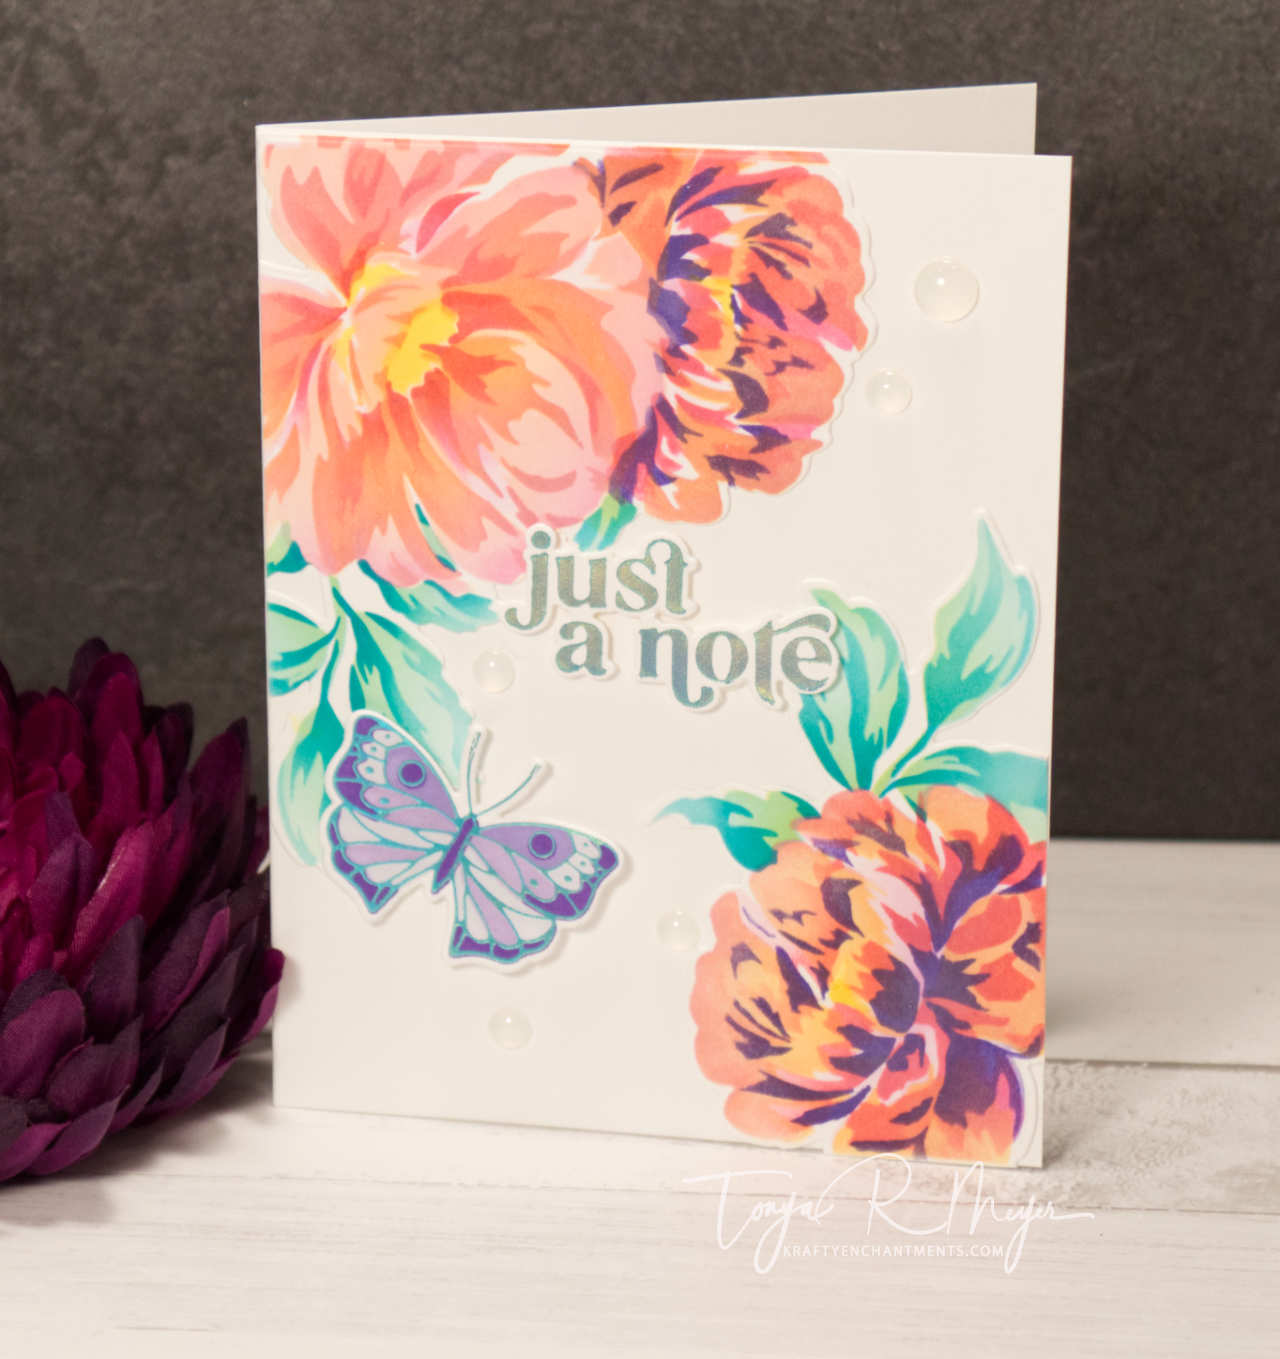
For the one card that I did not use the coordinating dies, it has a full background of ink blended Peonies. I die cut a piece of vellum that was 3 ½ x 4 ¾. To add this to my card front I ran it through my Xyron Sticker maker. Before removing the vellum from the sticker back, I made sure to use my bone folder to burnish the vellum to ensure that the adhesive would get a good grip on the back and not leave bumps or any uneven areas.
I peeled back the release paper from the vellum and placed it in the center of my card panel. I added a iridescent frame that I cut from Tonic Studios Tidal Wave cardstock using an Essential Rectangle die from Ellen Hutson.
For each card, I used stenciled and foiled butterflies from the Pink Fresh Studio Small Butterflies hot foil plate. When I purchased this set, I stenciled and foiled several sets of butterflies and then die cut them and I keep them in a little bowl on my desk. They happened to work well with my Blended Peonies cards, so I picked out one purple butterfly for each card. When I am hot foiling, I find it easiest to foil extras like sentiments and things that can be added to enhance cards and save them for later as it is the perfect time saver when creating cards.
I had previously foiled sentiments as well from Pink Fresh Studio, but I did not like the colors with my cards, so I foiled additional sentiments using the Pink Fresh Studio Modern Script Sentiment and the Perfect Sentiments hot foiled plates. Each sentiment plate was hot foiled with Spellbinders Moondust foil.
The flowers for two of my cards were popped up with dimensional foam. To make my Modern Scripts sentiment pop off the card, I used the coordinating die and cut three extras of the sentiments from scrap cardstock and glued them together to make them very stable behind my hot foiled sentiment. This will help when mailing the cards as well.
For the other two cards, I used dimensional foam behind my Happy Birthday and Just a Note hot foiled sentiments. These sentiments were a little thicker, so it was a bit easier to add the dimensional foam behind them.
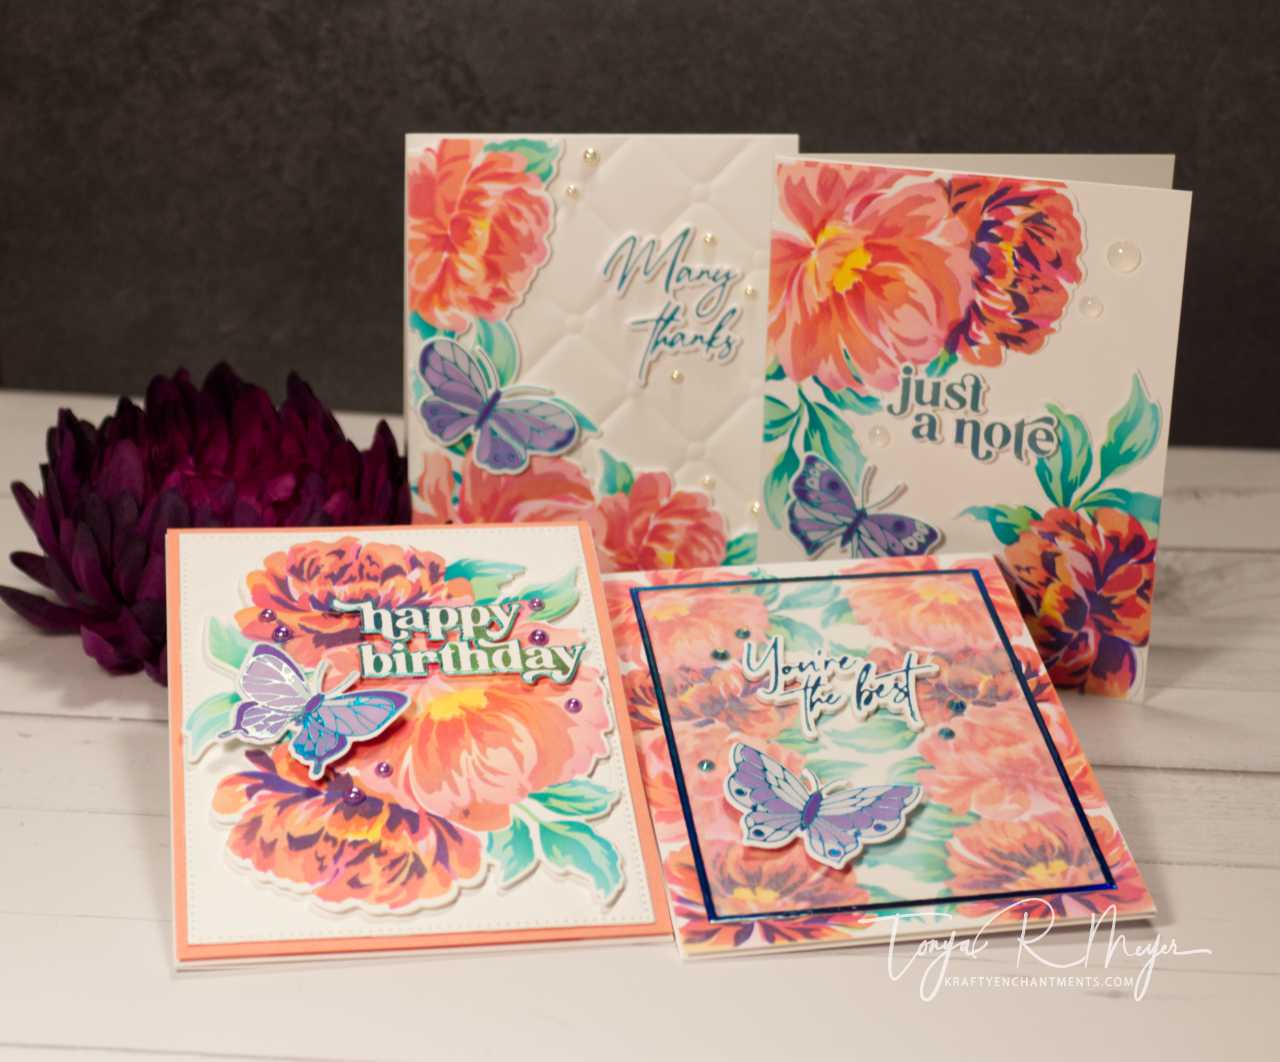
As a bit of a finishing touch, I added some gems or pearls from Trinity Stamps to each of my card panels for a bit of added sparkle and shine.
That wraps up my cards for today. I hope you are inspired to try out this beautiful Blended Peonies Stencil set from The Ton Stamps. If you get a chance, check out my YouTube video for these cards.
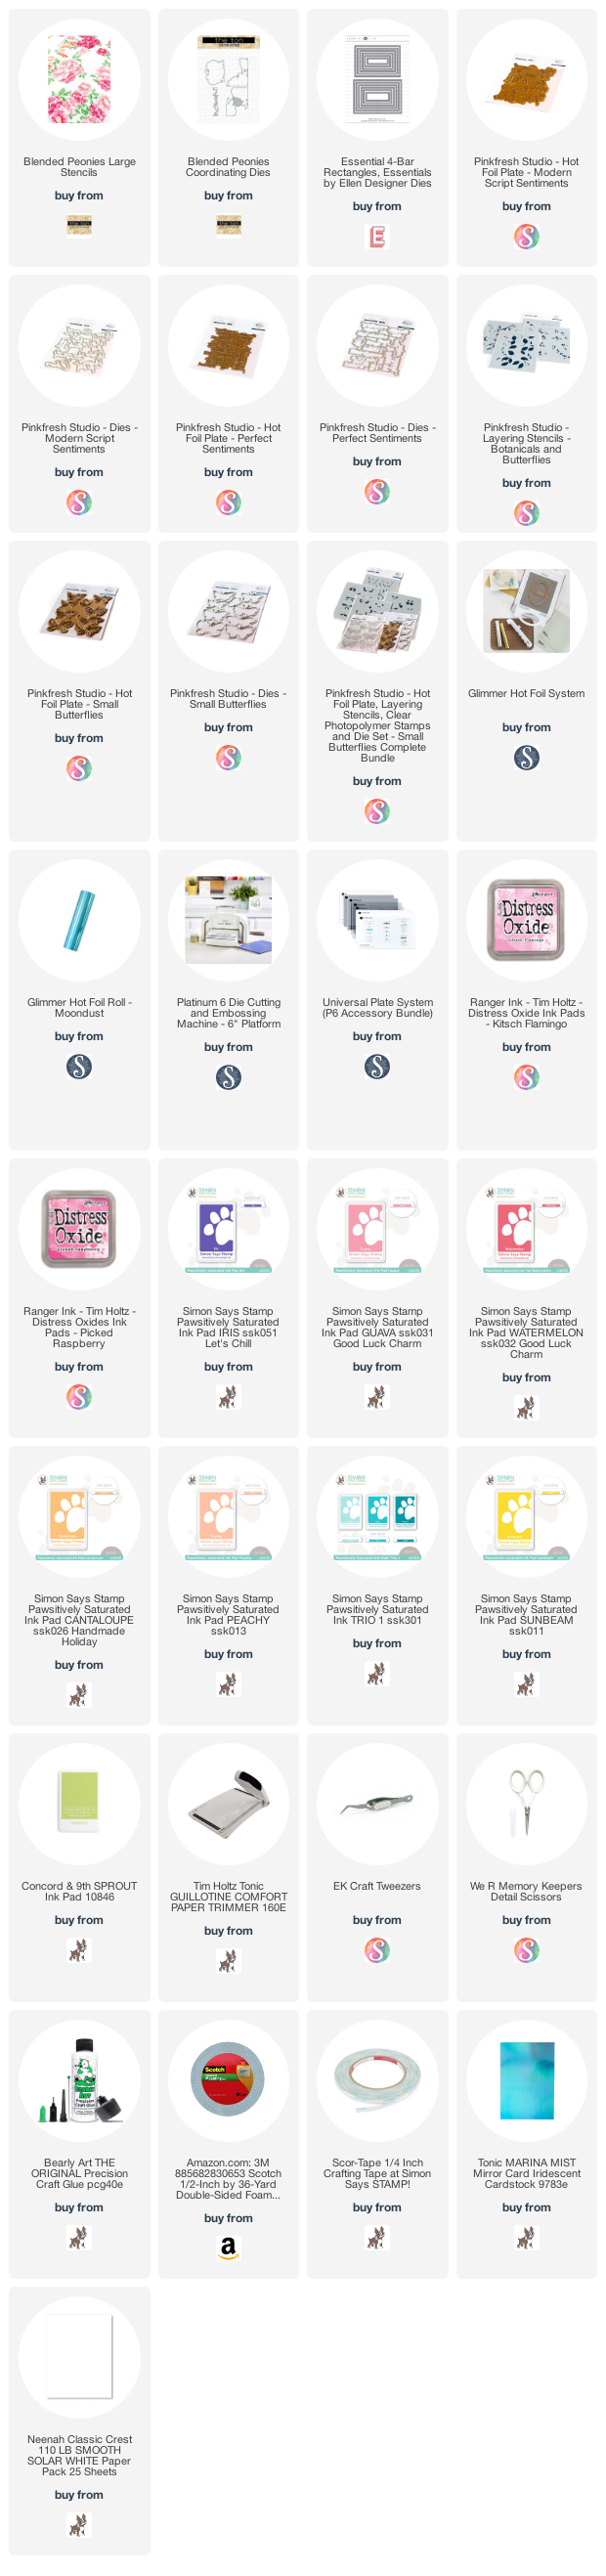
As always, I have linked all of the products used in today’s video below for your convenience.
Go out and create something beautiful today!
Hugs,
Tonya
https://linkdeli.com/widget.js?id=f5e8378456858c916708

