Christmas Magic Ornaments
Hello Artzy friends! Thanks for stopping by today.
Today I am trying something a bit different. I saw some acrylic blanks at my local Michael’s craft store and decided to see if I could make ornaments or tags with them using Dare 2B Artzy stamps.
The blanks were in a few different shapes but I chose to use the tag shape and the ornament shape as they had the most surface area to work with. Each set comes with 18 clear acrylic tags and some organza ribbon to use.

The tags have a clear plastic film on the front and back so you will need to remove those before you start stamping or painting on them. The film was a bit tricky to remove, but I found that you could get an edge started with a pokey tool and then it just peels off.
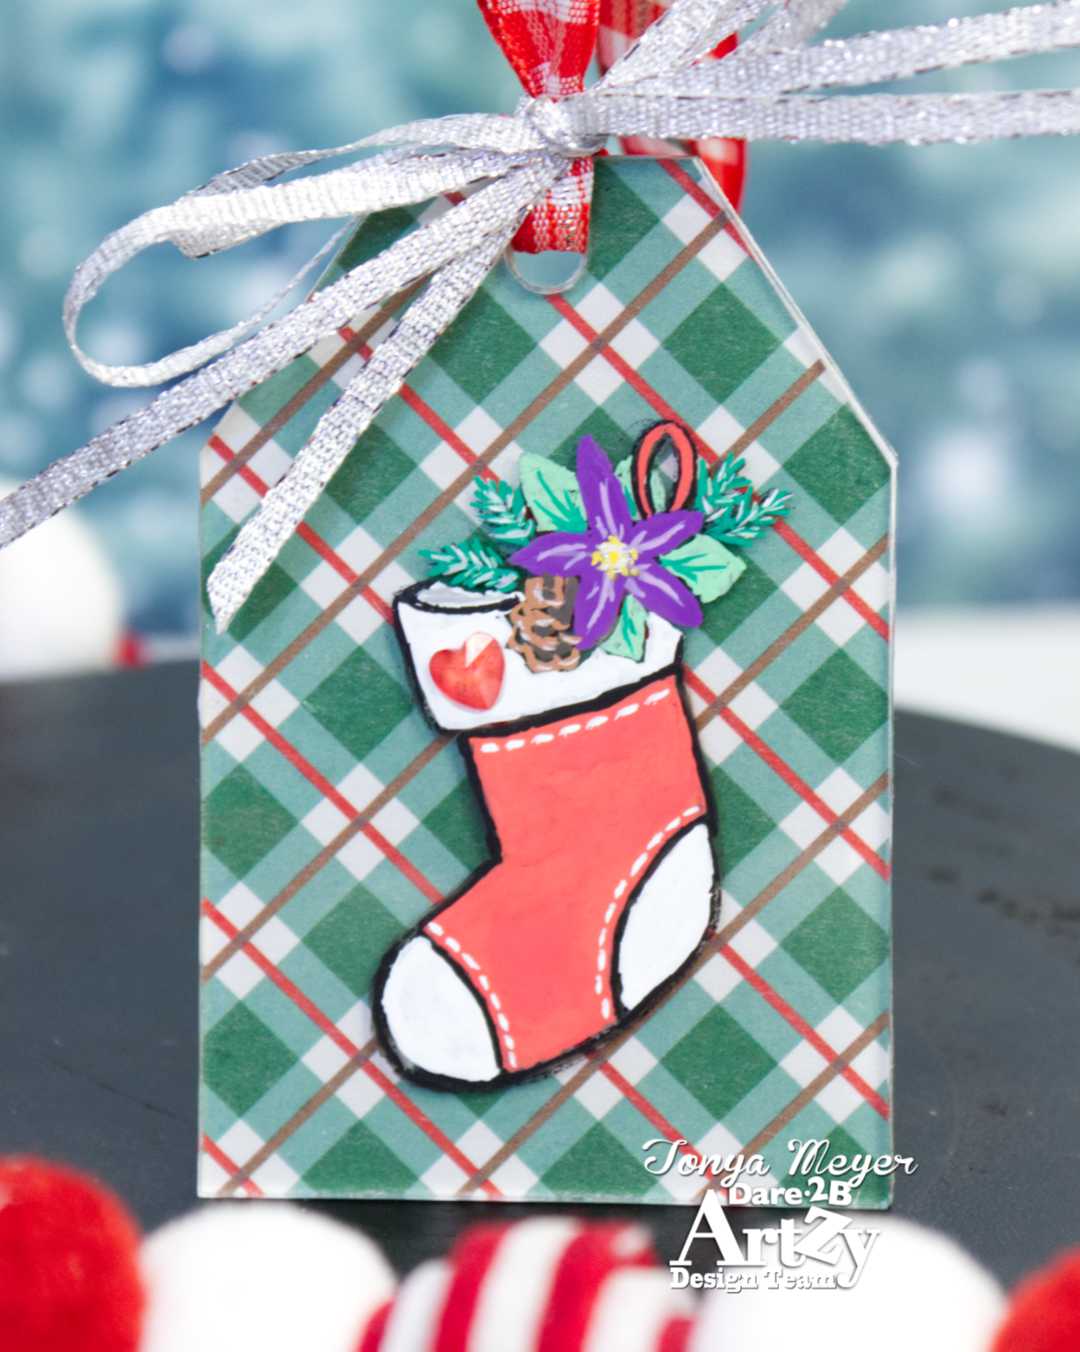
To create the ornaments, I used some stamps from the Christmas Magic stamp set and the Cozy Holiday’s stamp set.
In order to stamp onto acrylic, you need to use a solvent ink. I used StazOn Jet Black ink. It’s best to use a brand-new ink pad or to reink your pad before starting. Trust me!
Using some small stamping blocks, I stamped the images onto the acrylic blanks. I did try to use a MISTI so that I could restamp it but I couldn’t get the blank to stay in place even when I used painters’ tape to tape it down.

Next, I decided to try a different medium. I recently purchased some POSCA markers. If you are not familiar with POSCA markers they are water-based pigment ink that is lightfast and waterproof. They have been tested on over 50 different surfaces. When you receive the markers, the instructions state to shake well and then gently push the nib in on a surface until the marker ink flows.
For my project, I used a silicone craft mat that had ink wells. I shook up the marker colors that I was planning to use and then pressed the nibs into the ink wells until a bit of paint flowed. The silicone mat also makes cleaning up afterwards a breeze which I love.

The markers can be purchased with a variety of nib styles though it seems like some are hard to find (brush tip). I got a set with a smaller bullet nib. Obviously, the bullet nib is perfect for coloring large surfaces that don’t require too much detail. For my stamped images, I actually used some small paint brushes to dip into the ink and color my stamped images. The ink doesn’t dry too quickly so this method allowed plenty of time to complete each ornament.
I carefully added ink to my brush and colored the stamped images on the acrylic. For the first ornament, the Stocking from the Christmas Magic set, I colored in the image and then went back over the stamped lines with the black marker ink because my StazOn ink pad was a bit dry when I started stamping images. While the painted on black ink made the outline more pronounced, I ended up not doing this for the other two images.

The POSCA inks can be mixed and layered so you can do a lot of creative projects with these.
I loved that there is not much dry time for my images so I was able to add a 2nd layer of ink if needed and I didn’t have any issues with colors running together.
Once all of my stamped images were colored and dry, I moved on to create a background for behind the images since these are clear blanks. The background helps the stamped and colored images pop as well and as a bonus it can help hide some painting imperfections.

For my backgrounds, I used papers from the Winter Escape collection. The tag was the easier of the two to create the backgrounds for. I simply traced the outline of the tag onto the paper and then cut it out with scissors or my trimmer since it was all straight edges. I did the same for the ornament shape but that definitely required me to cut it out with scissors.
Once the paper was cut, I layered the side that would be visible behind my colored images with a piece of Scor-Tape and burnished it to make sure it was well adhered to my paper.
Next, I peeled back the release paper and stuck the paper to the back of the acrylic blank with my stamped image on it. I once again burnished it to make sure it was well adhered to the clear ornament.
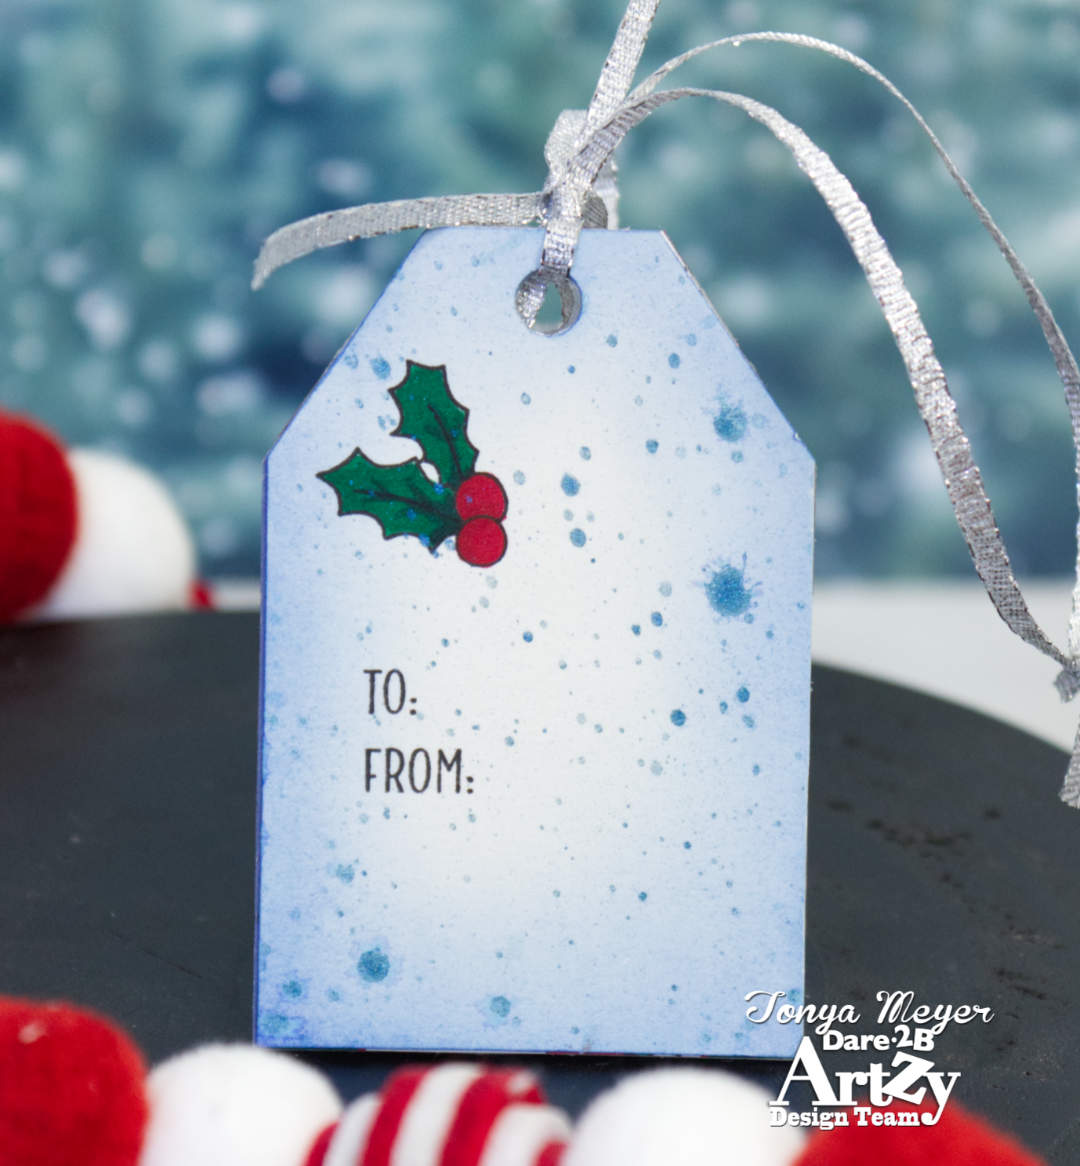
I cut a 2nd matching tag and an ornament from some white cardstock by again tracing it and then fussy cutting it.
These would be the back of my completed tags/ornaments. I stamped on some sentiments like Deck the Halls, Merry Christmas, To & From and Sending you Peace and Love. I also stamped a candy cane and some holly & berries. I colored the images with my alcohol markers and then used some Distress Inks to add a bit of ink blended color on the tag backs.
Finally, I added some Distress Spritz to each of the tags as well. I liked how these turned out on the stocking and lantern tags but the ornament looks really distressed because of the large drops of spray that came out. I decided to just go with it because I didn’t want to fussy cut another ornament out.
Each of the backers were added to the back of the tag/ornaments with some liquid glue.
To finish each tag/ornament, I added some ribbon to hang it and a bit of a ribbon bow at the top of the tag.

The only other embellishment I added was a red heart gem where the drawn heart was on the cuff of the stocking.
That finishes my project for today. I hope you’ve enjoyed my tag/ornaments. I encourage you to try out some different mediums in making your holiday tags or ornaments. They will be much loved treasures for years to come because they are hand made from the heart.

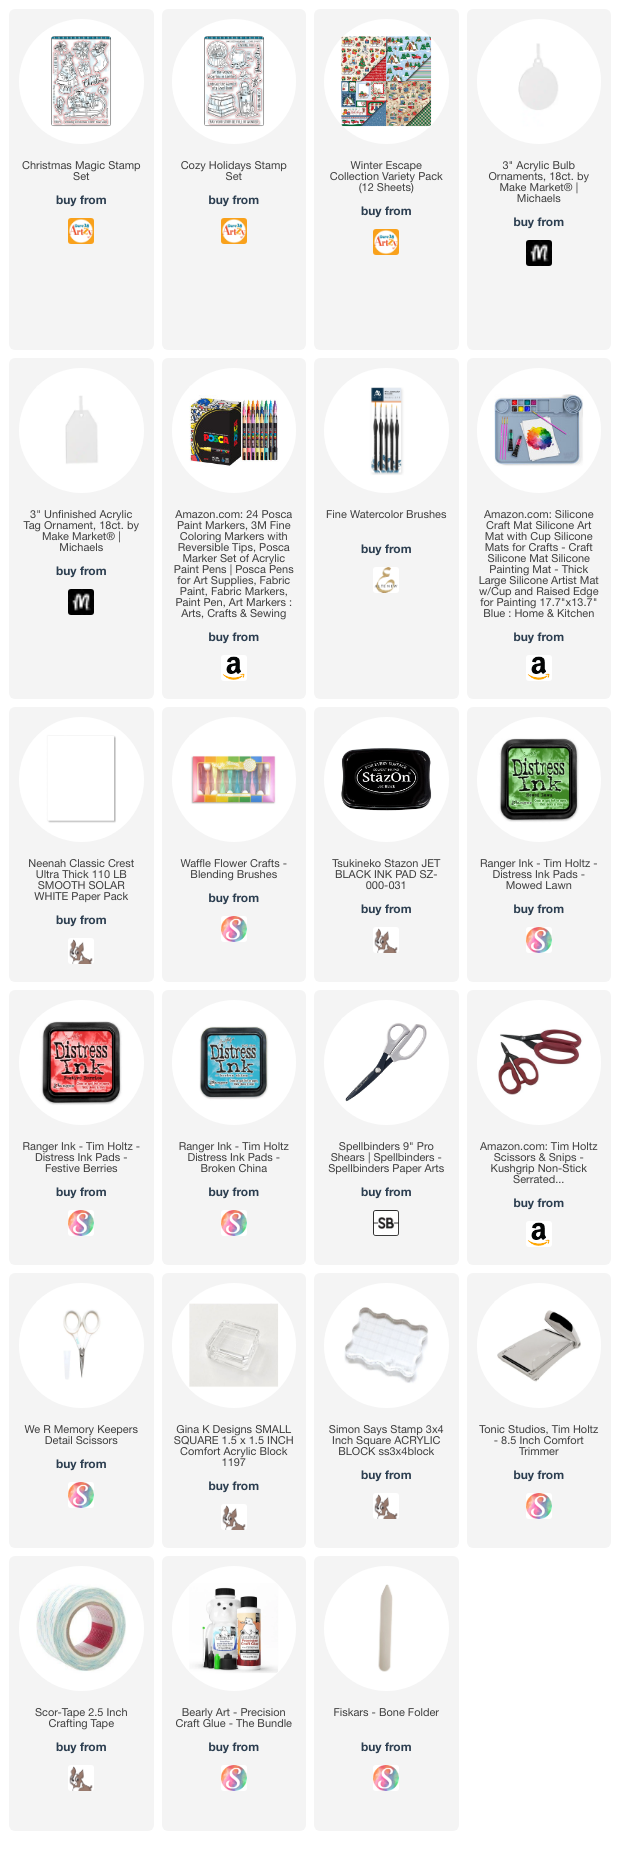
All of the products used in today’s post will be linked below for your convenience and no added cost to you.
Thank you for stopping by!
Hugs,
Tonya
 https://linkdeli.com/widget.js?id=f5e8378456858c916708

