AECP Let it Shine
Oh my goodness, it’s been a little while since I’ve posted a class project from the Altenew Educator Program. I’m still hanging in there, but sometimes life just gets in the way. The beauty of this program is that it’s self-paced so I can just pick up where I left off with my classes. Yay!
So my latest class in the AECP was about the sparkle and shine and if you know me, you know that this is right up my alley. I’ve never been one to shy away from the sparkle, I run towards it – truth (ask my husband)!
My biggest take away from this class is moderation. It is about using pops of sparkle and shine to boost your card designs. I’ll admit I have done some over-the-top cards with lots of sparkle. In hindsight it was probably too much. Can you have too much sparkle or shine? Humm?! Of course, a clean and simple card design has just a hint of that and still makes a WOW statement.
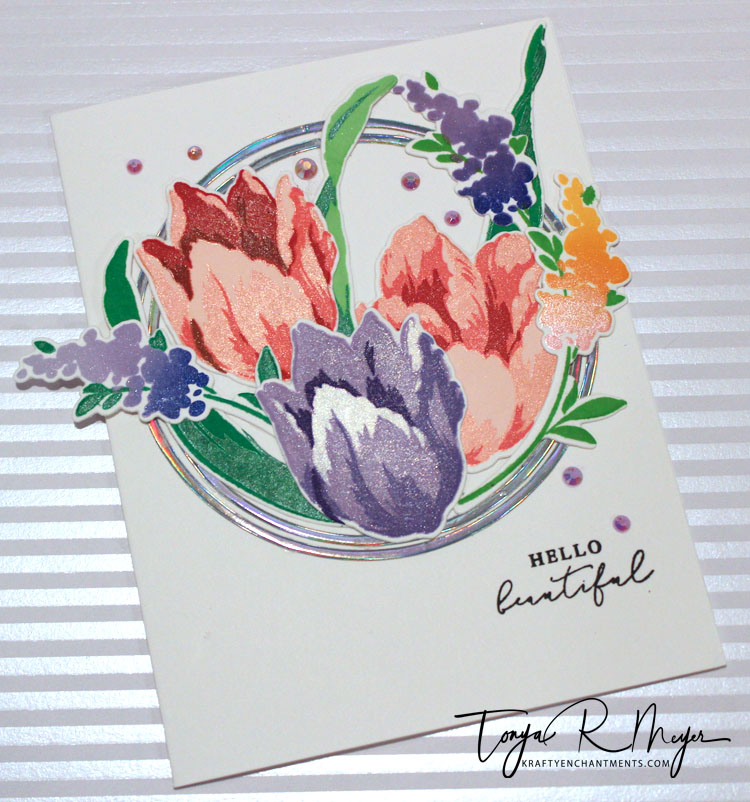
For today’s card, I chose to use the Triumph Tulips stamp and die set. This set is from the Build-a-Flower collection from Altenew. It’s another great set for layering and the layers come together very easy because they are simple to line up the various stamp layers to create the gorgeous tulips.
There are a multitude of ways to add some sparkle to a card. The Let it Shine class discusses several of these from glitter, foiling, embossing powder, sparkle pens, embellishments and metallic paper. Each of those items can be used in various ways to amp up your cards.
My card today uses a pop of iridescent paper, but I also found a way to pop up my stamping by mixing some of the gorgeous Altenew ink colors with some Delicata inks from Tsukneko. The Delicata ink adds a subtle shimmer to your stamped images. You can find this ink at Simon Says Stamp and some other online retailers.
It all starts with playing with the stamps and inks. I tried out stamping the various stamp layers with different colors of Altenew inks from blues, reds, peachy-pinks and purples. I settled with the peachy-pink and purple because I felt that it was bright and cheery. Perfect for Spring!
Next I had to figure out which layer of the stamped image would be stamped with my shimmery Delicata ink. This ink is a pigment ink that comes in a few colors and since I chose to use the Red Cosmos and Lilac Blossoms ink cubes I needed to use pigment inks that were lighter.
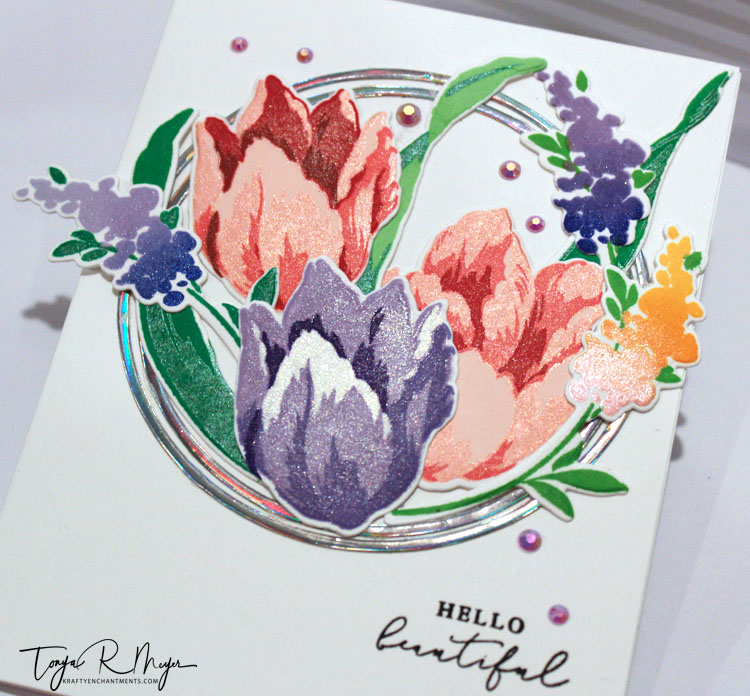
For the pink tulips I stamped the first layer with Frosty Pink and the 2nd layer I used Delicata Pink Shimmer and then rounded out the rest of the stamp layering with Coral Berry, Ruby Red and Grapevine Altenew inks. The result is a pair of gorgeous pink tulips.
For the purple tulip, I didn’t have a purple Delicata ink, but I had a Champagne color. I knew that I was using the purple Altenew inks so I used the Champagne as my base stamp layer. Stamping it first also added a subtle shimmer to all of the other purple layers on top. The purple Altenew inks used were Wisteria, Lavender Fields and Ultra Violet. Although this stamp was a four layer stamp, I used the Lavender fields ink on two of the layers. I love the shimmery purple color of this tulip. I’m a little partial to purple as it’s my absolute favorite color
I stamped a few sets of leaves from the Triumph Tulips and also from the Exotic Tulips from some various shades of green both dark and light. I also used a green Delicata ink on some of the leaves, but ultimately they were mostly covered up with my card layout.
To add some different flower shapes to my card, I stamped the little wispy flowers that came with the Triumph Tulips set. I stamped 3 different flowers, 2 in a purple blue shade using the Lavender Fields inks and a hint of Sapphire Blue Delicata ink at the base and another using Orange Cream and Sunkissed Altenew inks with a touch of Pink Shimmer.
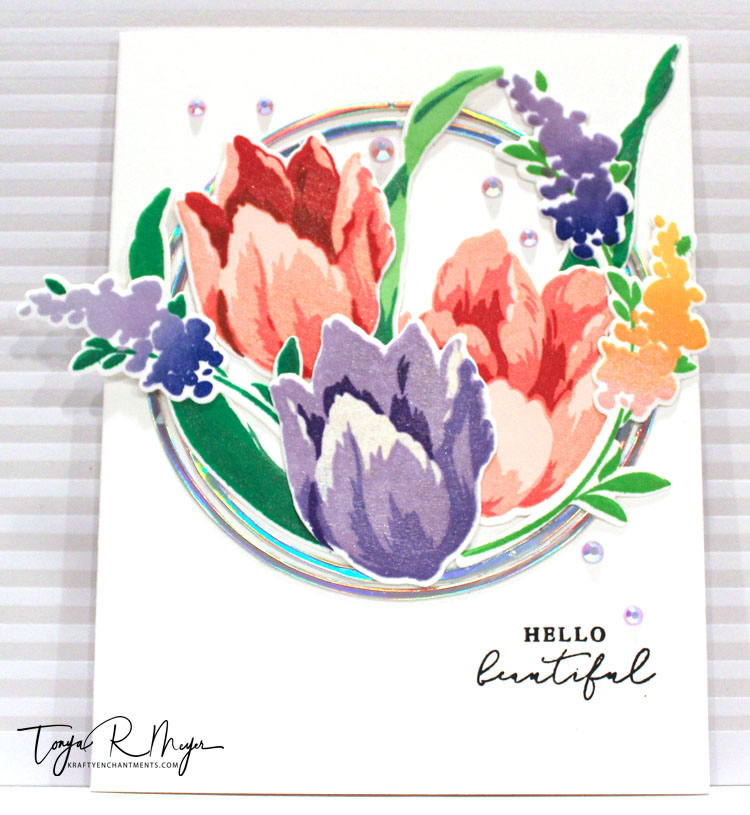
As I mentioned, I also chose to use a piece of iridescent cardstock to add a very obvious pop of shine to my card. There is definitely something very eye-catching about iridescent cardstock, but if you use too much it can easily overwhelm any card design. To keep things simple I used two circle dies to create some thin concentric circle edges. By using just a small circle border, it gives just a hint of that pop of rainbow shimmer from the iridescent paper.
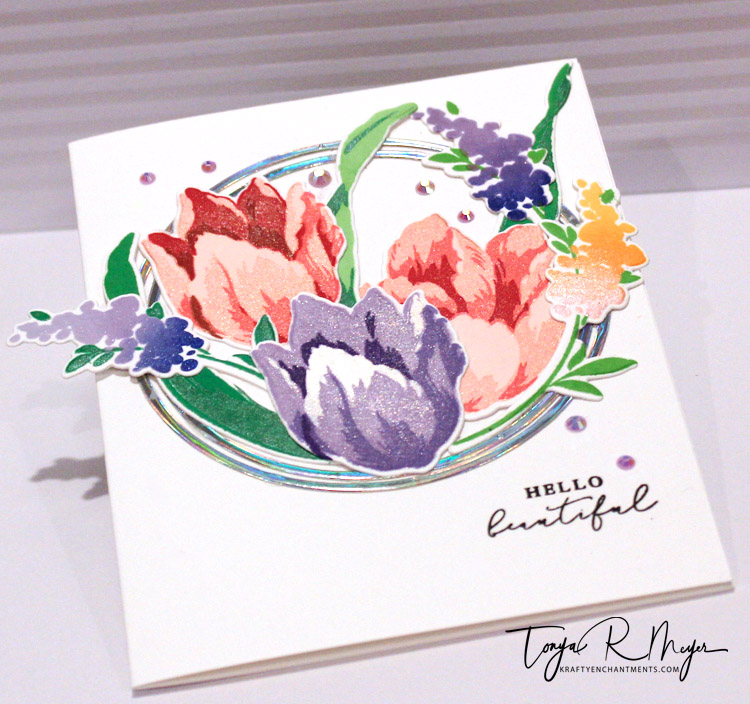
The card base is A2 size while 110lb cardstock. I added the circles to my card front with a bit of liquid glue and placed a stamp block on top to make sure they stayed in place while the glue dried.
While my circle borders were drying on the card front, I used the coordinating dies from the Triumph Tulip stamp set to die cut all of my stamped flowers and leaves.
To assemble my card front, I used a Jennifer McGuire trick to adhere all of the elements. Once I had everything layered in place within the shimmery circles, I cut a piece of Press ‘n Seal large enough to fit over my card front. I placed it over all of the flower images and rubbed it with my fingers. All of the stamped images stick to the Press ‘n Seal. This allows you to be able to pick up all the elements as they are arranged on your card front so you can add some liquid glue to them and them put them back down on the card front without messing up the arrangement. Love this trick!
Once I had all the elements glued in place within my circles, I stamped the Hello Beautiful sentiment from the Triumph Tulip stamp set with some Altenew Jet Black dye ink which is a nice crisp black ink for sentiments.
Finally to add a bit more sparkle, I did add some gemstones in a shade of lavender to my card front.
I’m in love, love with this card! Any time I get to play with something sparkly and shimmery sign me up!! I highly recommend the Let It Shine class from Altenew, especially if you struggle with adding just the right amount of bling to your cards. There’s even a Holiday edition of the Let it Shine class in case you’re getting a jump start on your cards while you’re hanging out at home.
Thanks so much for stopping by!
Hugs
Tonya


Absolutely gorgeous! I love the simple but classy look! Good job, my friend!
LikeLike
Absolutely gorgeous!
LikeLike
Awe, thanks so much for your kind words! Much appreciated!
LikeLike
Stunning! Just the right amount of shine!
Thank you for entering your work to the AECP assignment gallery.
LikeLike