A Note of Thanks
Hello and welcome!
As crafters, inspiration can come from just about anywhere—fellow makers, tutorials, or even a beautiful color palette we stumble across. Lately, I’ve been especially inspired by the stunning visuals in Bridgerton. The show’s gorgeous costumes and textiles feature incredible color combinations that translate beautifully into cardmaking.
For today’s card, I pulled from that inspiration to create a bright, cheerful design.

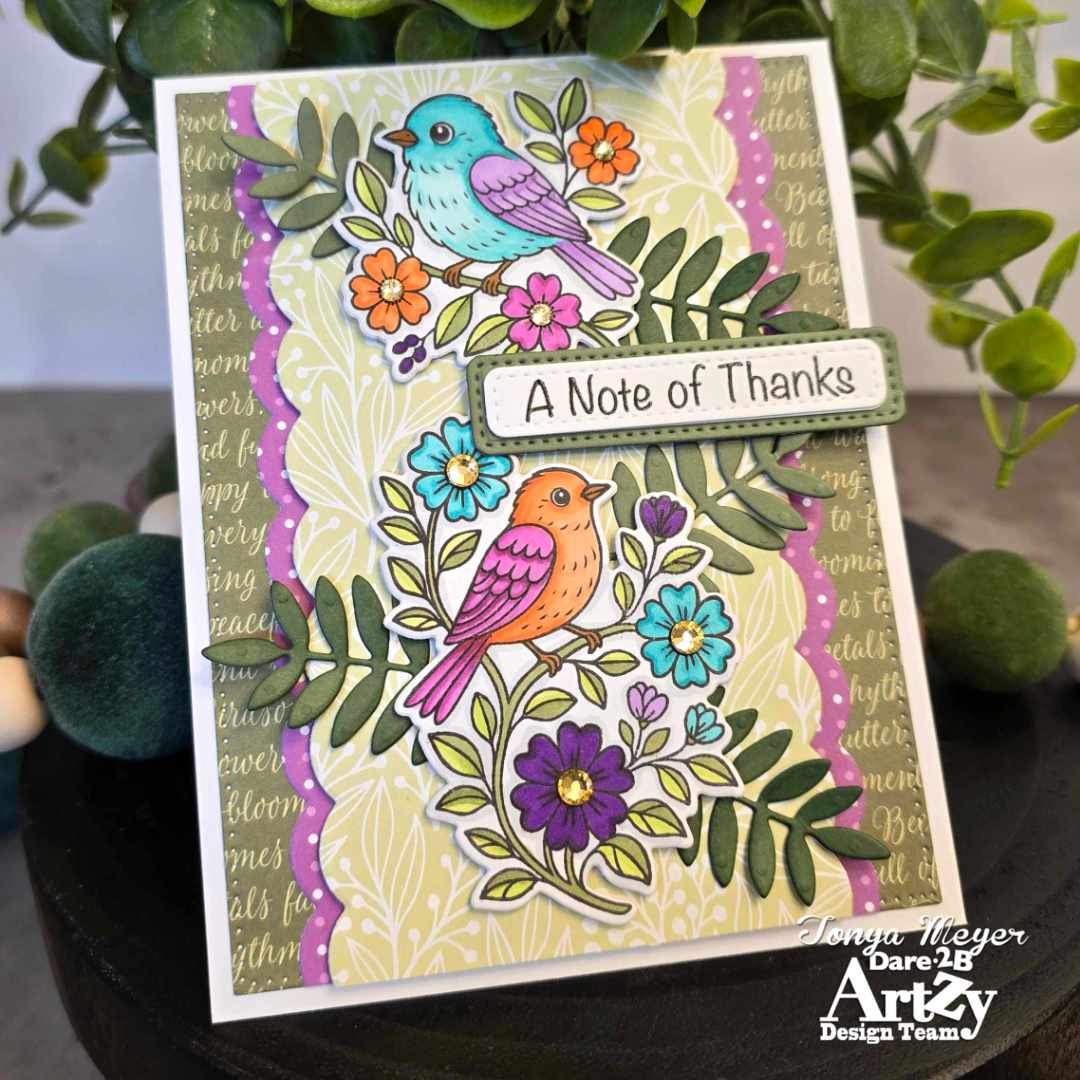
I began by stamping two of the bird images with flowers and greenery from the Spread Your Wings stamp set by Dare 2B Artzy. When selecting my alcohol marker colors, I focused on vibrant, lively tones for the birds and flowers, while keeping the leaves more muted for balance. Once everything was colored, I used the coordinating dies to cut out the images.
To add extra depth behind the birds, I die cut five sets of leaves using a die from the Slimline Tropical Leaf Border set and light green cardstock. I then colored three of those sets with alcohol markers to achieve a darker shade of green. This is one of my favorite ways to stretch my supplies—custom coloring die cuts is perfect when you don’t have the exact paper color you need.

For the background, I used a piece from the Let Hope Bloom paper pack featuring printed text. I cut it with the largest Rectangle Framelets die.
Next, I created layered scalloped panels using the Slim Mini Scalloped Heart Background die set along with papers from the Sweet as Honey and Nectar Kissed collections. By carefully positioning the die, I was able to cut scalloped edges on just the sides of each panel. After trimming them to size, I layered and centered them onto the background, securing them with repositionable adhesive before trimming any excess to fit my background.
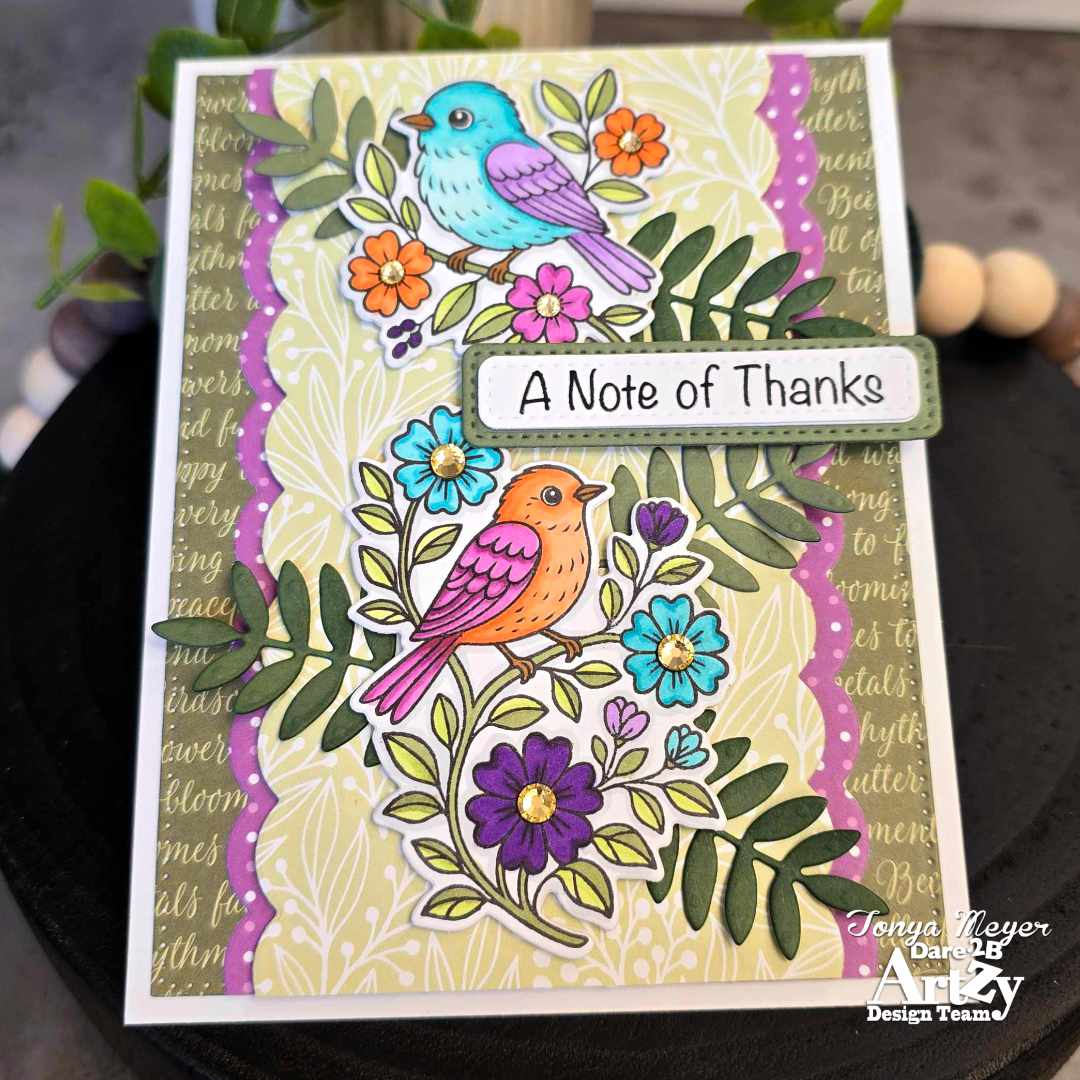
Once the layers were in place, I adhered the background to the top folding A2 card base. I added the polka dot Nectar Kissed layer first, then popped up the Sweet as Honey layer using dimensional foam for added depth.
I arranged the die cut leaves on the Sweet as Honey paper, adhering only the stems and lower portions so I could gently lift some of the leaves for extra dimension. The birds were then added with foam adhesive, bringing the whole scene to life.
For a bit of sparkle, I added yellow gems to the centers of the flowers.
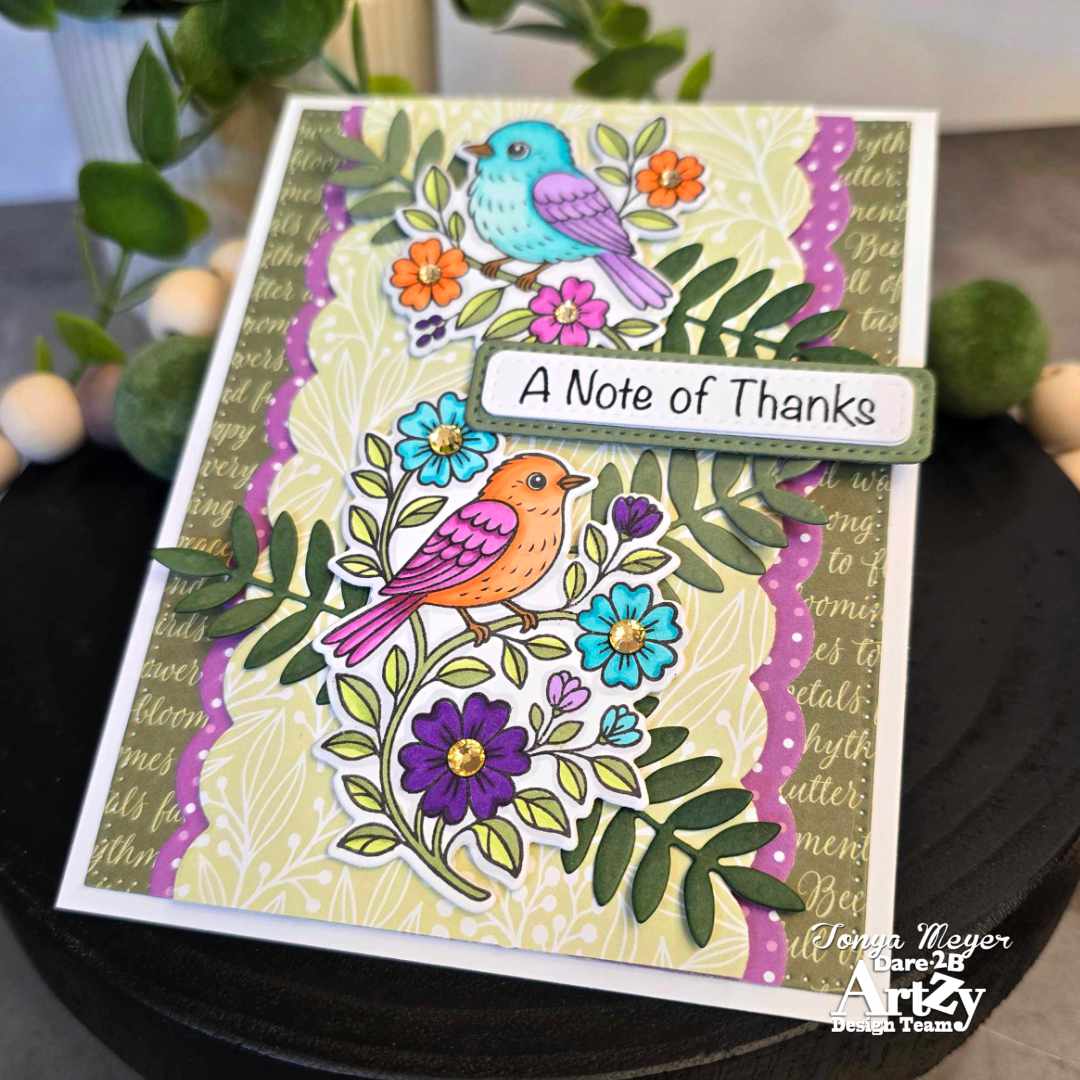
To finish the card, I stamped and heat embossed the sentiment “A Note of Thanks,” cut it with a sentiment strip die, and layered it over a coordinating green cardstock backer.
And that completes today’s card!
I encourage you to look for inspiration in unexpected places—you never know what might spark your next creative idea.
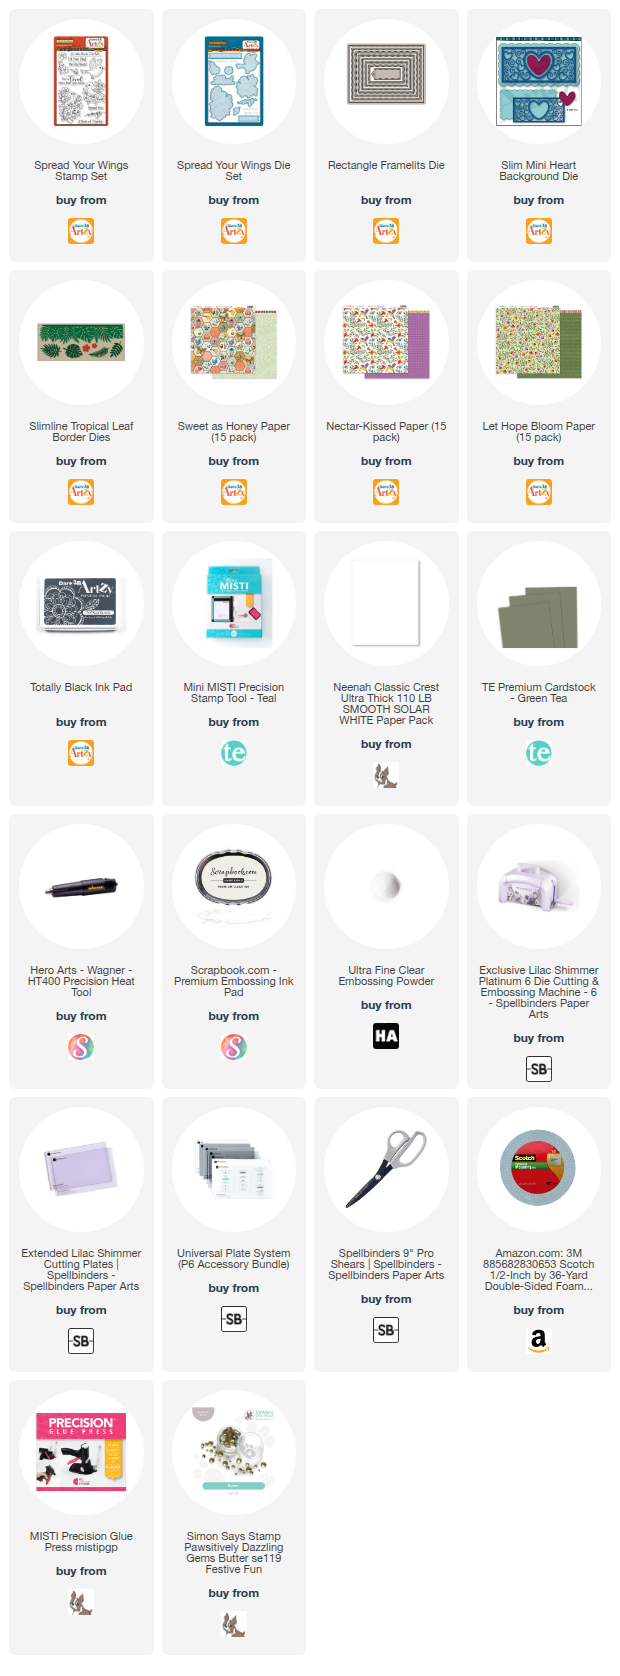
Thank you so much for stopping by! As always, you’ll find all the products I used listed and linked below for your convenience.
Hugs,
Tonya
 https://linkdeli.com/widget.js?id=f5e8378456858c916708

