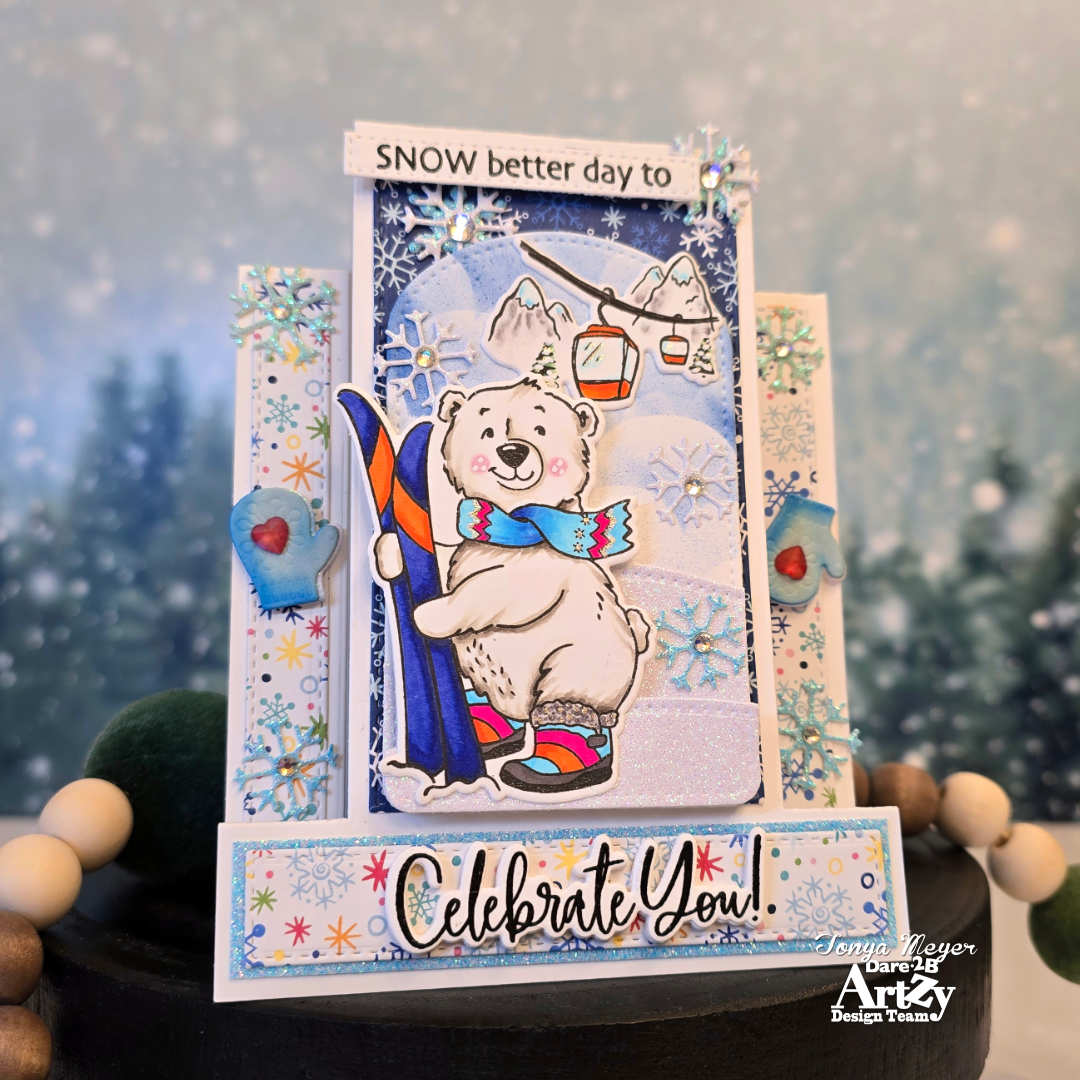
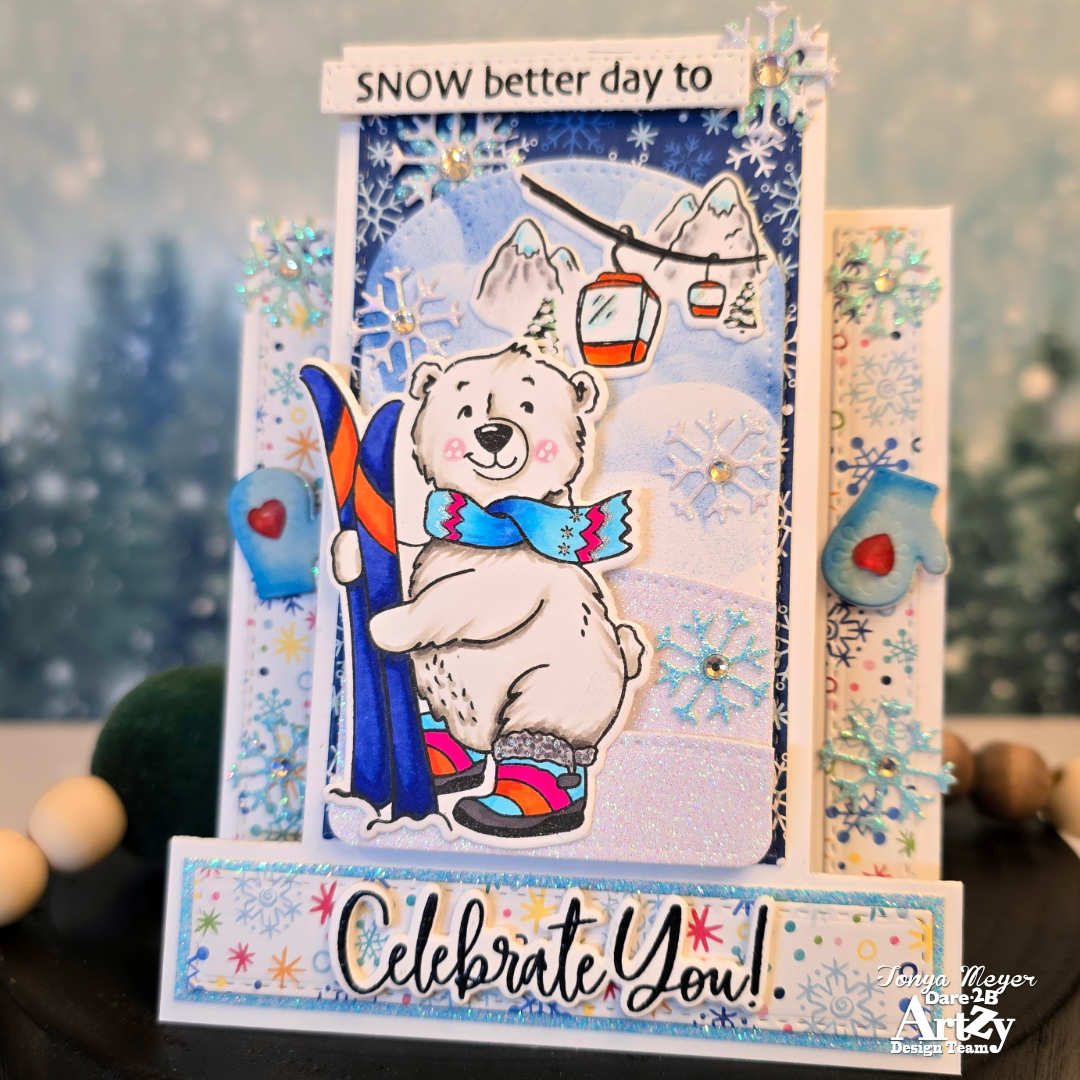
Celebrate You!
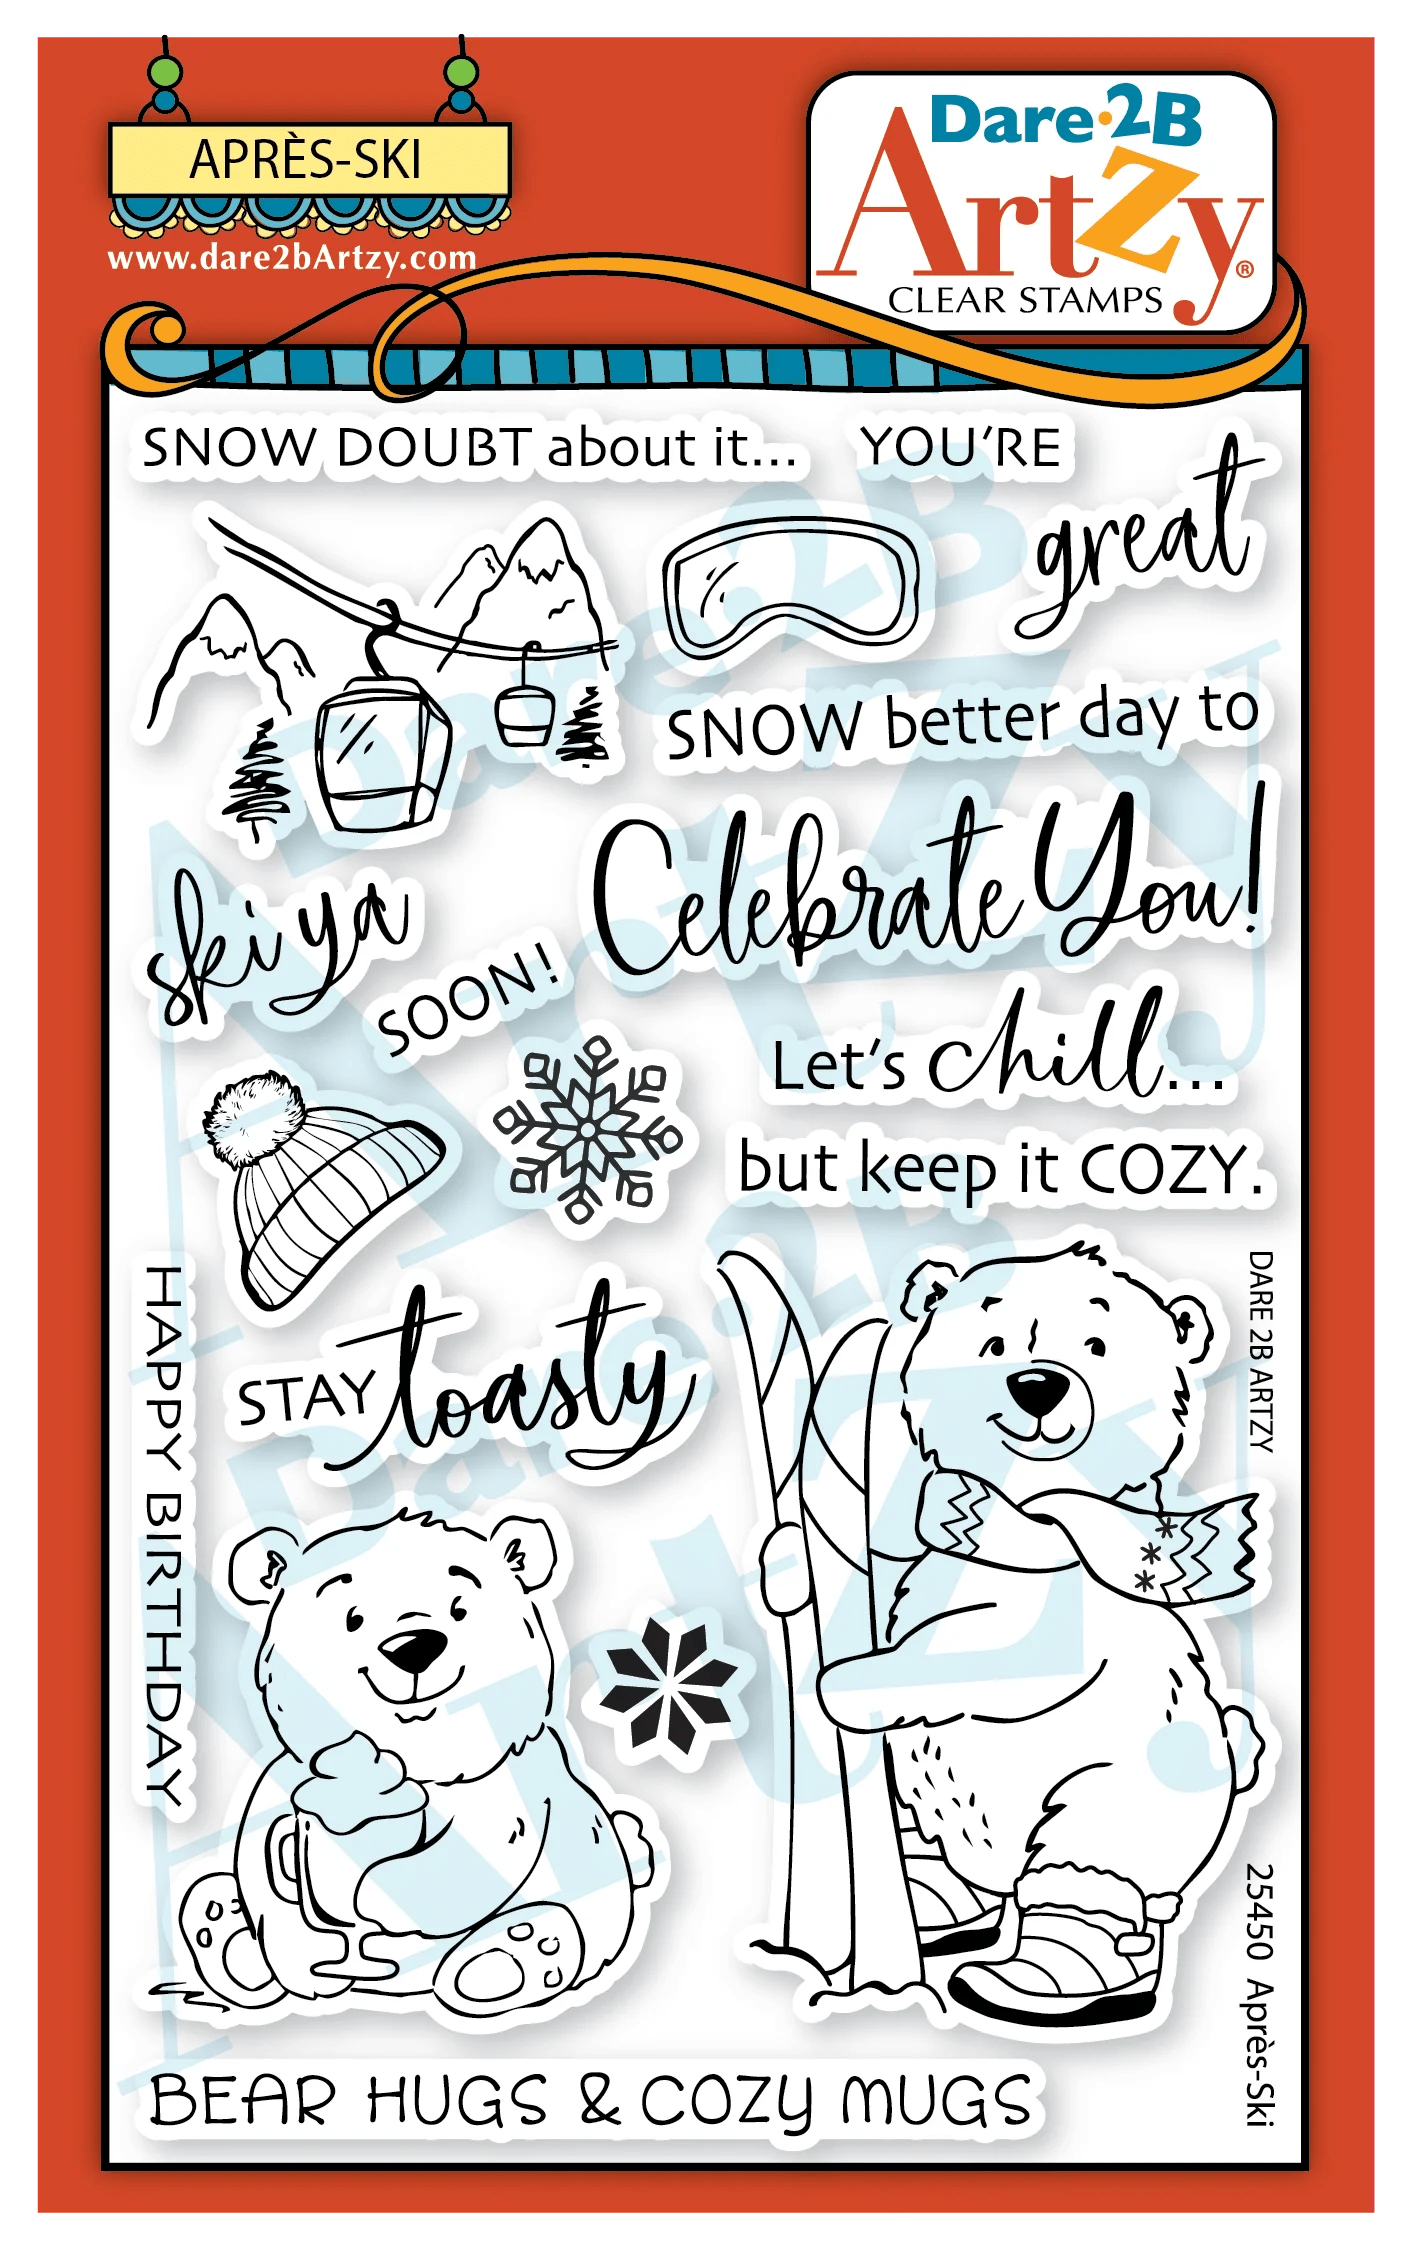
I’m excited to be back sharing my first Design Team card of 2026 for Dare 2B Artzy! Today’s card features a brand-new stamp set that is completely adorable. It’s called Apres Ski, and it includes two sweet bears—one bundled up and ready to hit the slopes, and the other relaxing with a cup of hot cocoa (or maybe a latte!). The set also includes several fun coordinating images such as a gondola with a mountain scene, snow goggles, a beanie hat, and snowflakes. There are 12 sentiments in the set that can be mixed and matched to create a variety of greetings.
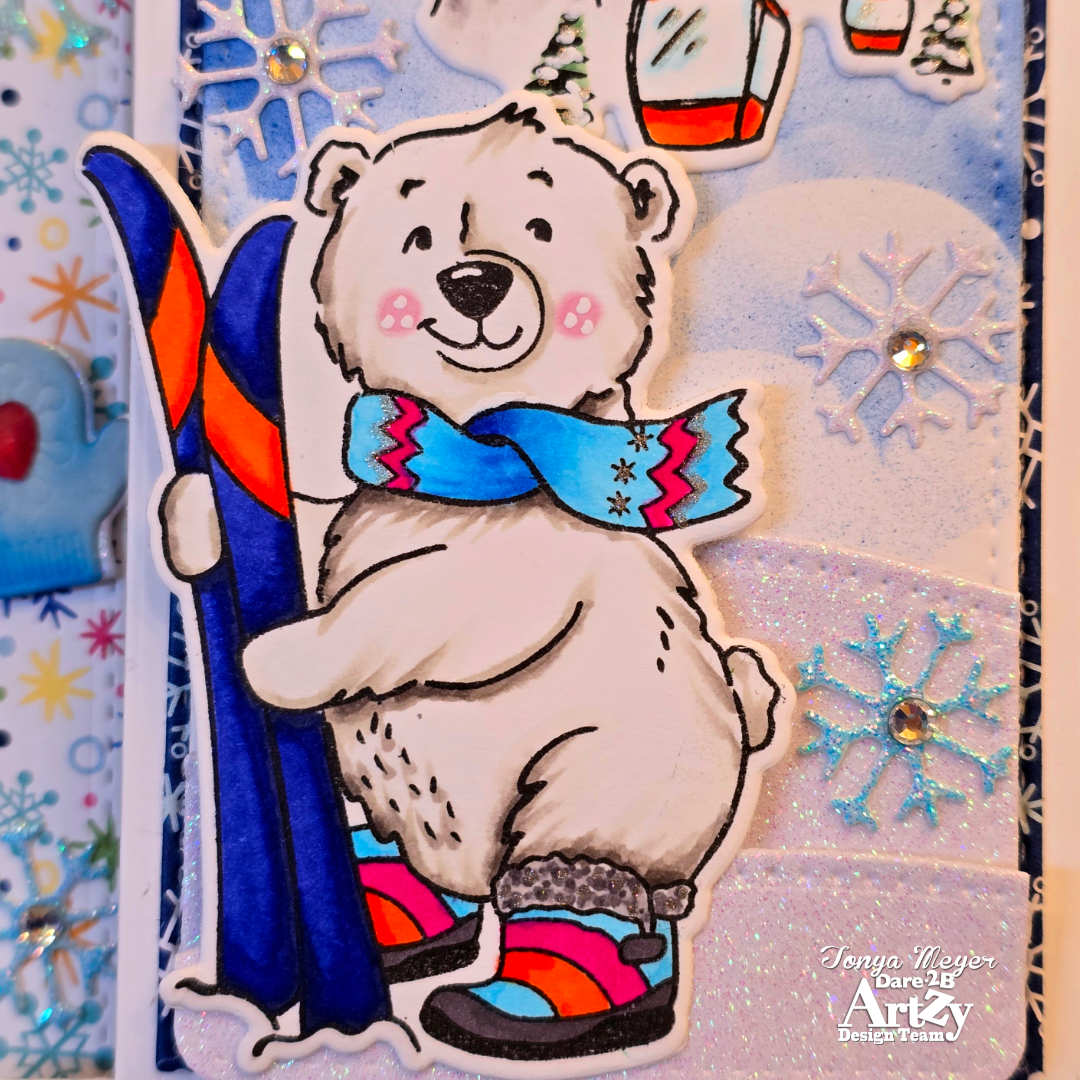
To begin my card, I stamped and colored the skiing bear and the gondola with mountain scene using my Sketchmarker Brush Pro alcohol markers. I added some white dots to the bears pink cheeks with a white gel pen. I then die cut both images using the coordinating Apres Ski die set, which is available separately.
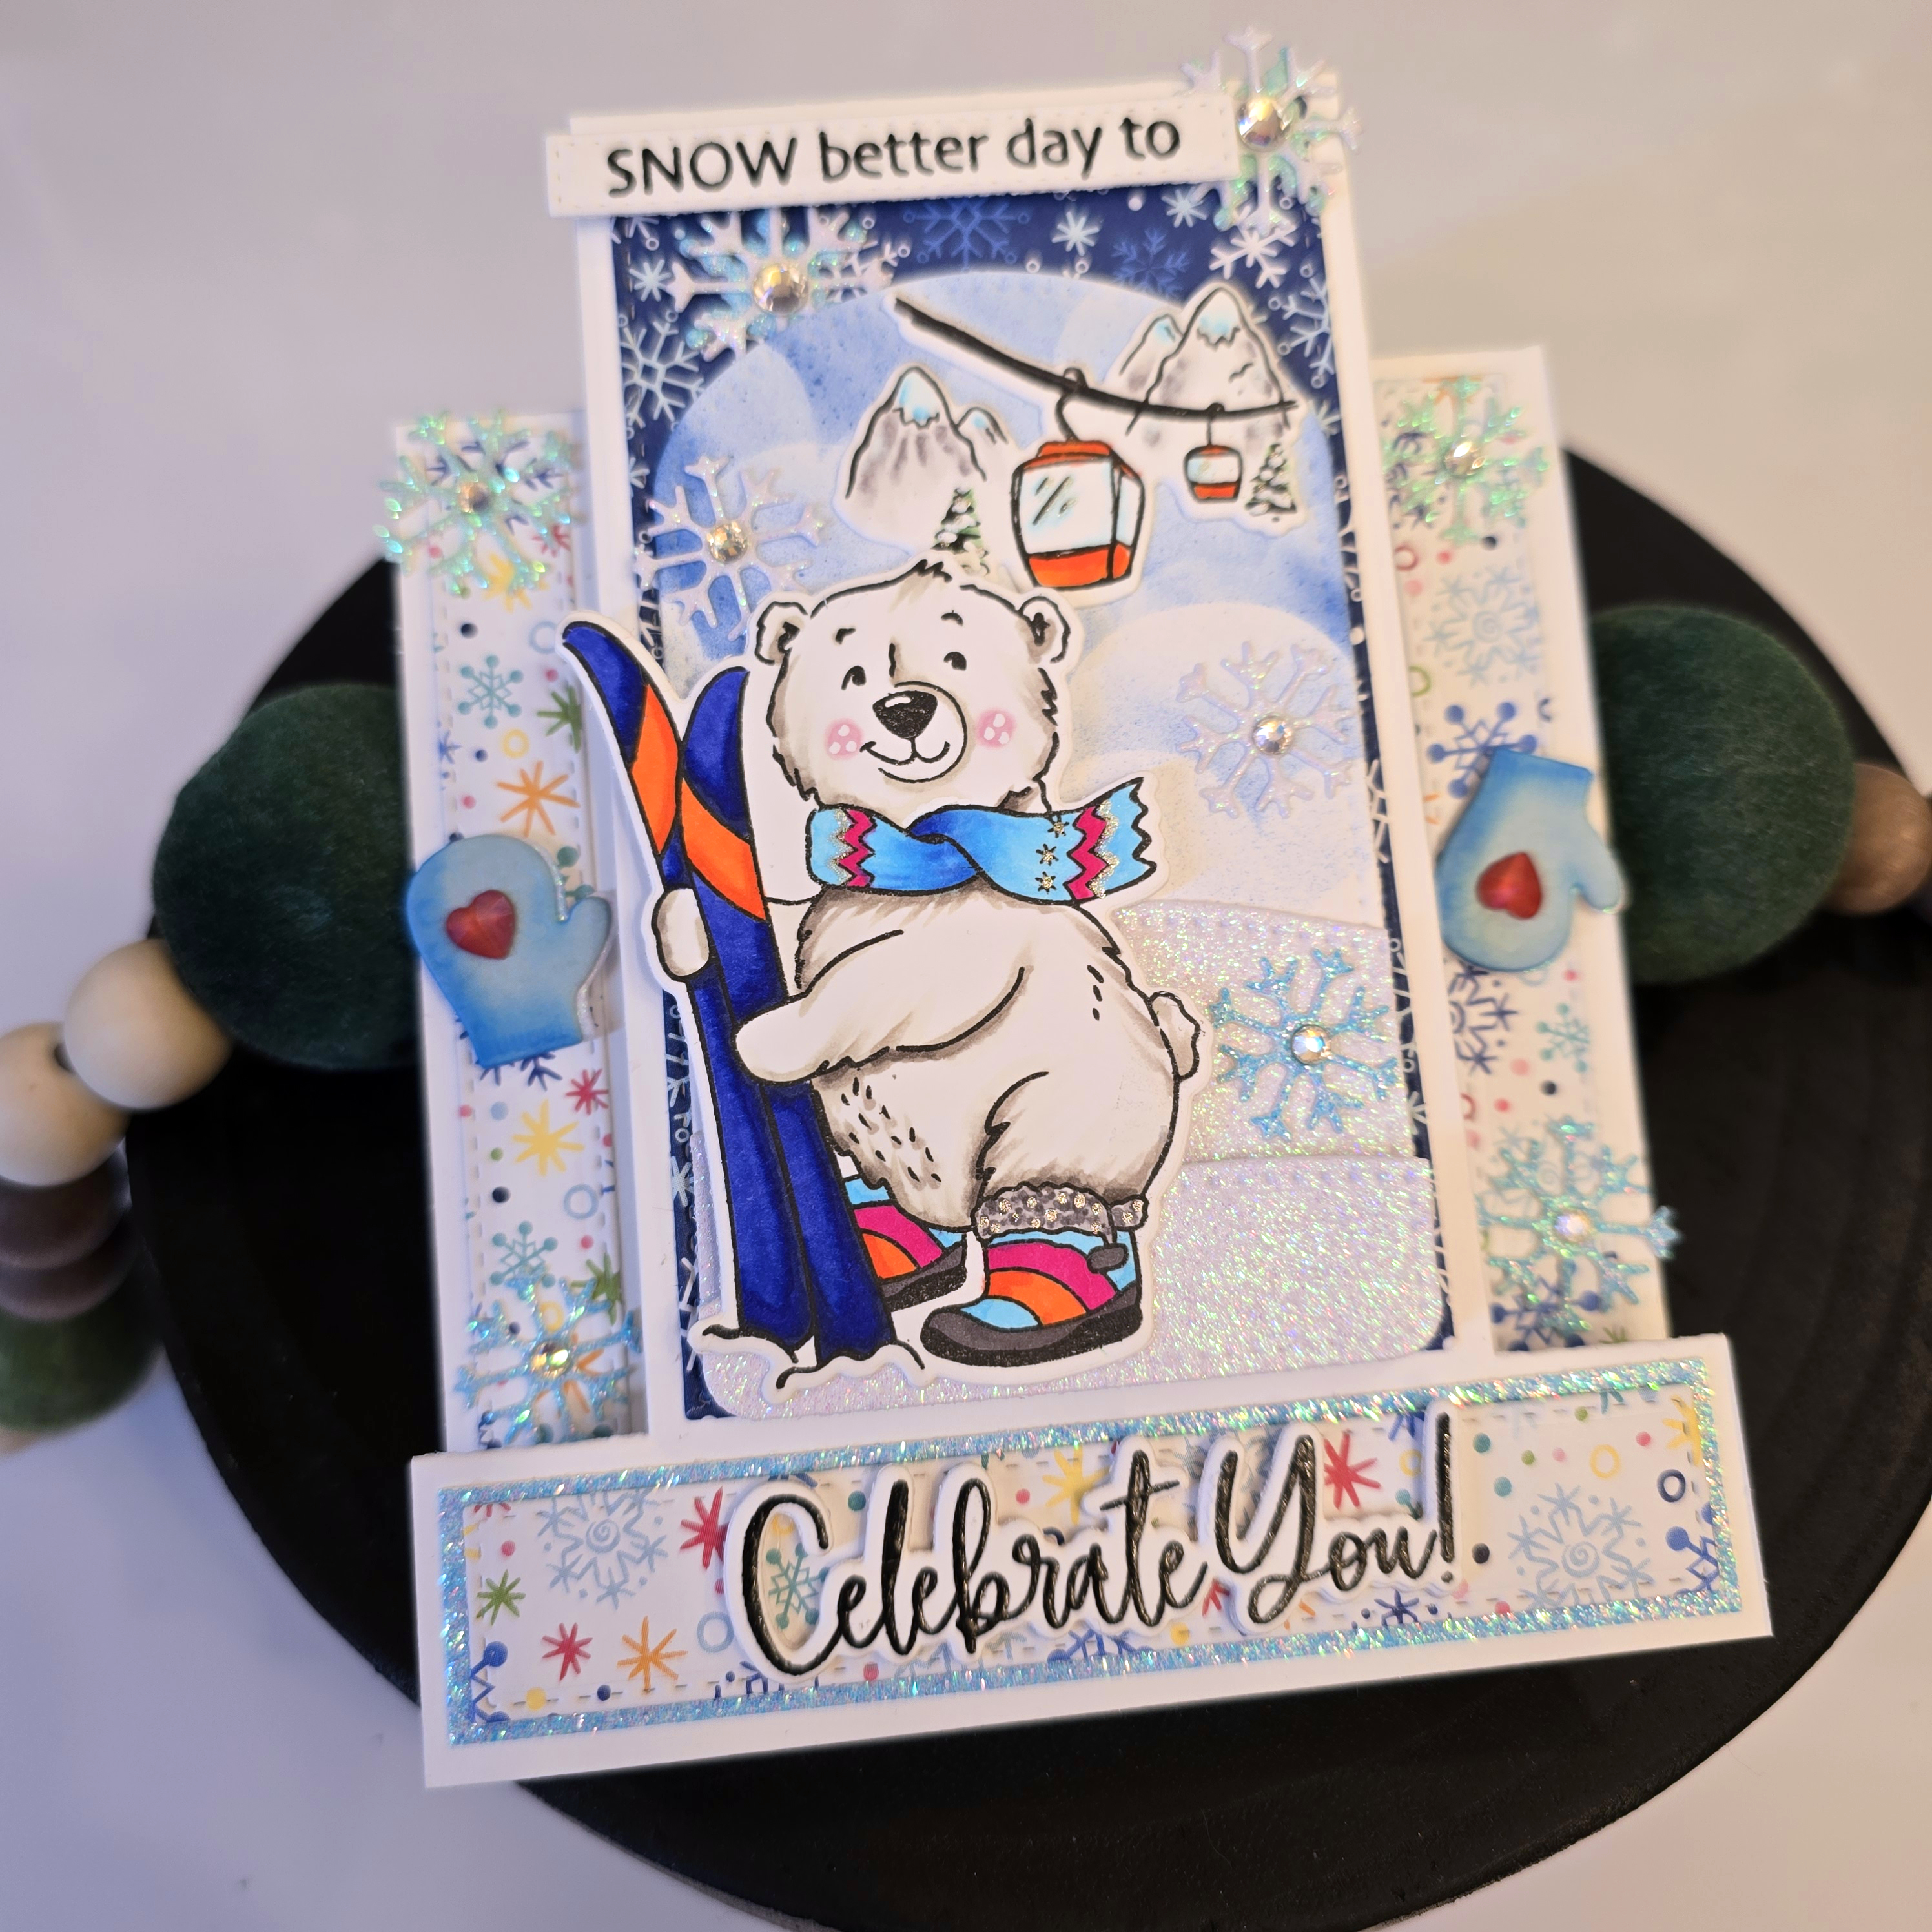
Next, I cut a piece of Neenah Solar White cardstock in half lengthwise to create two panels measuring 4¼ x 11 inches. Using the Center Step Die, I cut one of the panels, folded it, and used a bone folder to create crisp fold lines.
I used the largest rectangle die from the Center Step Die set to cut a piece of dark blue snowflake paper from the 6×6 Festive Prints Paper Pack. This was adhered to the center section of the Center Step card base. For the two narrow side panels, I used a lighter snowflake print from the same paper pack.
For the bottom sentiment area on the center step, I used the coordinating sentiment die and cut it from the lighter snowflake paper. I then cut a slightly larger backer from glitter cardstock to add just a hint of sparkle.
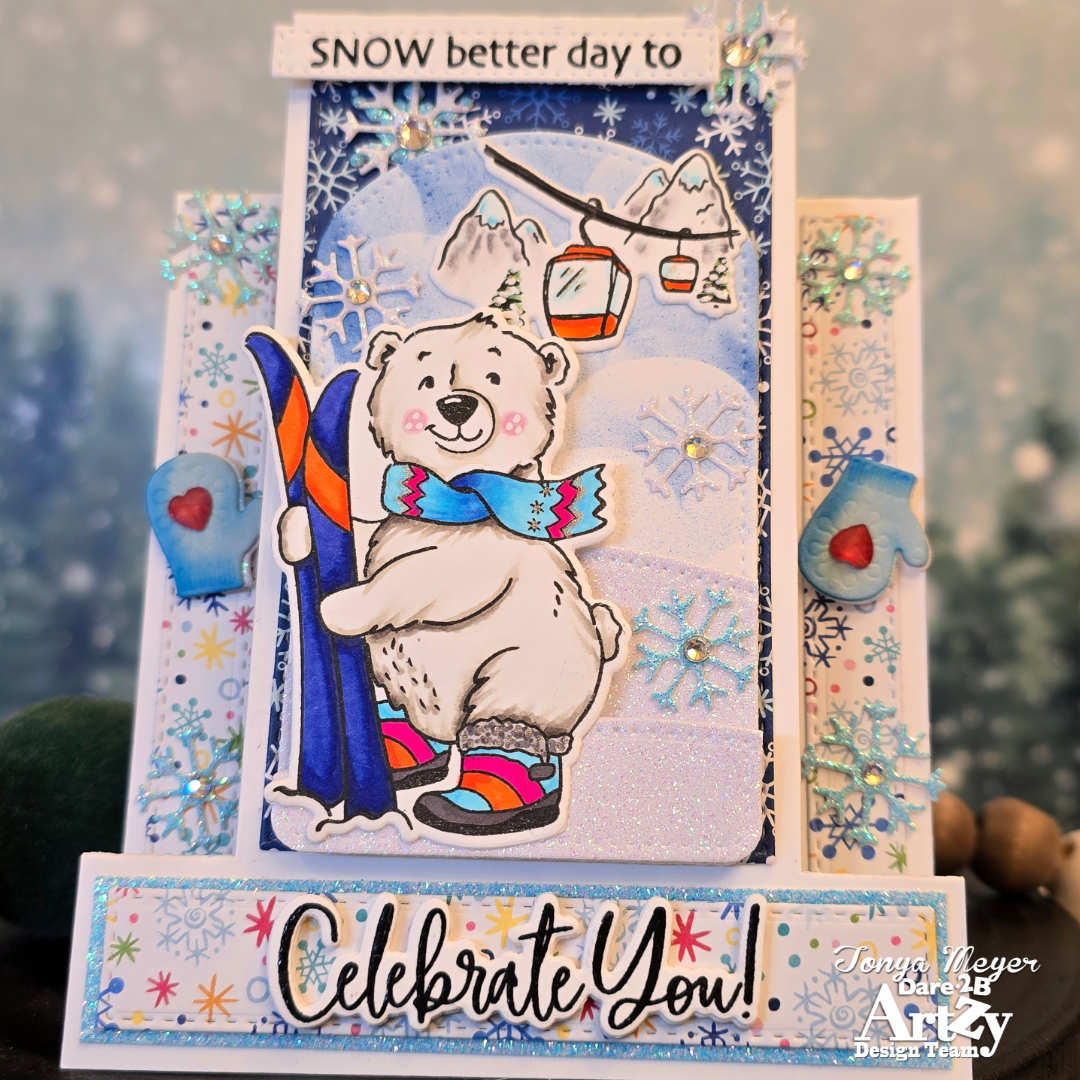
To create the background scene for my skiing bear, I used the Dotted Arch Die from the Dare 2B Artzy He Is Risen Stamp Set (sold at Scrapbook.com) and cut it from Neenah 110 lb Solar White cardstock.
I wanted to add some soft, billowy clouds to the background, so I had the chance to try out my new marker airbrush—and I was thrilled to discover it works with my Copic markers! Using the Clouds and Raindrops stencil, I airbrushed clouds using Copic marker B45 onto the top portion of the arched die cut. Once finished, I can simply clean the stencil with rubbing alcohol, and it’ll be good as new.
For the snowy hills, I used the Curved Slimline Border Die and the Wavy Slimline Border Die to cut layers from white glitter cardstock. After trimming them with the arched die to fit the scene, I adhered the bottom hill layer with liquid glue and added the top layer using dimensional foam for depth.
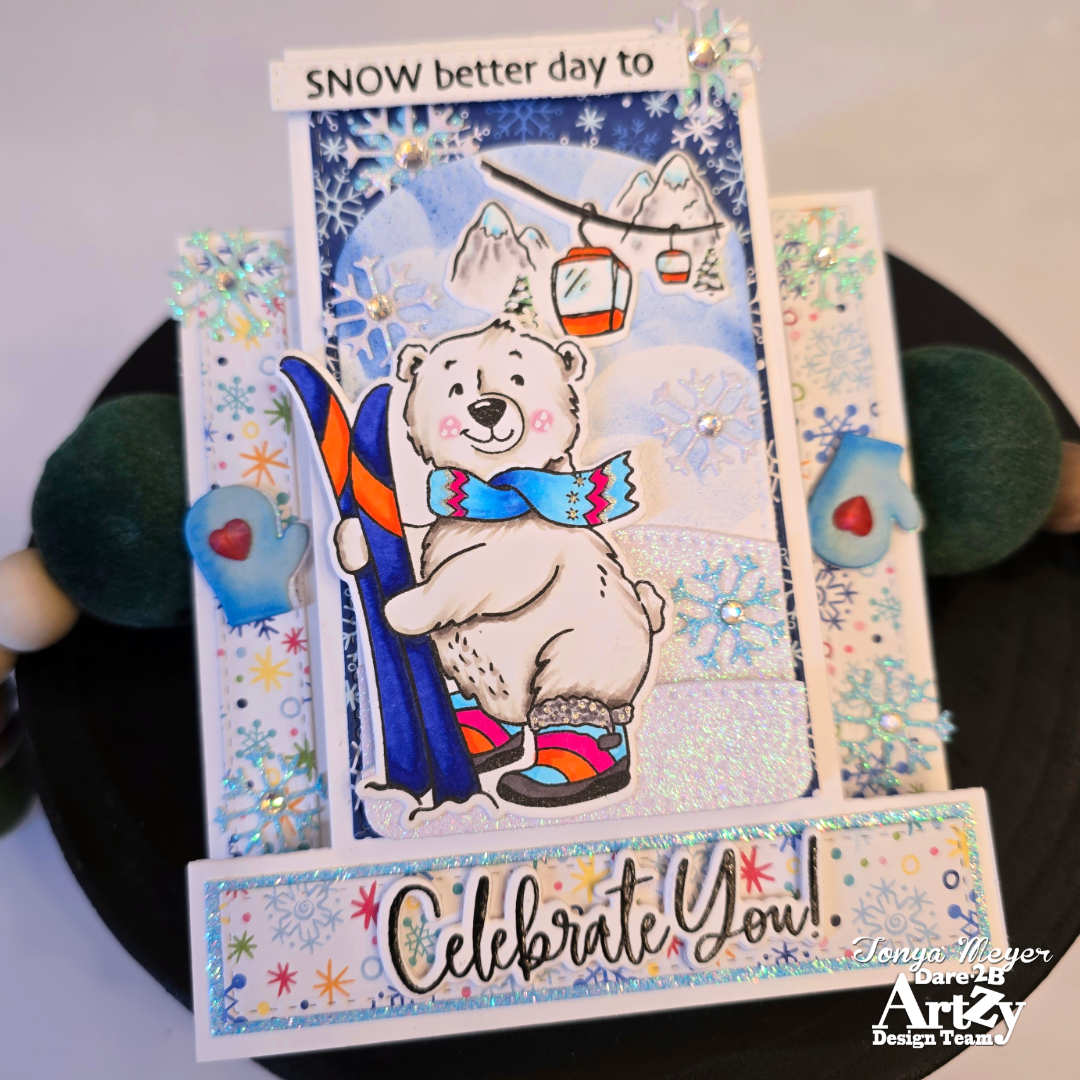
Once the hills were in place, I added the gondola to the top of the arched background using liquid glue. The skiing bear was placed in the foreground with dimensional foam.
For embellishments, I die cut several snowflakes from my Dare 2B Artzy stash, including dies from the Noel Die Set and the Mini Snowflakes Die Set. I used white, light blue, and blue-green glitter cardstock scraps. Some of the snowflakes were layered together and added to the top of the center step section, with additional snowflakes scattered throughout the background scene and snowy hills. The remaining snowflakes were added to the slim side panels.
I also die cut the mittens from the Slimline Snowflake Die Set. I added a second layer from white glitter cardstock and lightly ink blended them to give a bit of dimension. These were adhered to the center of the side panels.
Each snowflake was embellished with an iridescent gem in the center to help them pop against the snowflake background. For the mittens, I added a red gemstone heart to the back of each one for a fun, cozy detail.
To finish the card, I stamped and clear heat embossed the sentiments “SNOW better day to” and “Celebrate You!” The “SNOW better day to” sentiment was die cut using one of the dotted strip dies included in the die set and adhered to the top of the center step with dimensional foam.
The “Celebrate You!” sentiment was die cut using the coordinating die. I cut four additional layers and adhered them together to add dimension, since foam adhesive would have been difficult to use on such a detailed die cut. This sentiment was adhered to the bottom center of the card, just below the scene.
That completes my card featuring the brand-new Apres Ski stamp and die set. I hope you’ve enjoyed today’s project! This set is so fun and incredibly versatile—it works beautifully for birthdays, friendship cards, or just a little encouragement.
As always, everything I used on today’s card will be listed and linked below.
Thank you so much for stopping by today! 💙❄️
 https://linkdeli.com/widget.js?id=f5e8378456858c916708

