Easy Fun Fold Christmas Card
Hello and welcome!
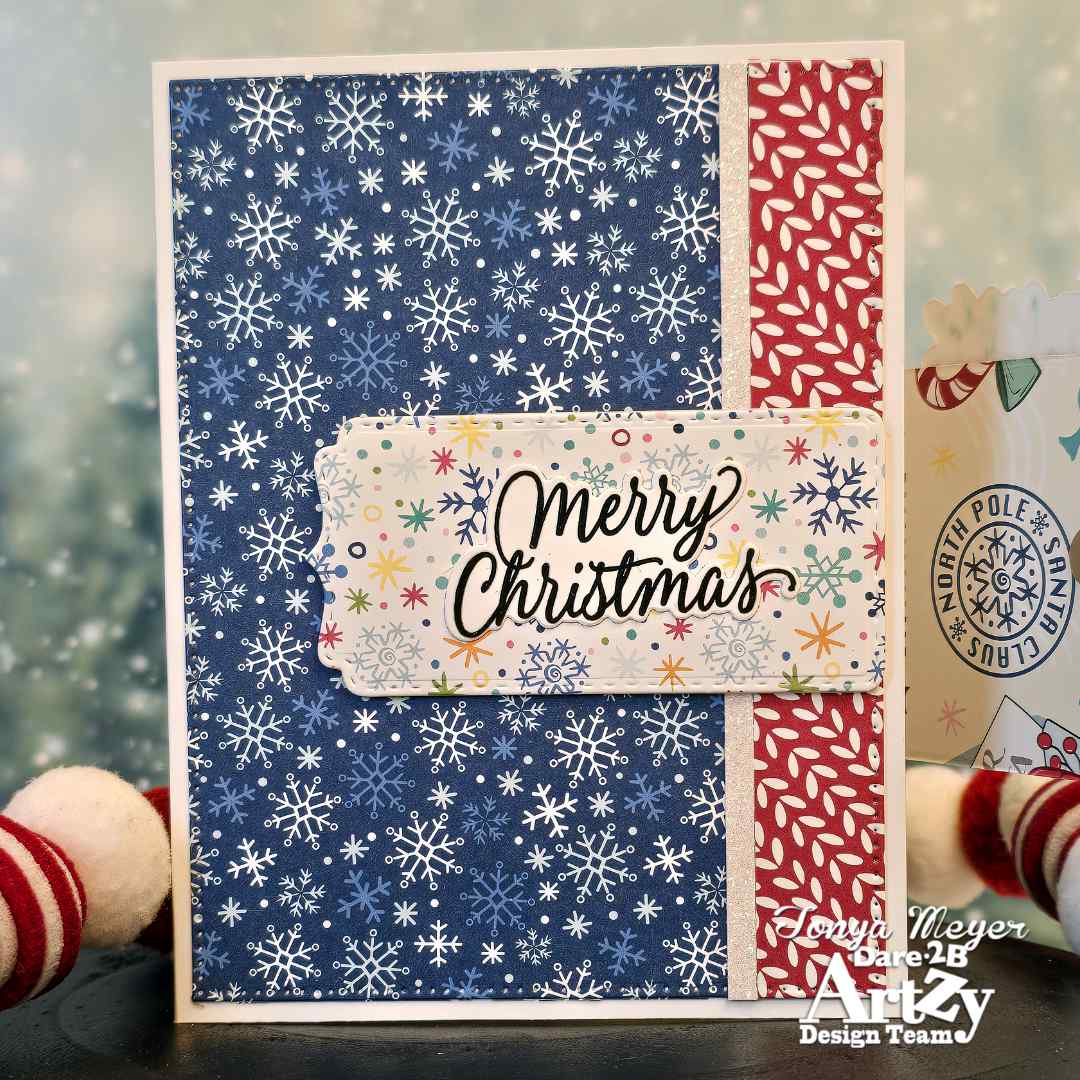
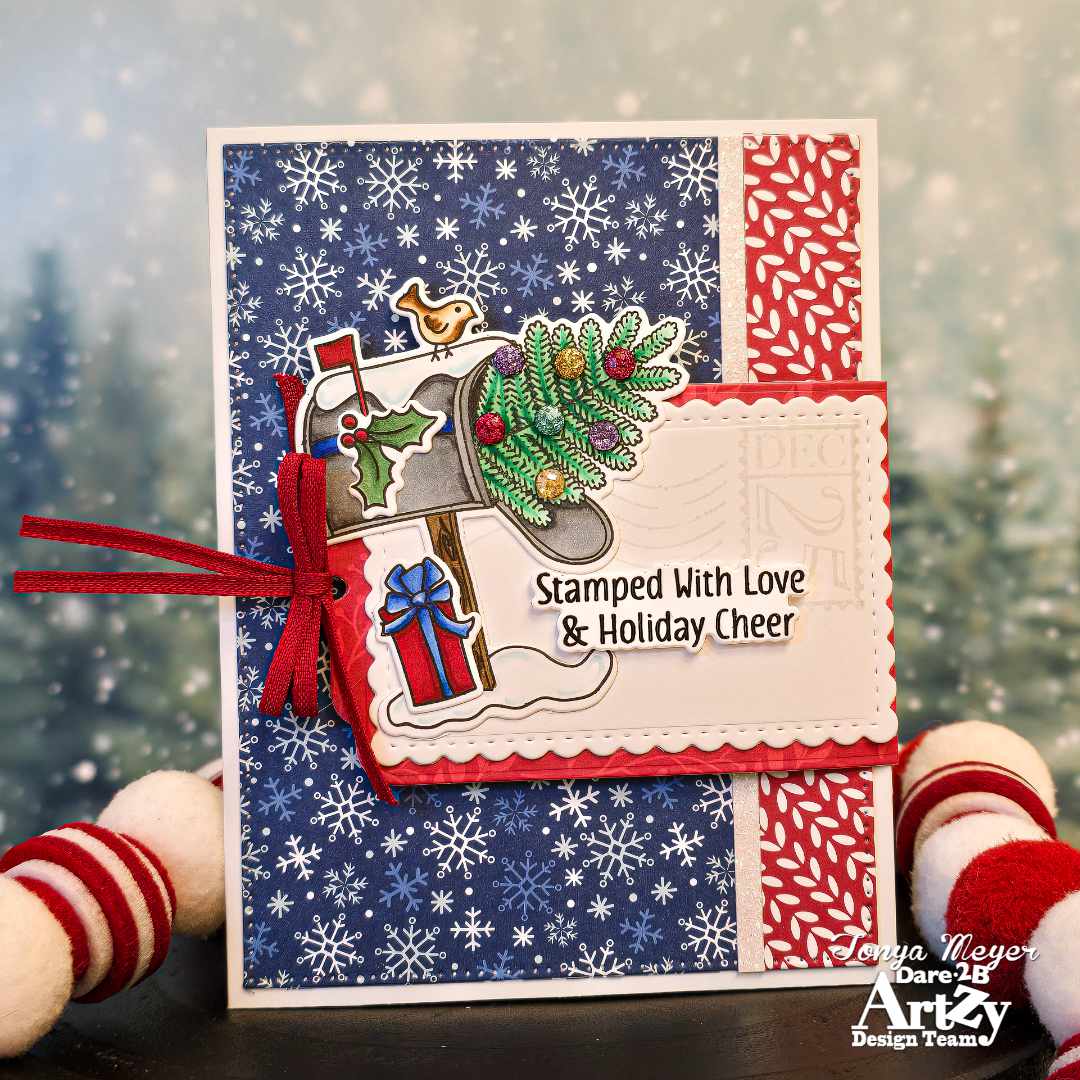
I’m back today with another card for Dare 2B Artzy. This project features the Special Delivery stamp and die set, a sentiment from the Peace & Joy stamp set, and the little package image from the Up on the Rooftop die. I paired these with the Tag Die from the new Pull & Reveal die set, along with the small scalloped rectangle included in that set.
I began with a 4¼” x 5½” card base made from Neenah 110lb cardstock.
To build the background, I die cut the largest rectangle from the Rectangle Framelets set using papers from the Festive Paper Pack—one in the dark blue snowflake pattern and another in the red and white cable-knit pattern. After trimming 1″ off the cable-knit piece, I adhered it to the right side of the blue snowflake panel. To add a bit of sparkle, I glued a thin strip of white glitter cardstock along the seam.

Next, I die cut the tag from the Pull & Reveal set using the leafy Special Delivery paper from the Delivering Christmas pack. I scored the tag 1″ from the left on the straight (non-scalloped) edge. I tied a small bow using a bow tool and narrow dark red Viviant ribbon, attaching it to the tag with liquid glue after threading ribbon tails through the tag hole.
I stamped the mailbox and holly & berries from Special Delivery, plus the small package from Up on the Rooftop, then colored everything with Sketchmarker Brush Pro markers and die cut the images. I added glittered drops to the tree for extra sparkle.
On the scalloped rectangle from the Pull & Reveal set, I lightly stamped the postage and cancellation marks with pale grey ink.
For the mechanism beneath the flap, I die cut the white snowflake paper from the Festive Paper Pack using the backer tag from the Hello word die set and added 1″ Scor-Tape to the back. I adhered a small magnet from my stash to the taped area. Because the magnets are about the thickness of two sheets of cardstock, I glued together two extra pieces of cardstock, trimmed them to about 1¼”, and added them to the back to keep everything level. This piece was then adhered to the card front at the midpoint.
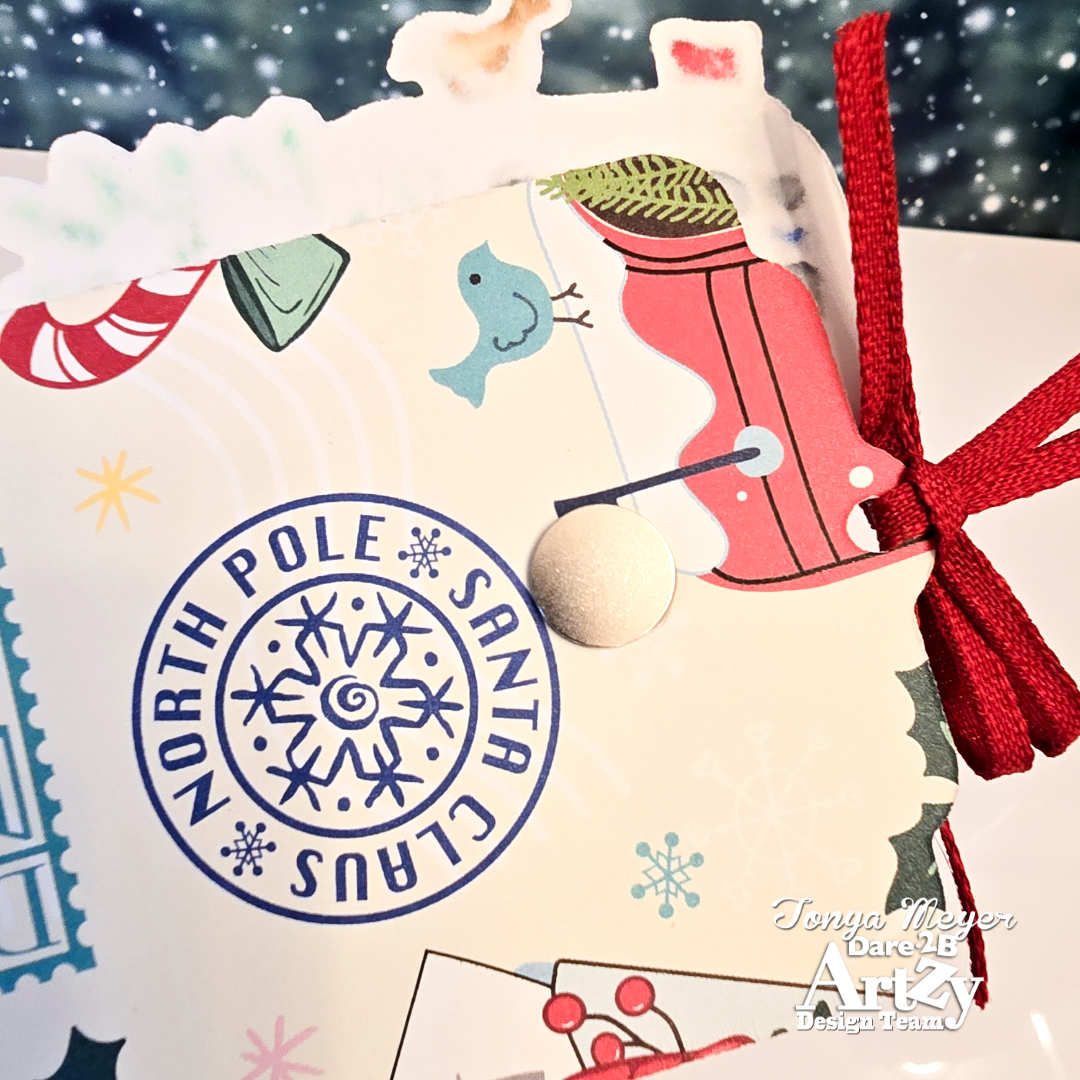
I prepared the scored tag next, adding Scor-Tape and liquid glue to the small scored section. I placed the matching magnet on the background over the snowflake panel and secured it with a drop of glue. After closing the card front, I lined up the tag so the narrow scored edge wrapped behind the panel. Then I pressed it in place until the adhesive grabbed—such a satisfying little click when the magnets connect!
I added Scor-Tape to the back of the scalloped rectangle with the postage images and attached it to the front flap created by the tag. The stamped mailbox went on at a slight angle, with the holly & berries and package layered on top.
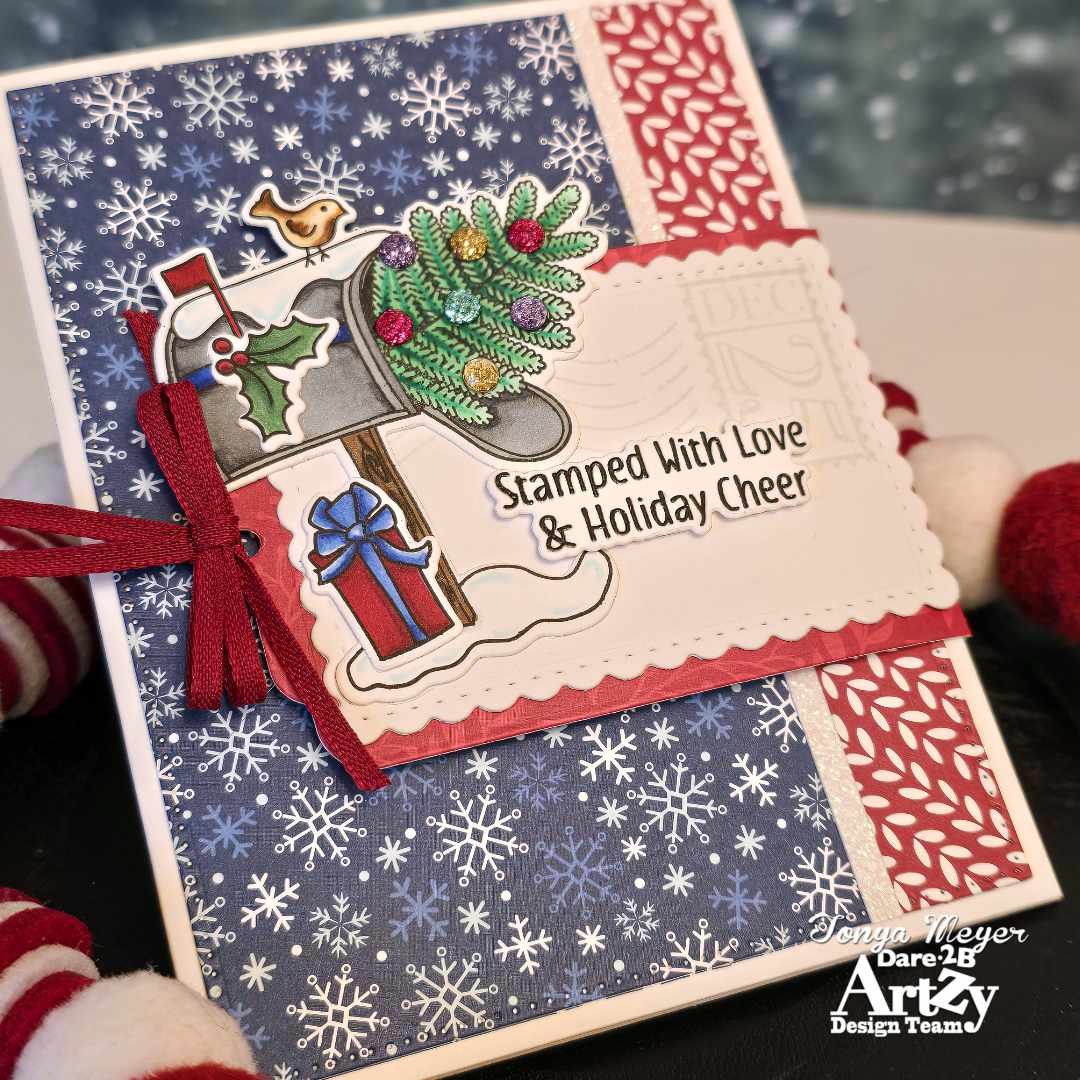
For the sentiments, I stamped Stamped with Love & Holiday Cheer (Special Delivery) and Merry Christmas (Peace & Joy) in Totally Black ink, then stamped again with embossing ink and heat-embossed them in clear. After die cutting, I added the first sentiment to the front flap with foam tape. The Merry Christmas went on the inside of the flap over the lighter snowflake paper.
To finish the inside of the card, I stamped two candy canes from Special Delivery in the same light grey ink I used earlier. I left the rest of the inside blank for a handwritten message.
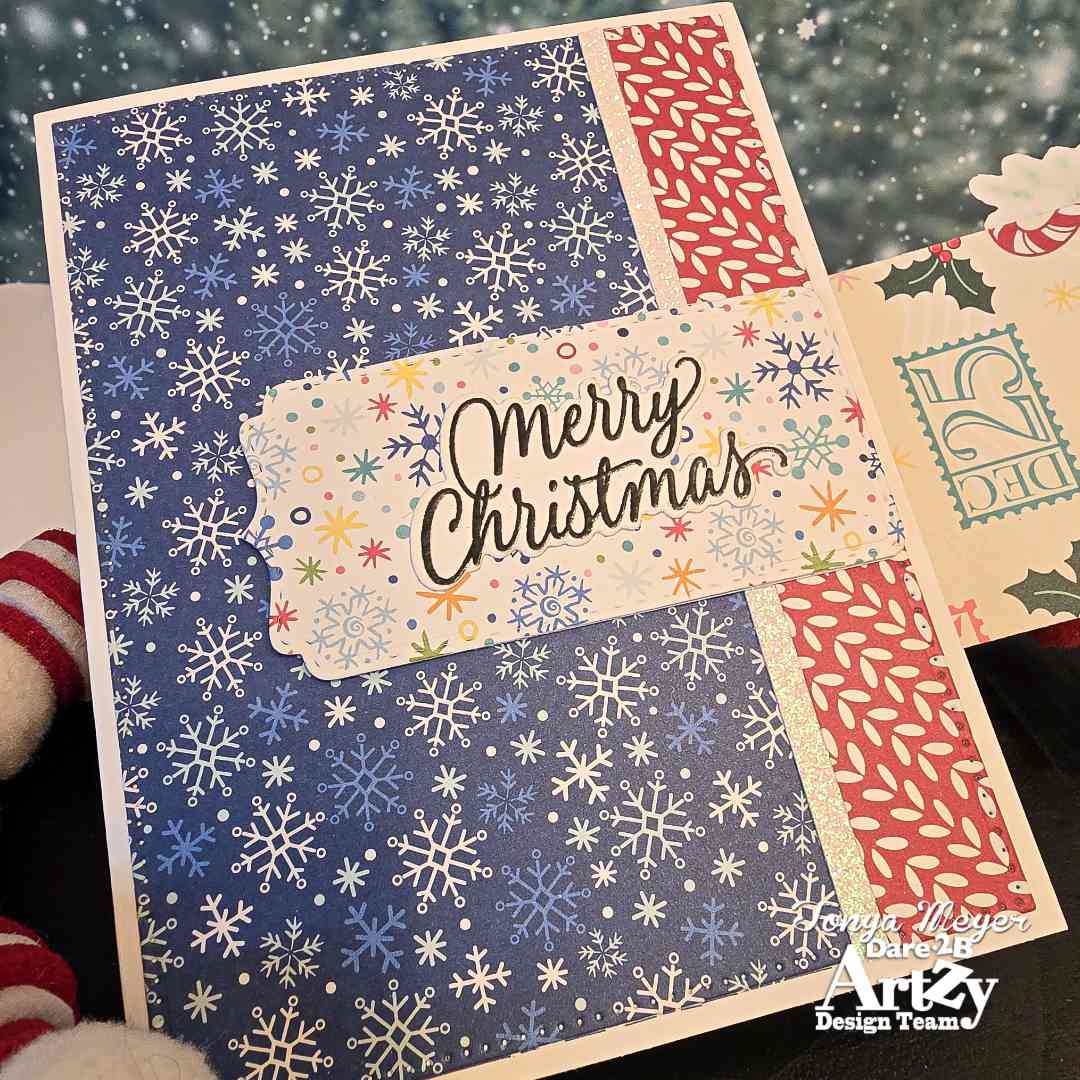
That wraps up this Christmas card fun fold! It’s a simple design that works beautifully for A2 cards or can easily be scaled to larger sizes.
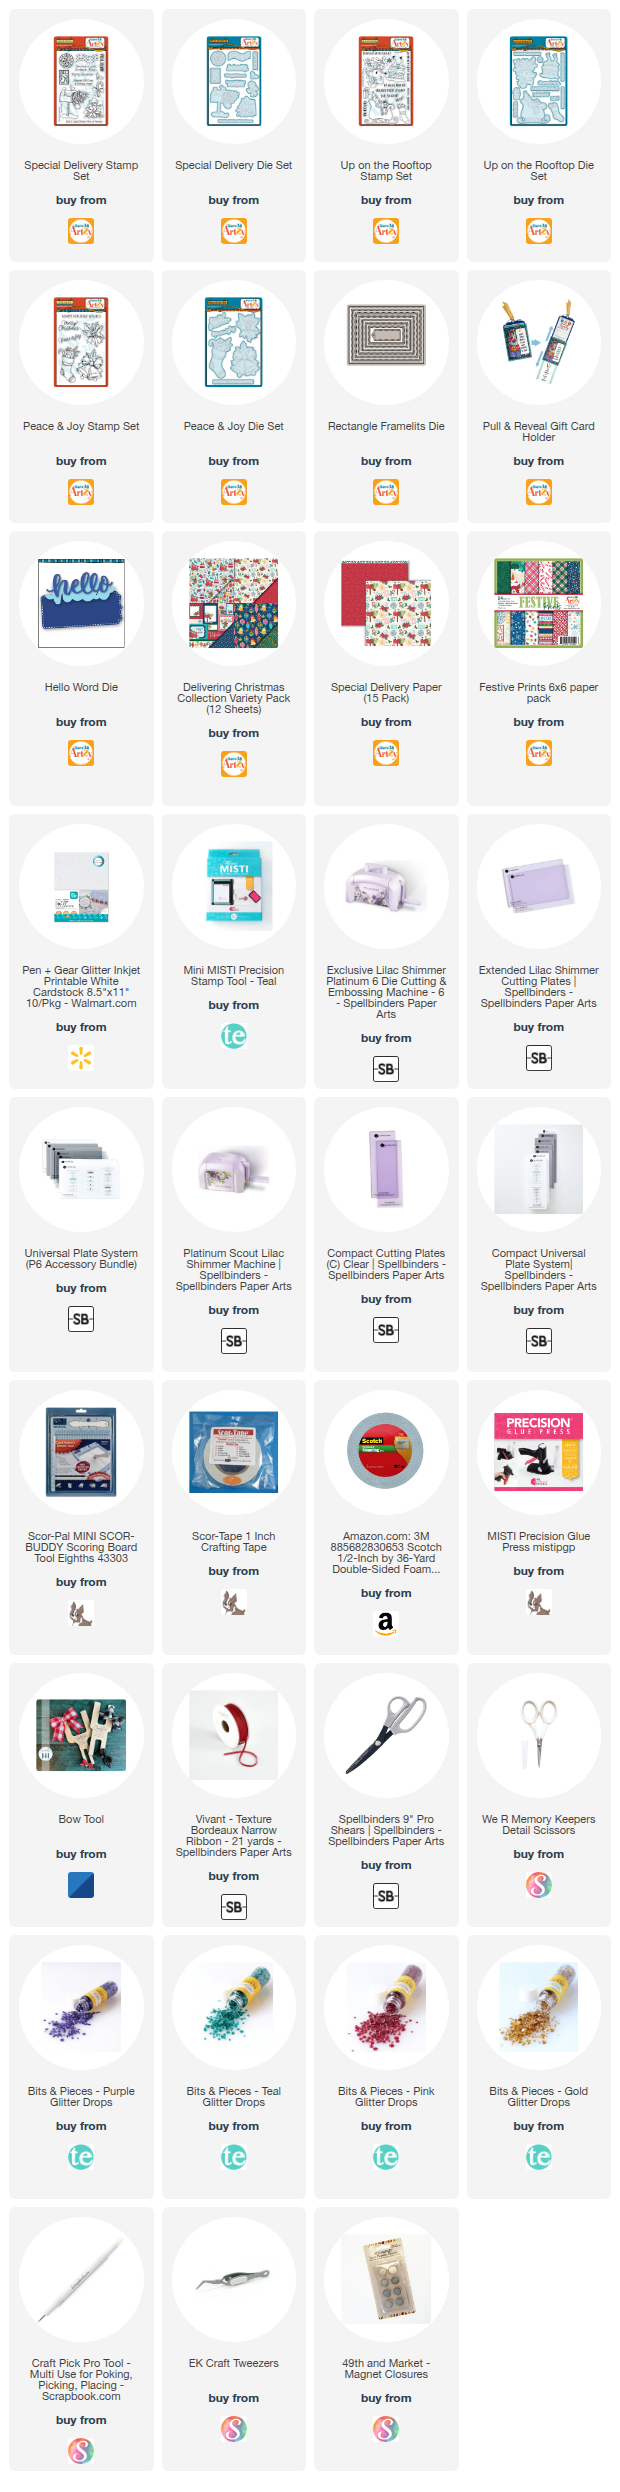
As always, all of the products used in today’s card are listed and linked below for your convenience.
This also wraps up my 2025 cards for Dare 2B Artzy. I’ll be taking a few weeks off to enjoy the holidays—most likely frantically making last-minute cards, tags, and wrapping gifts before Christmas!
Wishing you a wonderful Christmas and a happy, healthy, and crafty New Year! I’ll be back with a new Dare 2B Artzy card on January 12th.
Hugs,
Tonya
https://linkdeli.com/widget.js?id=f5e8378456858c916708

