Hero Arts – Candy CAne Season Day 2
Hello, cardmaking friends!
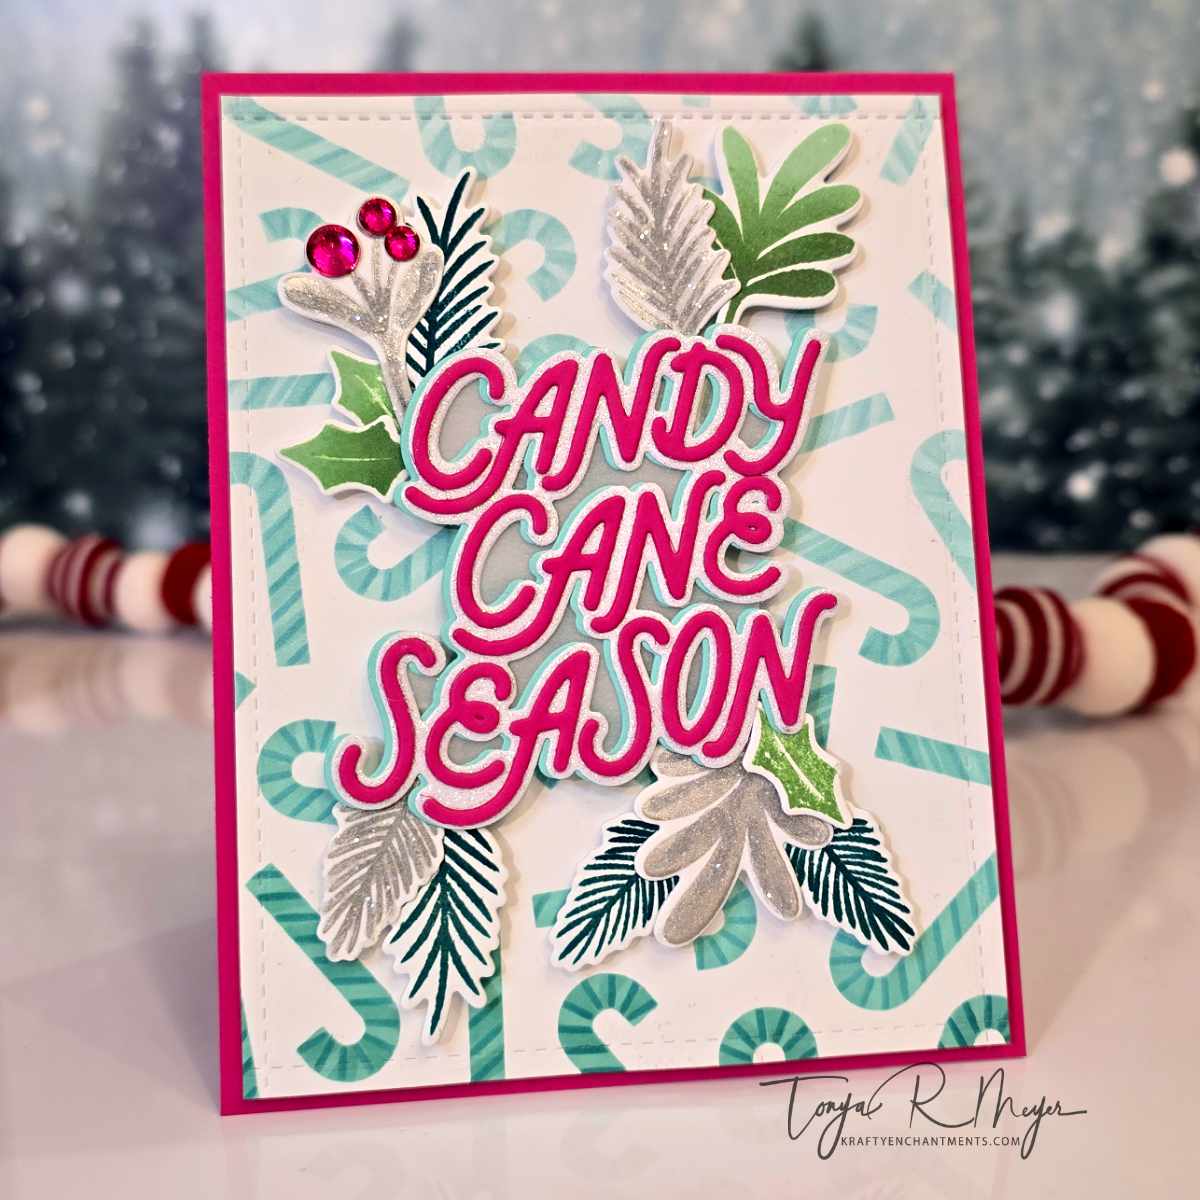
Welcome back to Day 2 of my card series featuring products from the Hero Arts Candy Cane Season suite! Today, I’m stepping away from the traditional reds and greens of Christmas and embracing a fun, non-traditional color palette. Bright pink and teal may not scream “holiday” to everyone—but to me, they add a fresh, joyful twist perfect for the season.
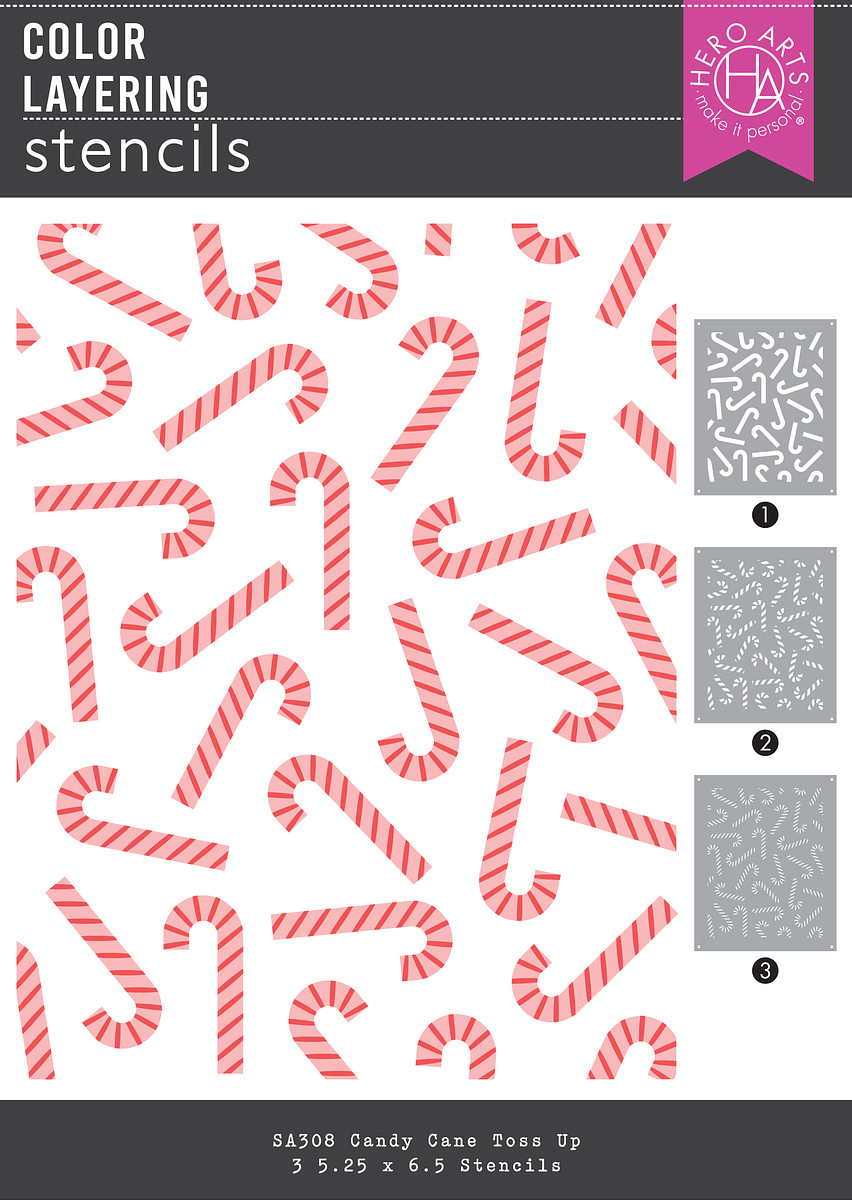
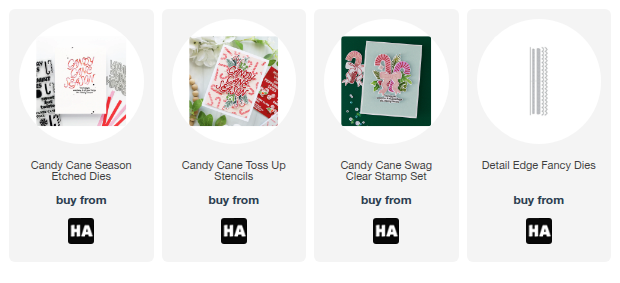
I began by creating the background using the Hero Arts Candy Cane Toss Up Layering Stencil. This time, I went with an ombré blend of teal and light blue ink on white cardstock. I kept the candy canes at the bottom of the panel darker, gradually lightening the colors toward the top to create that dreamy gradient effect.
To finish the panel, I added a stitched border using the Hero Arts Detail Edge Fancy Dies. I love this set for its flexibility—you can position the dies anywhere to get clean, finished edges that elevate the whole design.
Next, I pulled out some extra greenery pieces I had previously stamped and die cut using the Candy Cane Swag Stamp & Cut Set. I applied small dots of liquid glue to the edges and sprinkled on glitter for a frosted, wintery look. While those dried, I turned my attention to the sentiment.
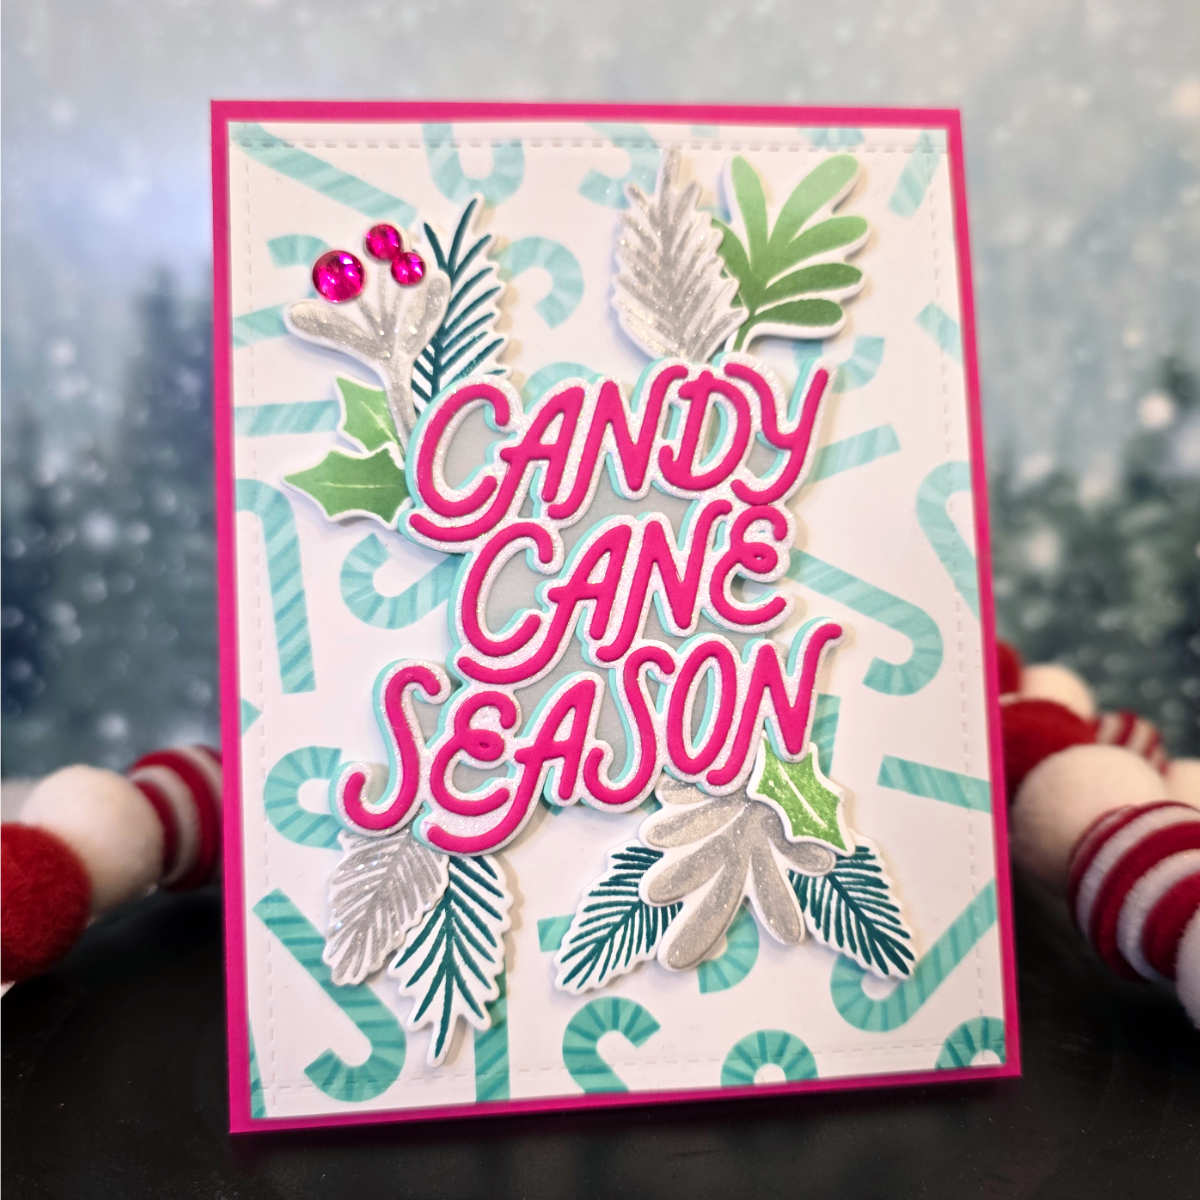
For the sentiment, I used the Candy Cane Season Etched Dies, a two-part die set that includes an outline (backer) and individual letter dies for the phrase “Candy Cane Season.” Admittedly, I was a bit nervous at first—each letter cuts individually, which can feel a bit fiddly—but it turned out beautifully.
- I cut two layers of the sentiment backer: one from teal cardstock and one from white glitter cardstock.
- For the letters, I chose a bold, bright pink cardstock.
- I adhered the pink letters to the glitter cardstock using liquid glue, starting with the center letters of each word and working outward for perfect spacing
- Once everything was in place, I added a paperweight to help the glue set, then layered the teal backer slightly offset behind the glitter layer to create a subtle drop shadow.
Because this backer die leaves open negative space, I added a layer of vellum behind it to soften whatever might show through—like the greenery I planned to tuck behind. I simply traced the die onto vellum, cut slightly inside the line, and adhered it to the back of the sentiment.
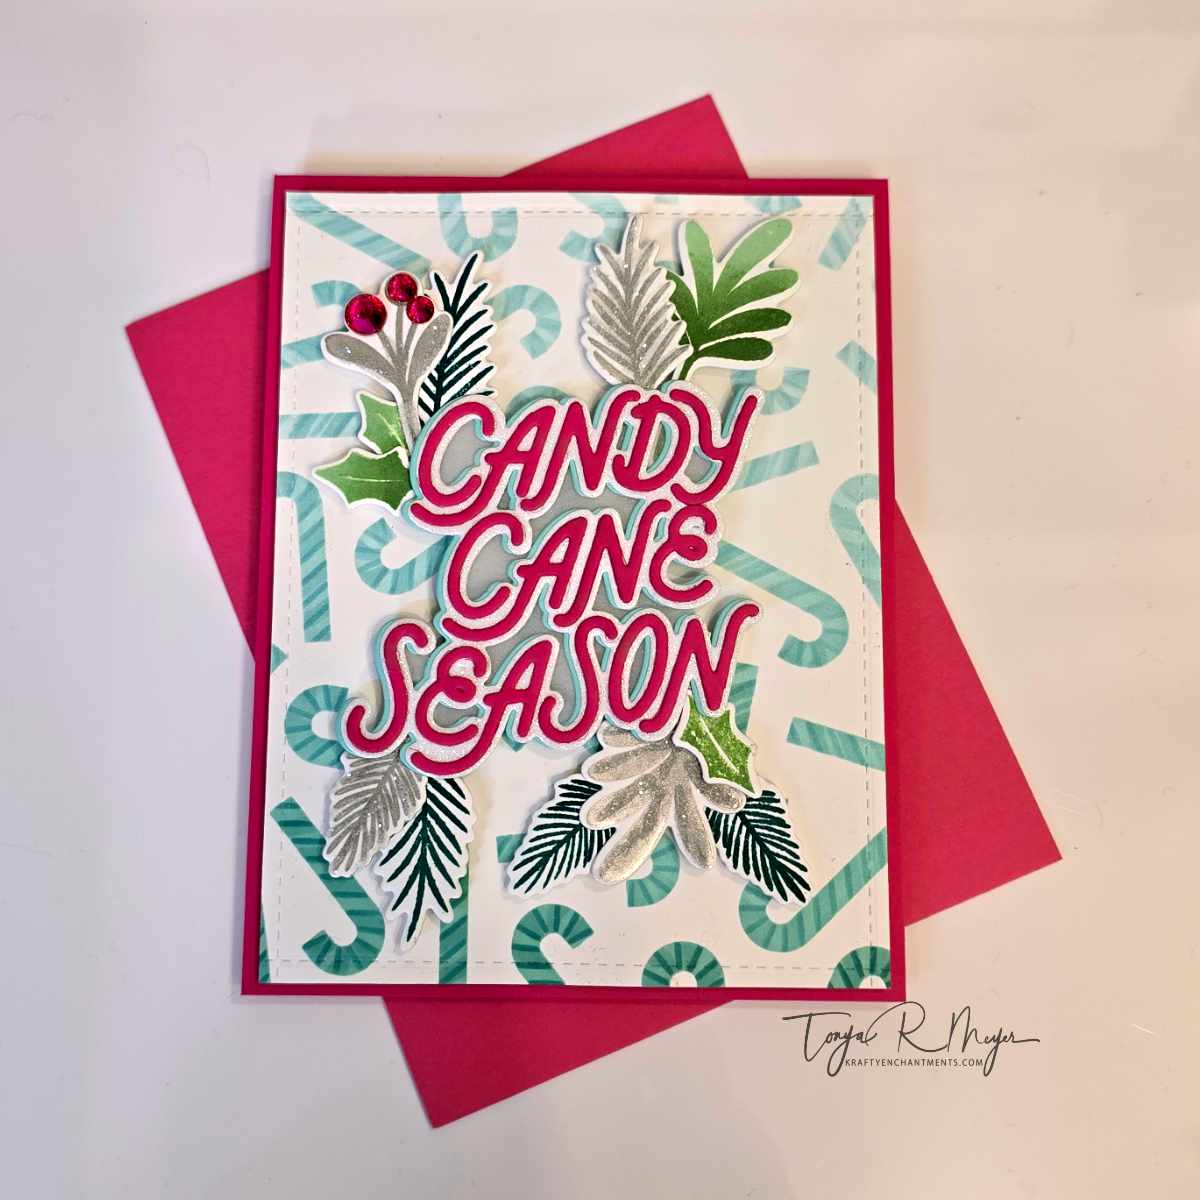
With everything prepped, I began tucking the frosted greenery behind the sentiment using liquid glue. Since my card is portrait-oriented, I kept the greenery mainly in the corners of the sentiment, but you could easily extend it all the way around for a landscape layout or a larger A7 design.
I adhered the completed sentiment cluster to the card front with dimensional foam for added depth, then mounted the panel onto a top-folding A2 card base made from coordinating pink cardstock.
As a finishing touch, I added three gem embellishments in place of stamped berries. I didn’t have any gems that perfectly matched the pink cardstock, so I colored clear gems with a pink alcohol marker—a handy trick when you need custom-colored embellishments!
And that wraps up Card #2 in my Hero Arts Candy Cane Season mini series! I absolutely love how well these products play together—they make building beautiful holiday cards a breeze.
How would you use this suite to add your own spin on holiday cardmaking?
Thanks so much for stopping by! Be sure to come back tomorrow for the third and final card in this festive series.
Crafty hugs,
Tonya
Clicking on a thumbnail link and shopping provides me with a small commission (at no additional cost to you), which supports my website and allows me to continue bringing you new projects and content. I appreciate your support. All products were personally purchased except for products from the Candy Cane Season which were provided/sponsored by the company. I only use and recommend products I love.
 https://linkdeli.com/widget.js?id=f5e8378456858c916708

