Window Greeting
Hello! Thanks so much for stopping by!
Card making is so much fun and most card makers have a certain type of card that they really enjoy creating. For me, I love to create scene cards. It’s so fun to take stamps and dies from different sets and build a fun scene.
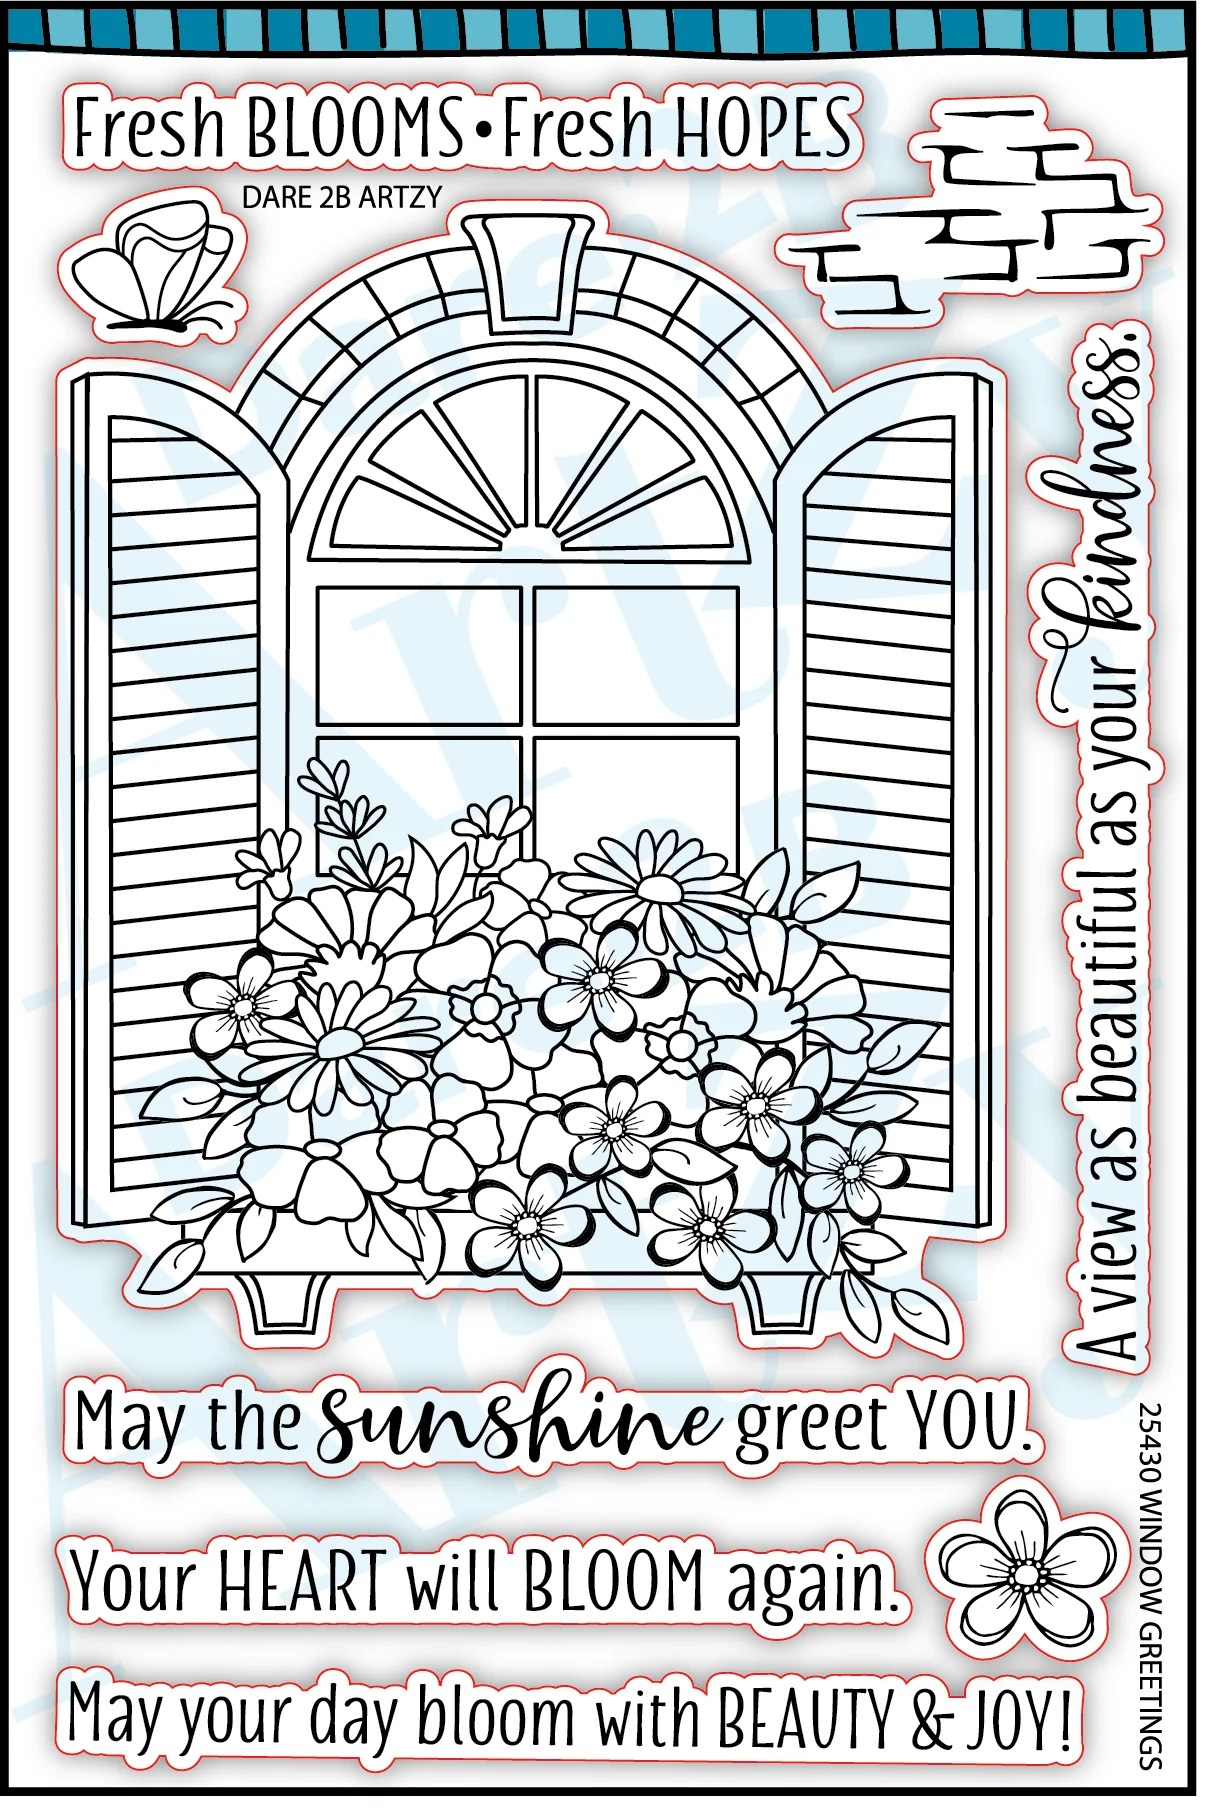
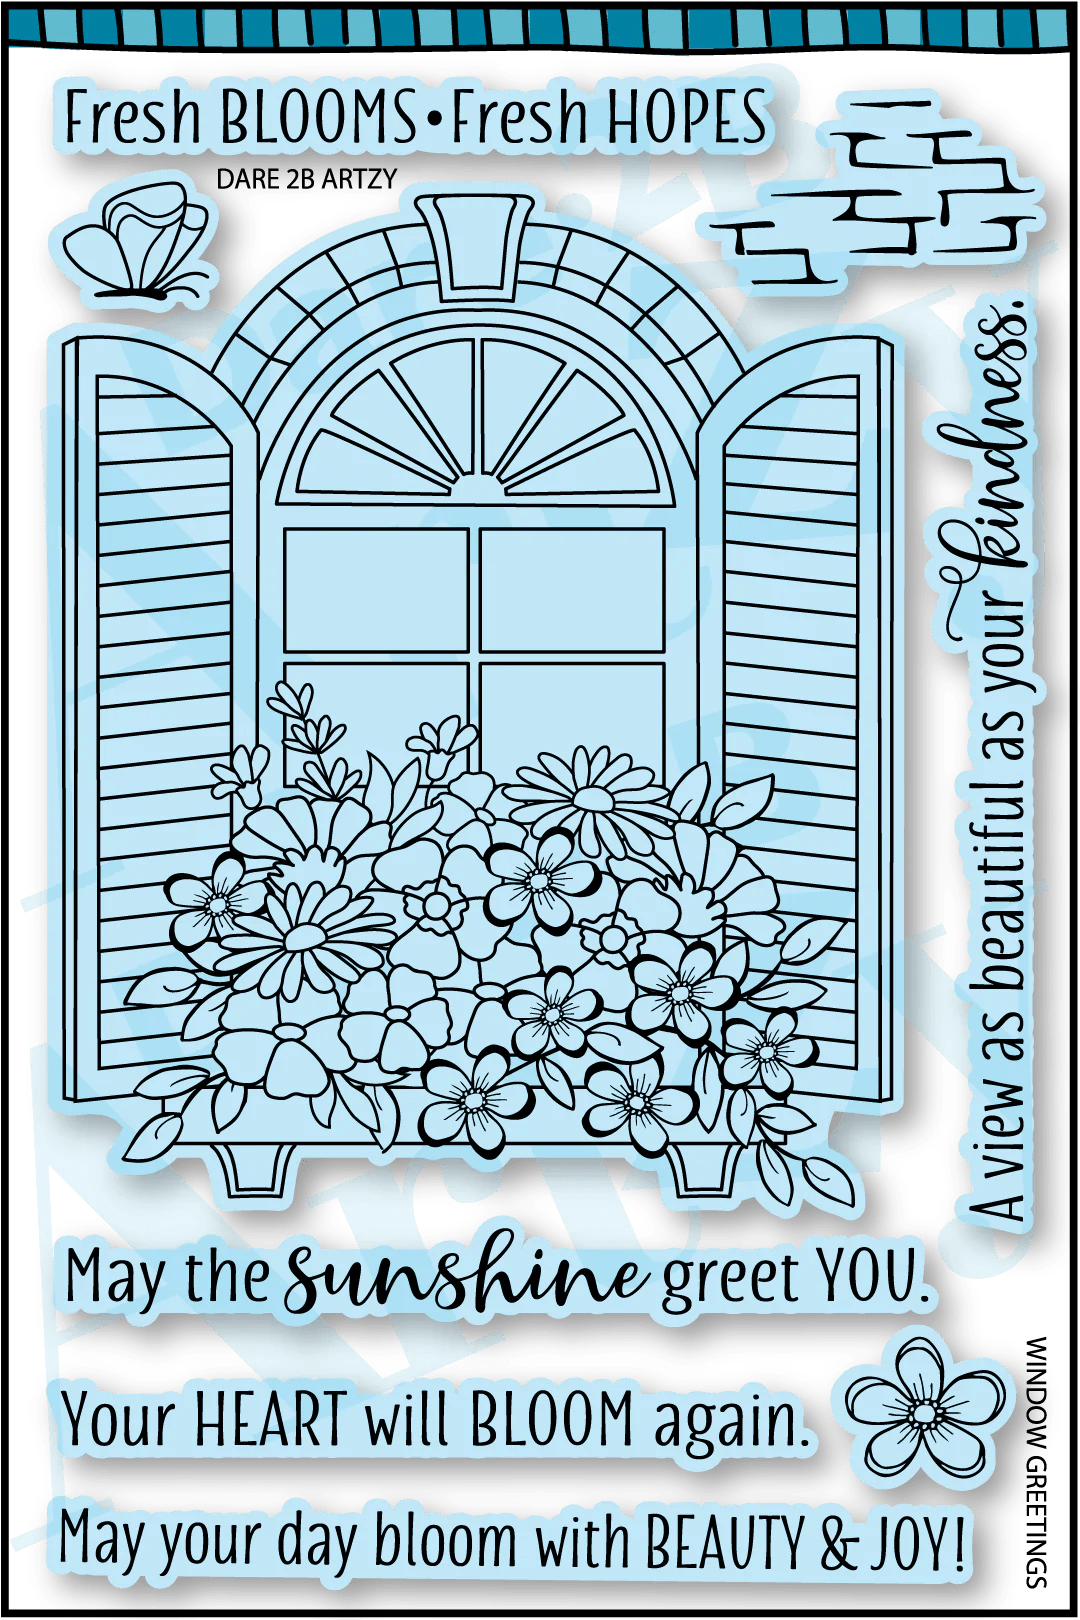
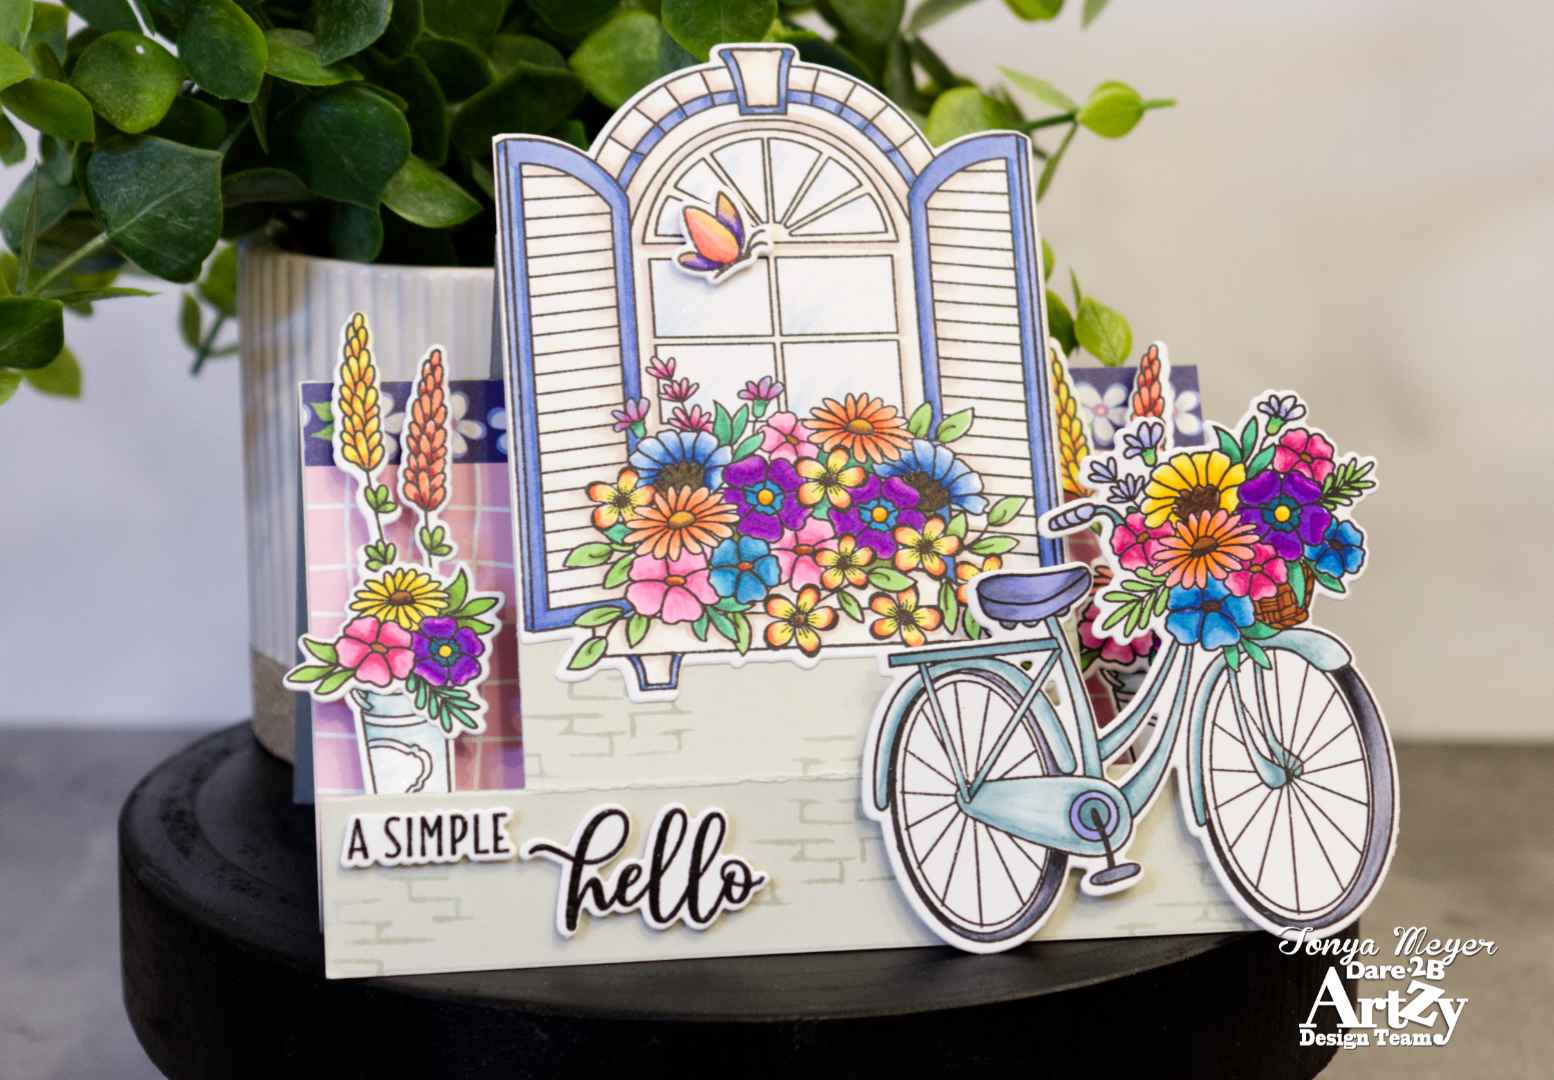
Today my card features the beautiful Window Greeting Stamp set from Dare 2B Artzy. This stamp was the March 2025 Club Stamp for Dare 2B Artzy. The stamp features a large window with a flower box and a type of shutters plus five sentiments, a butterfly and some brick work. It is so beautiful and I knew immediately that I wanted to create a scene with this stamp set when I saw it.
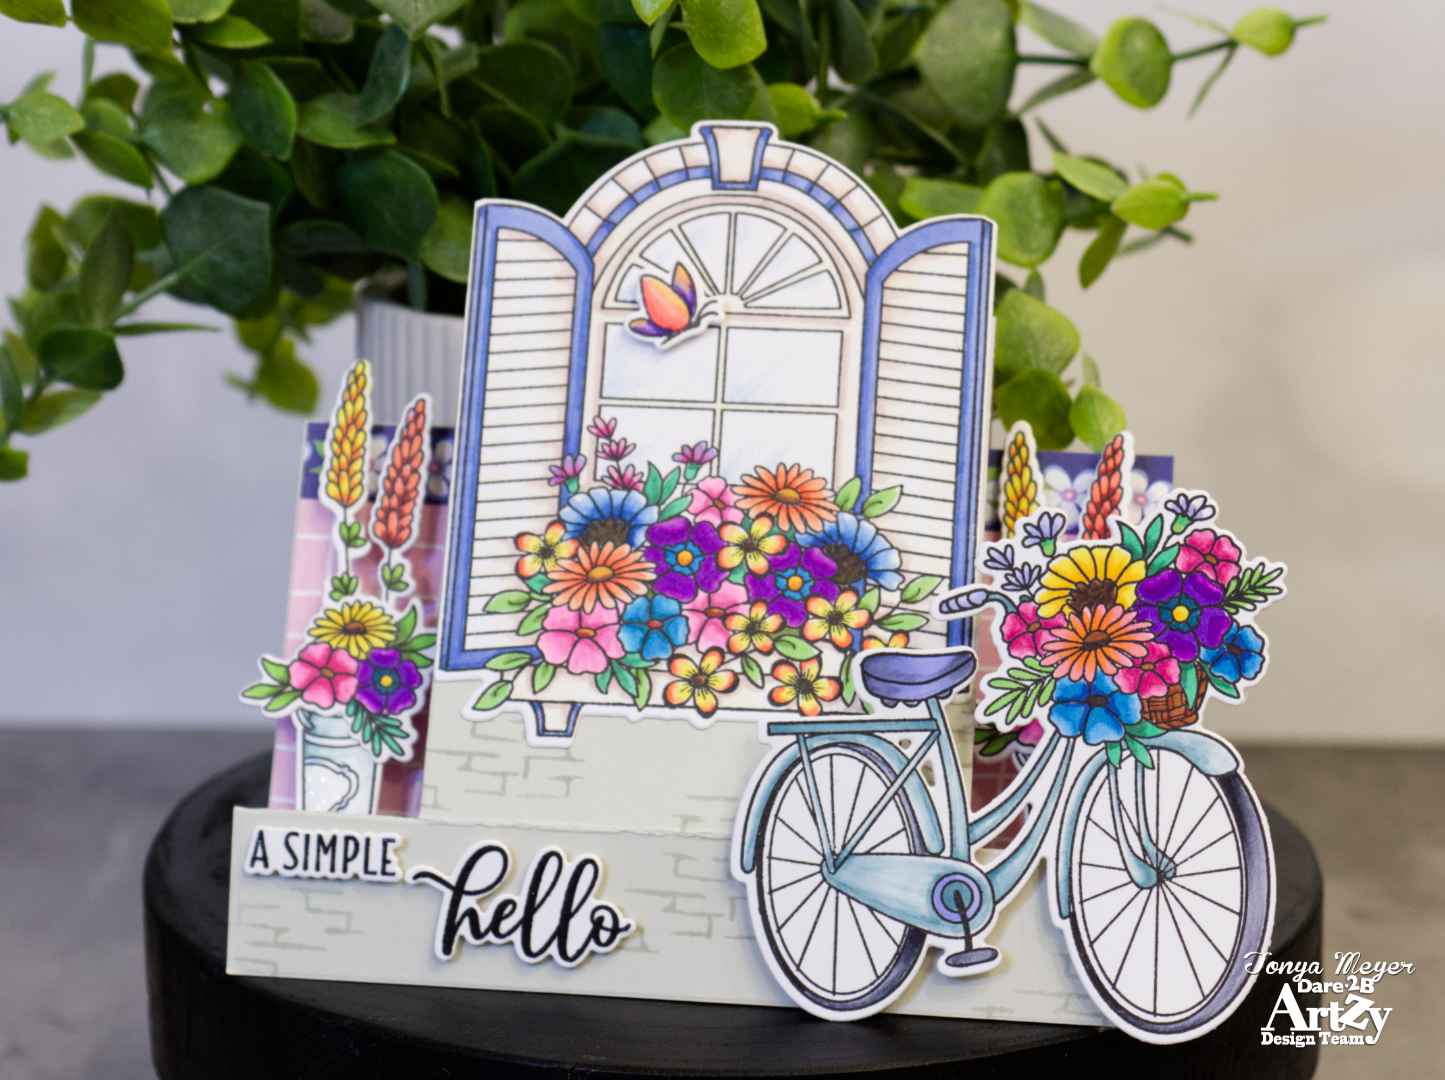
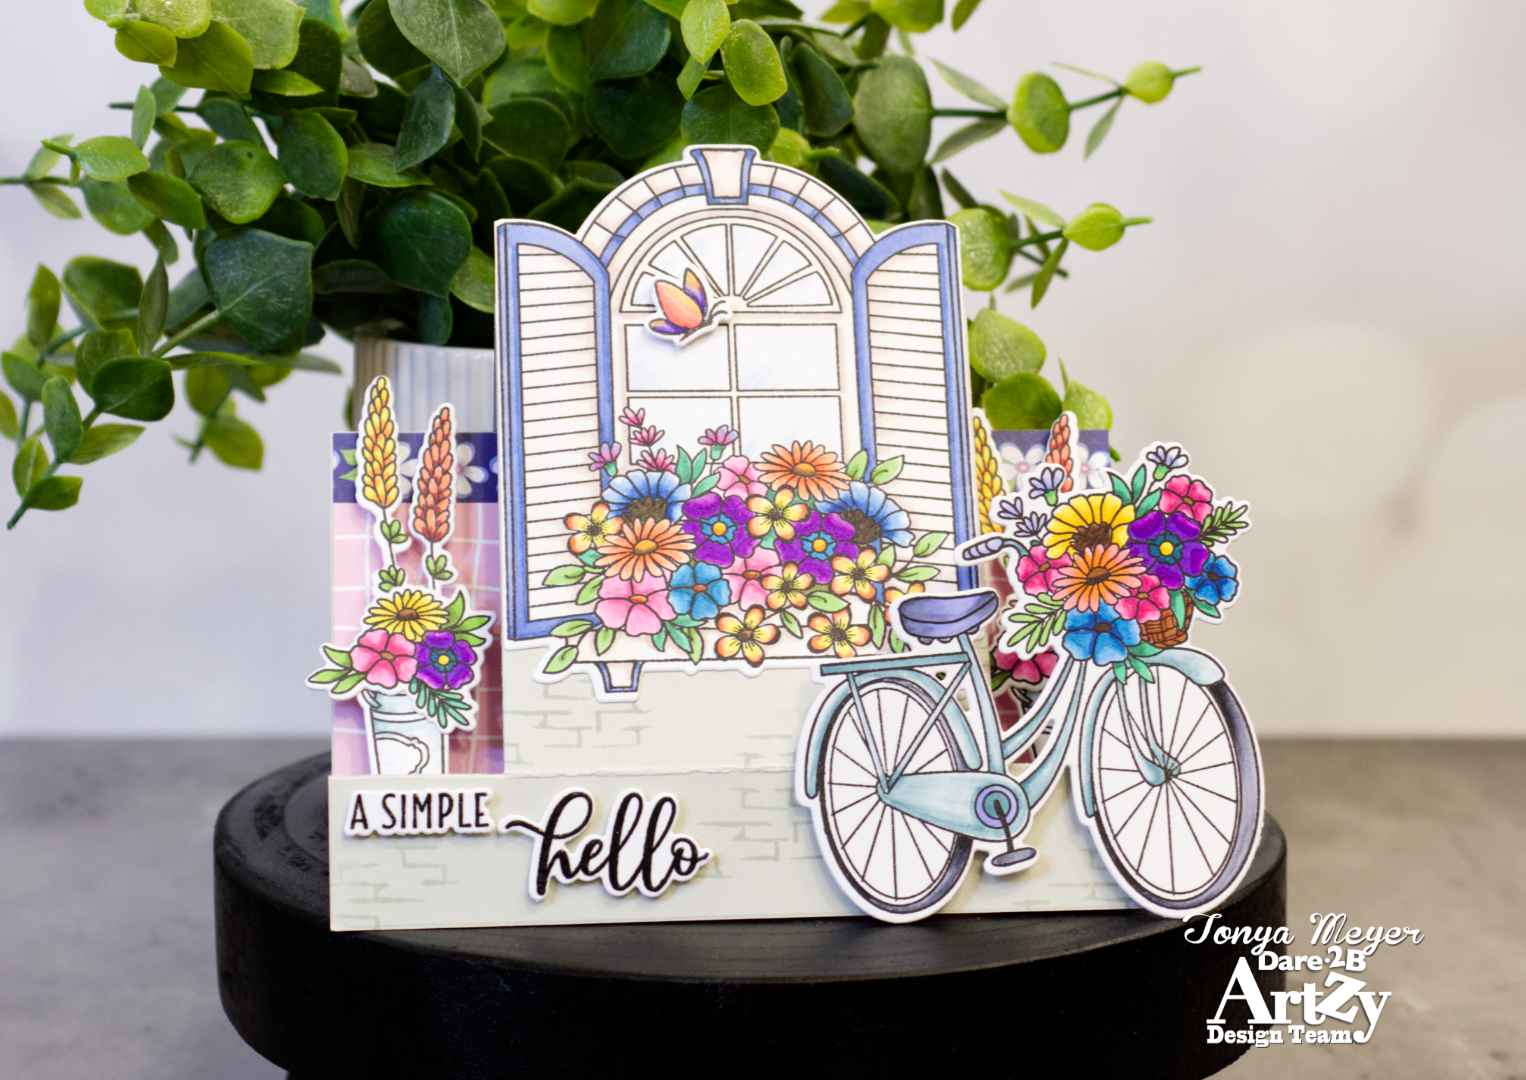
The card I have created pairs the Window Greeting Stamp set with the Bike Bouquet stamp set which was released in 2024. I knew I had to create a fun scene with these two stamps.
To start, I used the Horizontal Center Step die and cut it from some light-colored cardstock. You could use any color, but I wanted something light that would go well with my light-colored window.
Once the Horizontal Center Step was die cut, I used a bone folder to crease all of the fold lines that the die creates.
Next, I stamped the window, bicycle, two of the pots from the Bike Bouquet stamp set along with two sets of flower bunches and four of the tall flowers.
I did a marathon coloring session to color all of my images. It took about 3 hours to color everything.
Using the coordinating dies, I cut out all of my colored images and set them aside.
The Window Greeting stamp set comes with a cool stamp that allows you to stamp the look of bricks. I played around with the placement of my colored window on the cardstock I cut with the Horizontal Center Step Die. The die cuts A2 card; however, in order to create my scene, I needed to utilize the space in a way that it would no longer be an A2 size card. That’s fine, I can easily place it in a much bigger envelope if I’m hand delivering it.
I moved my colored window up in the center piece of the cardstock so that about ¾ of a inch was showing underneath. I wanted to give the appearance that the Horizontal Center Step was the front of a house or building. Using ink that was similar in color to my cardstock, I used the brick stamp to stamp underneath the window and along the bottom to create my faux building front.
Next, I cut a piece of the Caio Bella paper to 5 ½ x 3 ¼. This piece would slide behind the front panel of the Center Step die cut to create a solid backdrop. In my mind, this house is painted pink with wavy lines and a blue and white floral trim at the top, LOL!
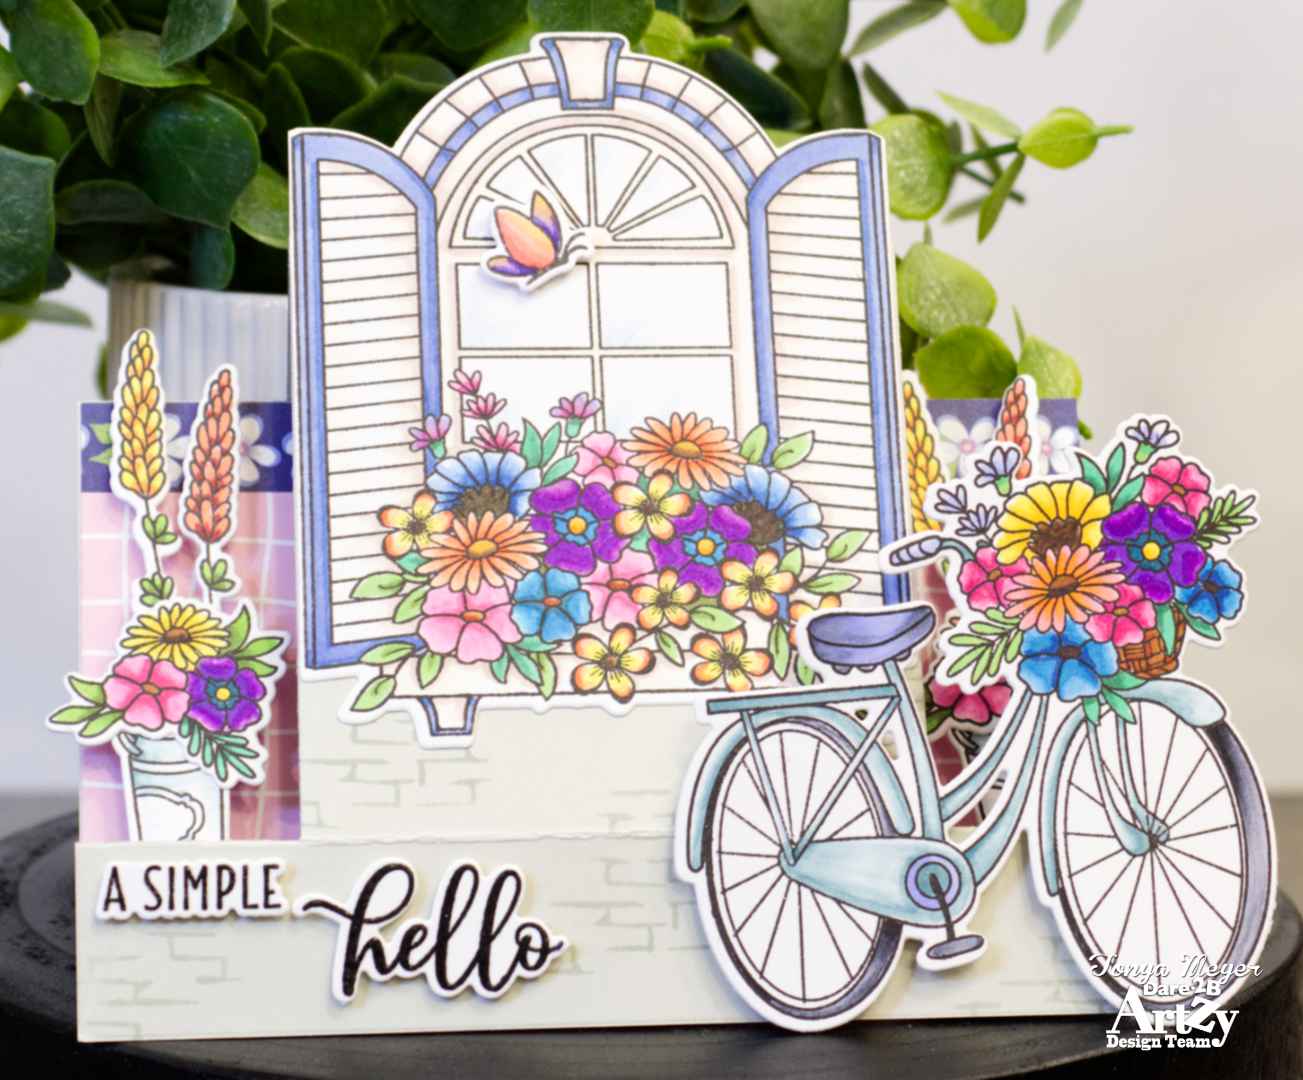
I wanted to have flower pots on either side of the window. To create that I used the milk tins from the Bike Bouquet stamp set. I stamped and colored two of them and two groups of flowers as well as four of the tall flowers in this set.
Once colored, the flower bunches were glued to the top of the milk tins and then two of each of the tall flowers were glued behind them to give them some height.
When the glue was dry, I cut a strip of thick acetate that was just under ¼ of an inch wide. I scored each end of the acetate at about ¼ of an inch. I folded the score lines and then cut the strip in half which created two L shape pieces of acetate.
I added score tape to the back of the long end of the acetate and stuck it to the back of the flower pot. Then I added ¼ inch of score tape to the bottom of the acetate on the other side of the score line. I adhered this to the back of the V fold in front of the pink Ciao Bella paper.
This placed the pots about ¼ of an inch from the front of the card and they stand up on their own thanks to the acetate strips. It gives the card a fun pop-up element. I know the 2nd pot of flowers is hard to see behind the bicycle, but I wanted them to be even.
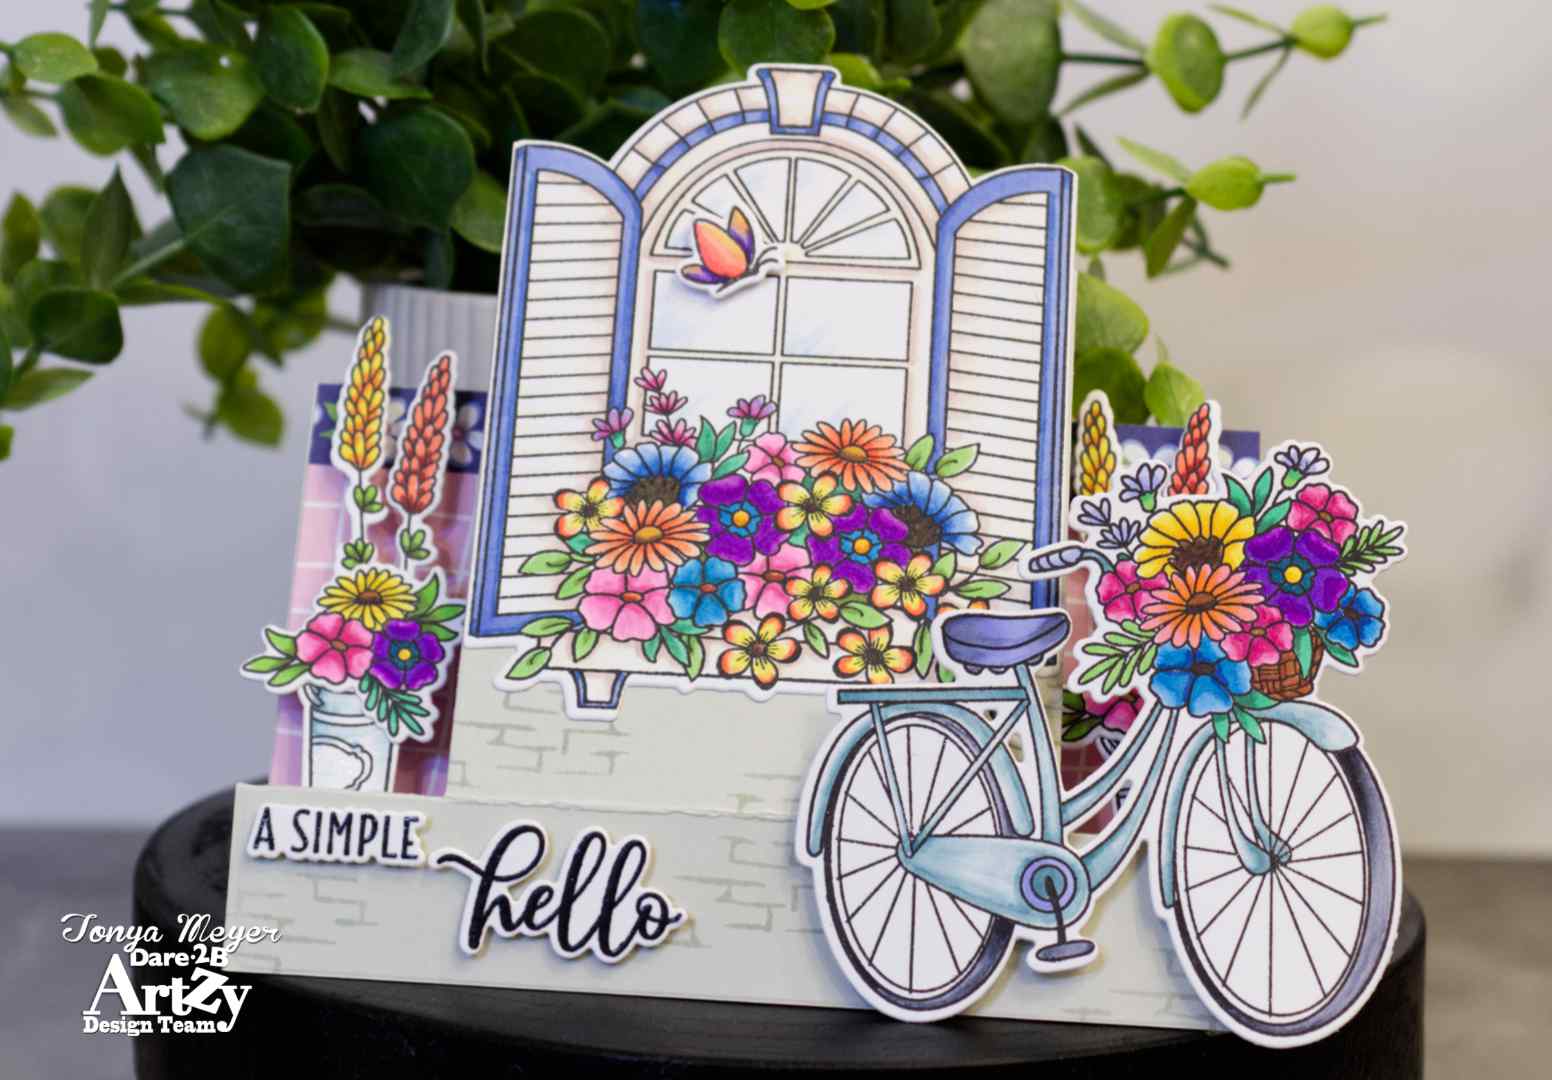
Next, I adhered the bicycle to the bottom front of the card base using two layers of dimensional foam.
For the sentiment, I stamped the A Simple Hello from the Bike Bouquet stamp set and die cut them. I added them to the bottom of the card front with a single layer of dimensional foam.
I added a bit of Spectrum Noir sparkle pen to the windows and the bike spokes. Other than that, I didn’t add any additional embellishments because the card has a lot going on with all of the flowers and dimension.
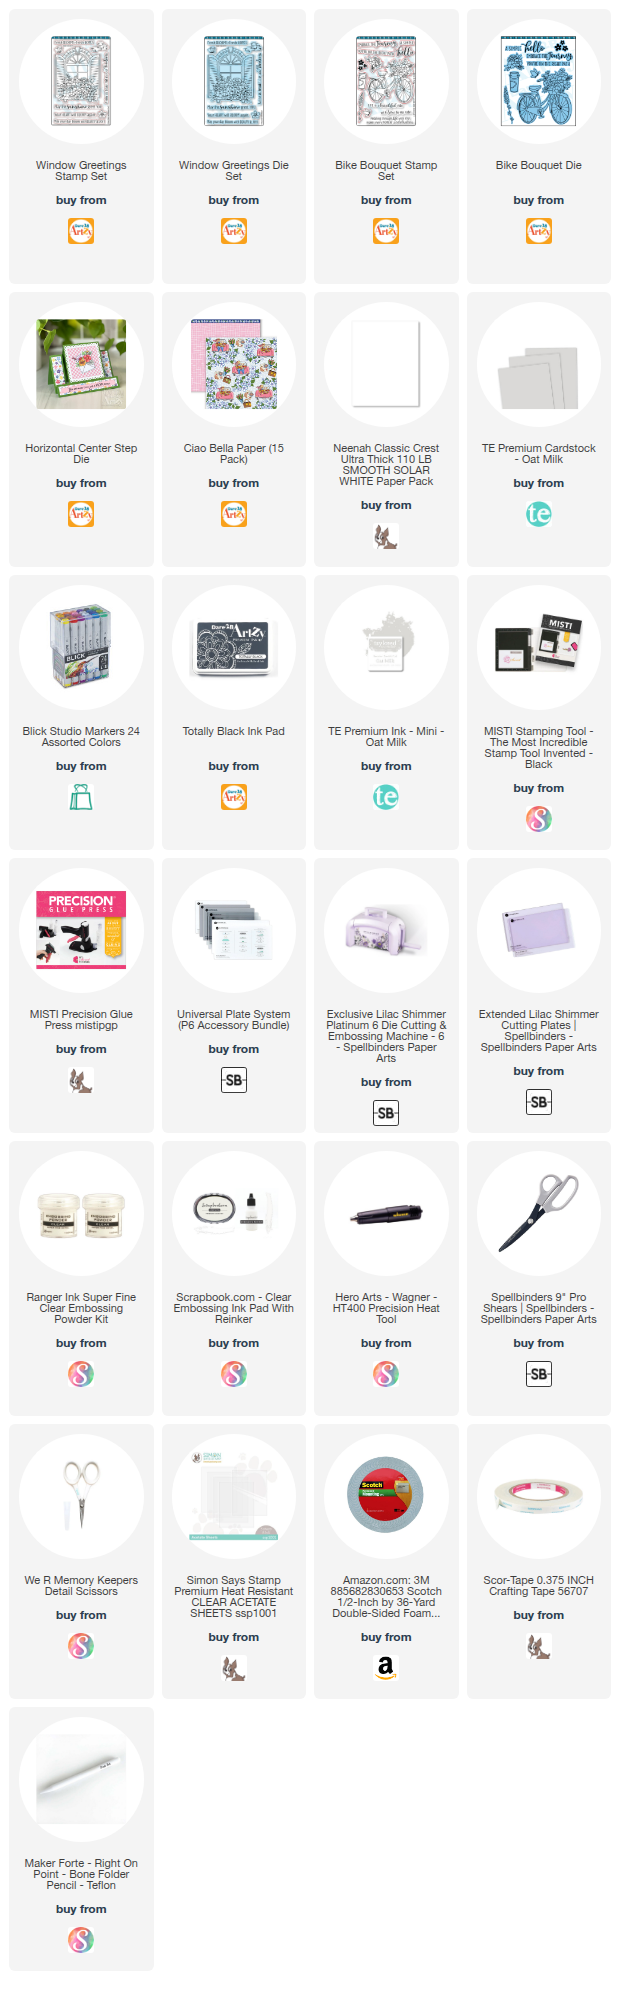
Thank you for stopping by. I hope you have enjoyed today’s card. As always, I will link all of the products I used to create this card below at no cost to you.
Hugs,
Tonya
 https://linkdeli.com/widget.js?id=f5e8378456858c916708

