Dare 2B Artzy His & Hers Birthday Cards with Nature Layer Dies | Crafting Tutorial
Welcome Artzy friends!
I am back today with a pair of birthday cards for Dare 2B Artzy. These are a His and Hers Birthday card set.
I have been an organizing ninja lately in my craft room and found a lot of starter projects that are great to use as a jumping off point for cards. In this instance, they were alcohol ink backgrounds done on Yupo paper. I had one that had beautiful purples and blues and the other was done by swiping the alcohol ink across the background to make some stripes in shades of brown, gold and copper. On the 2nd one I even took a background stamp with swirls and used some Alcohol Lift Ink so there is a nice pattern in it which looks pretty cool.
To use these backgrounds on my cards, I cut them down to 2 ¼ inch squares and set them aside.

Next, I used the new Nature Layer Dies from Dare 2B Artzy. I love these types of silhouette dies because there are so many layouts and things you can use them for on cards. They are perfect for shaker cards, slimline card designs, paper piecing, etc.
I cut each die in the set from some 110lb white cardstock from Neenah. I used a bit of low tack ¼ inch blue painters’ tape around all of the frame edges for each die cut piece. This would leave a white frame which I thought would look nice and give them a finished look.
For the flower, I used blending brushes and Distress Inks in Picked Raspberry and Kitsch Flamingo for the flower and Peacock Feather and Twisted Citron on the leaves of the flower. I just blended on the colors with some detail blending brushes until I was happy with the color blend. I did use some Post-it notes to mask off the leaves on the flower die cut so I didn’t turn them pink, lol.

For the leaves die cut, I actually used alcohol markers to color them as I wanted the shading detail that you can get with markers. I love how these turned out with the light and dark greens.
Once the colored Nature Layers pieces were finished, I added liquid glue and adhered them to the pieces of alcohol ink backgrounds that I cut down to size.
I used several layers to mat the colored flower and leaves. The Nature Layer Dies come with I stitched square die that measures 2 ¾ which I cut from some solid cardstock in brown for the leaves and pink for the flower. I chose these colors of cardstock because they either pulled the color from the actual-colored die cut or the background and it helped to make them pop.
Next, I used the small scalloped square die that comes with the Nature Leaves. It measures 3 1/8 inch and I die cut that from some Neenah 110lb white cardstock to create my 3rd layer.

Then I remembered that there is also a scalloped square die that comes in the Gift Bag and Box die set. It measures about 3 5/8 inches and it worked perfectly as a matt with the Nature Leaves scalloped square. I love it when you can shop your stash to create cards! I used the scalloped square from that set and cut some scrap pieces of Artzy Doodles paper I had in my scrap bin. There was a dark blue to use with the flower and of course the green paper to coordinate with the leaves.
I needed to create a square-ish card base for my layers. To do that, I used the Square Framelet die that measured 4 inches wide. To create the card base, I cut a piece of cardstock that was 4 ¼ x 11 and scored it to create an A2 card base. I taped the 4-inch Square Framelet in place on the card base so that the top cutting edge hung over the end of the fold in the card. This would keep that edge from cutting the paper.
I ran the die through my die cutting machine a couple of times to make sure it would cut through both layers of my folded card base. The finished product is a 4-inch top folding card base perfect for my layered background and it is so super cute!

To assemble all of the layers, I added dimensional foam behind the colored Nature Layers dies with their alcohol ink backgrounds. I glued the next couple of layers together and added dimensional foam behind the next layer before finally adhering everything down to the card base with liquid glue.
Since the cards are so small, I wanted to keep my sentiment simple. I stamped the Happy Birthday from the Beautiful Inside stamp set with Dare 2B Artzy’s Totally Black ink. It is a nice clean font and has a coordinating die to cut it out. I added that to the Nature Layers colored pieces with some liquid glue.
The only other embellishment I added was a pink pearl to the center of the flower.
I left the inside of the cards blank for now to either write a personal note for the recipient or I can stamp another sentiment inside later.

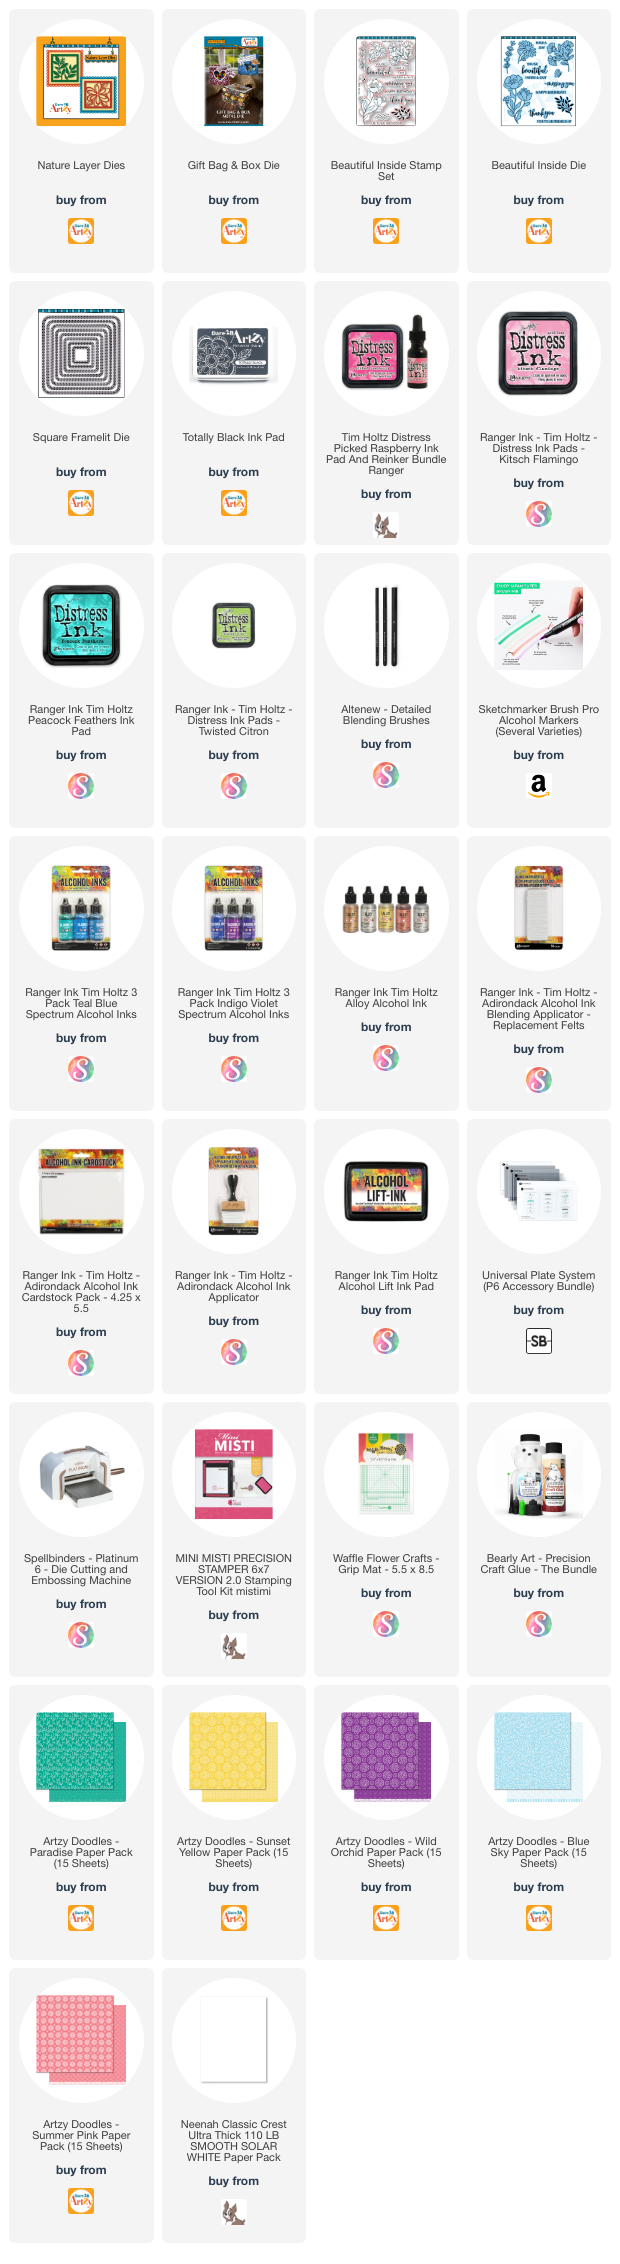
That finishes up these cute His & Hers Birthday cards for today. I will have links to all of the products I used down below for your convenience.
Thanks for stopping by! Have a fantastic day!
Hugs,
Tonya
https://linkdeli.com/widget.js?id=f5e8378456858c916708

