peace
Hello my crafty friends! Hope you all had a wonderful weekend. A long one, filled with amazing food, family, friends and shopping…maybe some crafty shopping!?
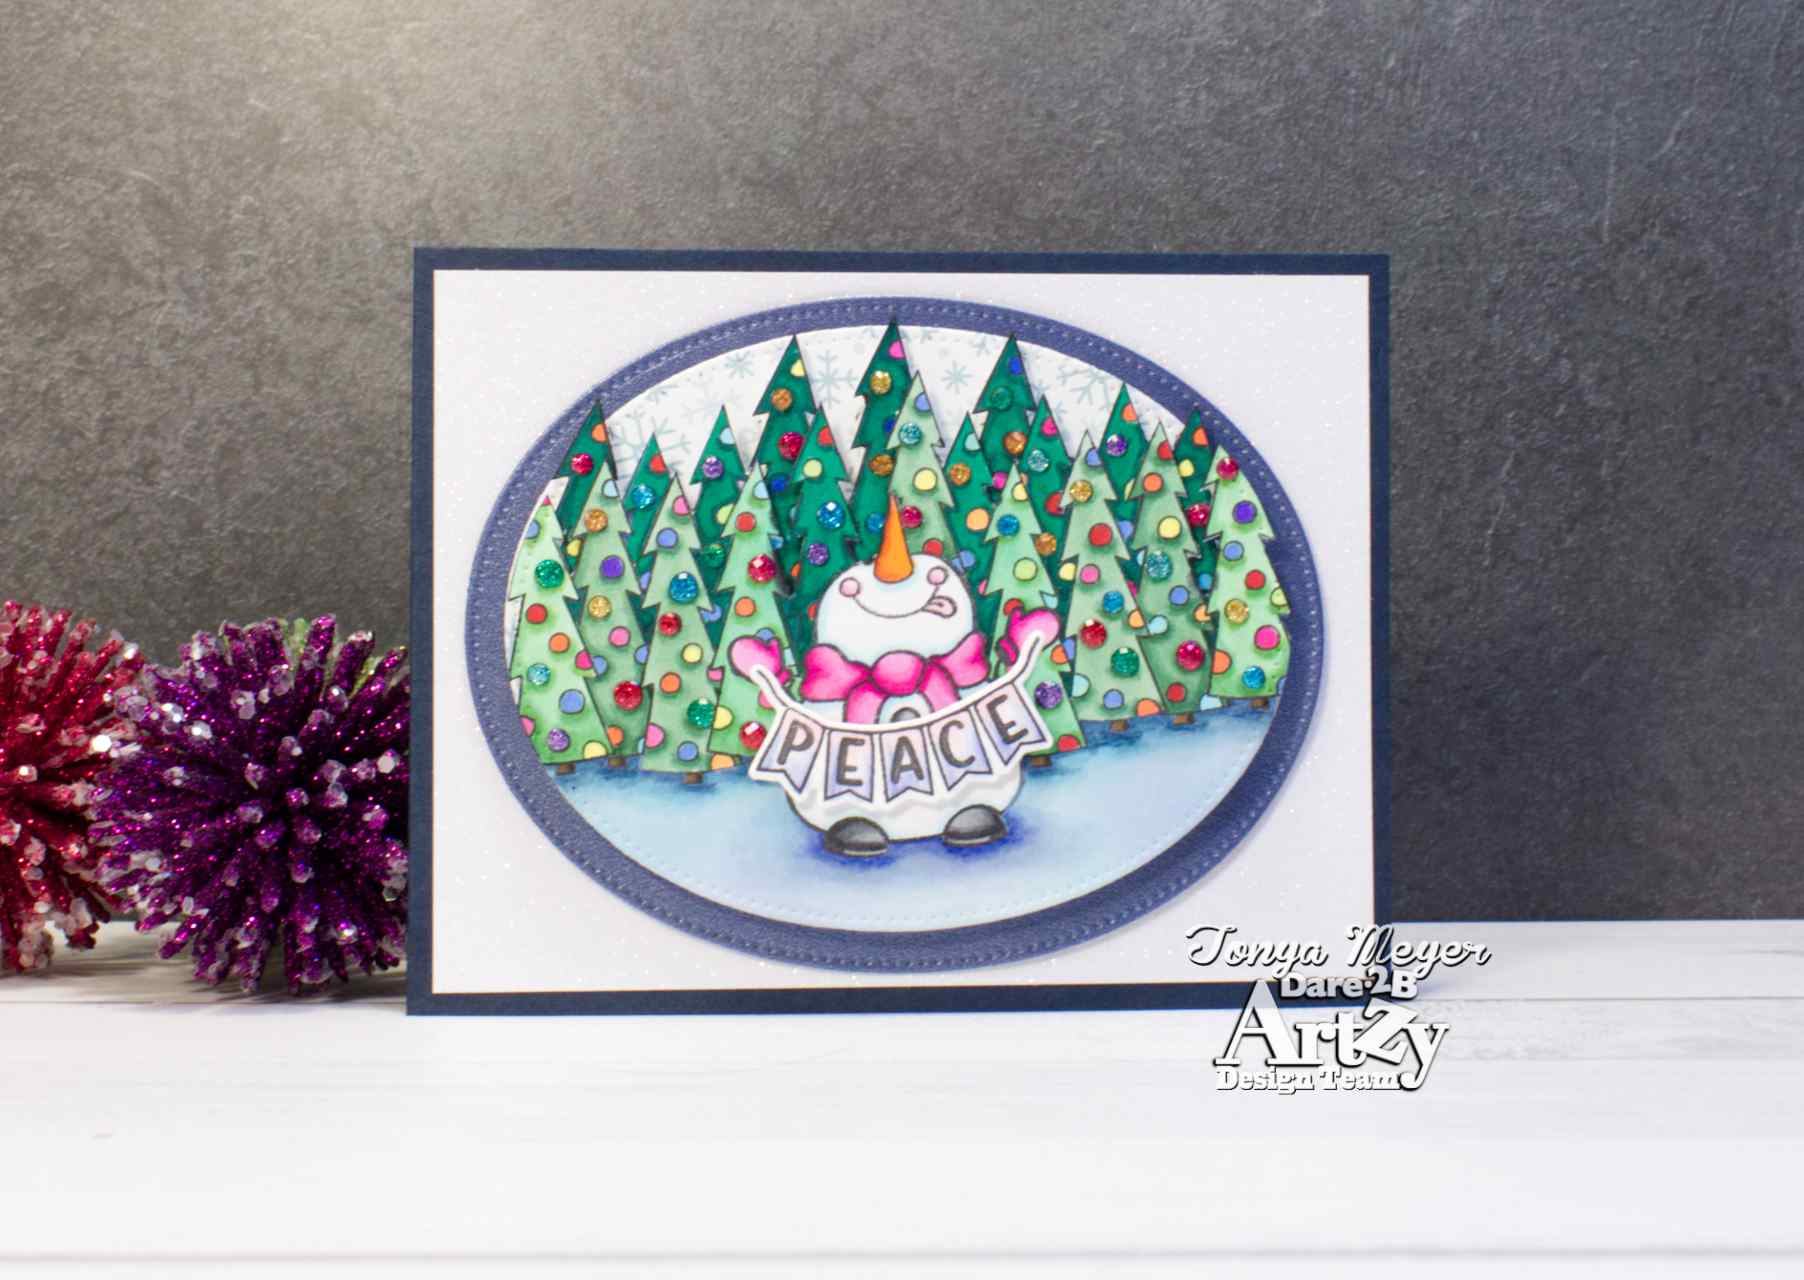
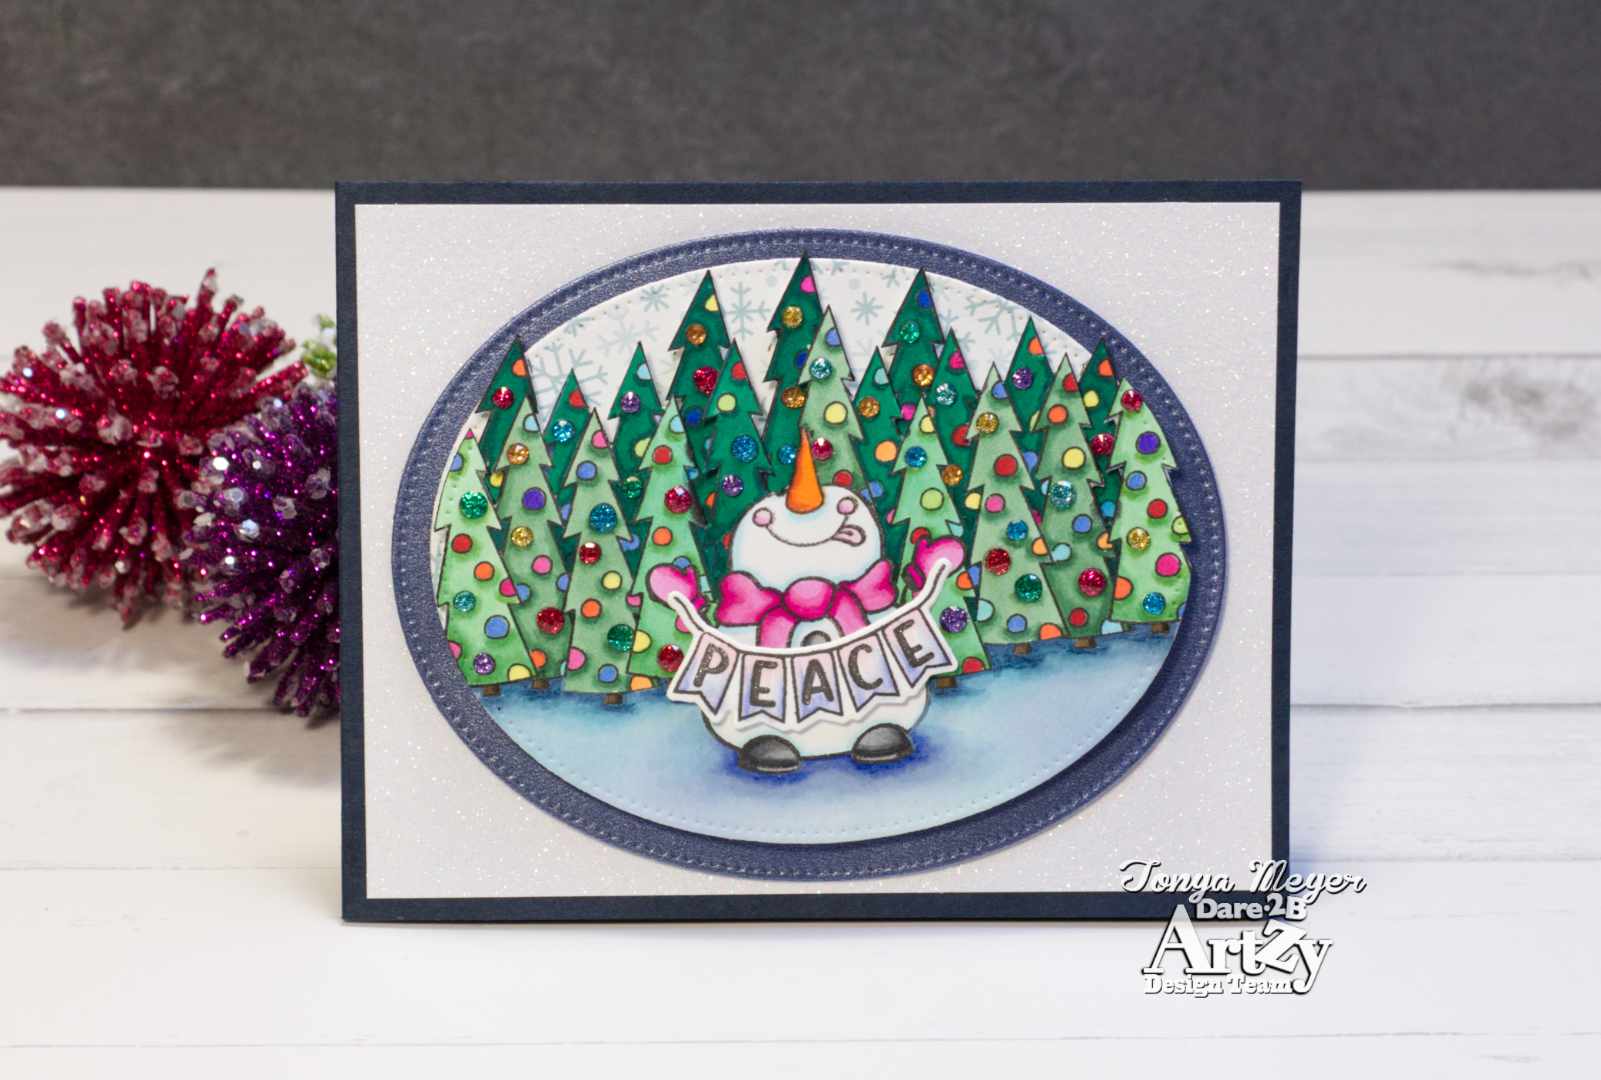
I am back today with a new card creation featuring the Frosty Hello stamp set and the new Oval Framelits dies from Dare 2B Artzy.
I knew that I wanted to create a scene card featuring one of the adorable snowmen from the Frosty Hello stamp set. It is one of my all time favorites because I just love these snowmen in the set. They are too cute!!
My typical scene cards are usually not overly complicated but this one involved a lot of masking and fussy cutting. It’s not for the faint of heart that’s for sure!
To start, I stamped the snowman on some Neenah 110lb cardstock and then placed a piece of masking paper (I actually use removeable label paper) into my MISTI and stamped the remaining ink on the stamp onto the masking paper. I fussy cut that out and carefully positioned it over the snowman stamped into my cardstock. The snowman would be my foremost image so everything else in the scene will be behind him.
Once the mask was in place, I grabbed the fun Christmas tree from the Frosty Hello stamp set and positioned it to the right of my snowman, about arms length…or stick-arm’s length out and inked and stamped it. Once it was stamped, I used the residual ink and stamped onto my masking paper and then fussy cut it out and placed it over my stamped tree on my cardstock.
I repeated stamping with the Christmas Tree to the left of the snowman about the same distance and then repeated the masking process. I did this 15 times until I had filled the background. Whew!
Next, I ink blended some Broken China and Stormy Sky onto the ground in front of the trees and added a bit of Shaded Lilac around the snowman’s feet.

Now it was time for the reveal, I carefully peeled off all of the masks, starting with the top layers first. This is the fun part, getting to see all of your hard work come to life in a scene. I’ll admit, it’s a bit nerve racking too because you never know if you have done it correctly, LOL! The end result was amazing, a snowman in a snowy field of Christmas trees. So perfect!
Using the 3rd largest Oval Framelits die, I cut out the scene. Once it was cut out, I fussy cut around the tops of all of the trees.
At this point, I decided that I wanted to add some more trees for depth so I stamped and cut 5 more trees. I would have a forest when I was done, LOL!
The next step was to color the scene. I picked out 3 sets of green alcohol markers and colored up my trees. I used my Sketch Marker Brush Pro’s. I kept the trees in the foreground the lightest and colored the ones in the back a much darker shade of green. Coloring this way will also add to the depth of the scene.
To color the ornaments on the trees, I simply chose one color from each color family and tried to not put the same colors next to each other. Since the ornaments are so small, I didn’t worry too much about shading, I just tried to get an even coat of color on them.
For my snowman, I colored the scarf in a pink-violet shade and added a hint of glacier blue to the snowman’s body and colored the shoes grey.
Once everything was colored, I cut a piece of the snowflake paper from the Yeti for Winter paper pack using the same 3rd largest Oval Framelit die.
I carefully positioned my 5 extra trees and added them to the snowflake paper using a double layer of dimensional foam.
Next, I added one layer of dimensional foam to my scene and positioned it so that it would fit over the extra trees and over the snowflake background.
To create a mat for my scene, I cut a piece of shimmery Navy cardstock from my stash using the 2nd largest Oval Framelit die and adhered my scene to it.
For my card base, I used some 100lb dark blue cardstock cut to A2 size (4 1/4 x 5 1/2) and added a piece of white glitter cardstock to it that measured 4 x 5 1/4 to it.
I popped my oval layers onto the white glitter cardstock with some dimensional foam.

To finish off my scene, I stamped the banner that reads, “PEACE” onto some 110lb cardstock and colored it in shades of pink and purple and die cut it with the coordinating dies. I added it to the snowman with a bit of dimensional foam on the bottom of the banner and some glue on the strings that are held by the snowman.
Because I couldn’t let the Christmas Tree’s go without a pop of shimmer and shine, I used some liquid glue and adhered some glitter drops in various colors throughout the trees. It really makes it look like there are Christmas lights in the trees. It looks so cool in person!
I absolutely love how this turned out. It was a lot of work, but so worth it in the end. It’s the perfect, peaceful scene.
Thanks so much for stopping by today. I hope you have enjoyed my card today. I have linked all of the products I have used below for your convenience.
Hugs,
Tonya
 https://linkdeli.com/widget.js?id=f5e8378456858c916708

