Joys of the Season
Hello and welcome!
I am back today with another card featuring some new stamps from Dare 2B Artzy using the Poinsettia Basket stamp set.
Originally, I had planned on creating an everyday card with this set, but somehow it just became a Christmas card. However, I do think that with the poinsettia flowers and leaves that you could create an all-occasion type of card and I will definitely be doing that for a future card.
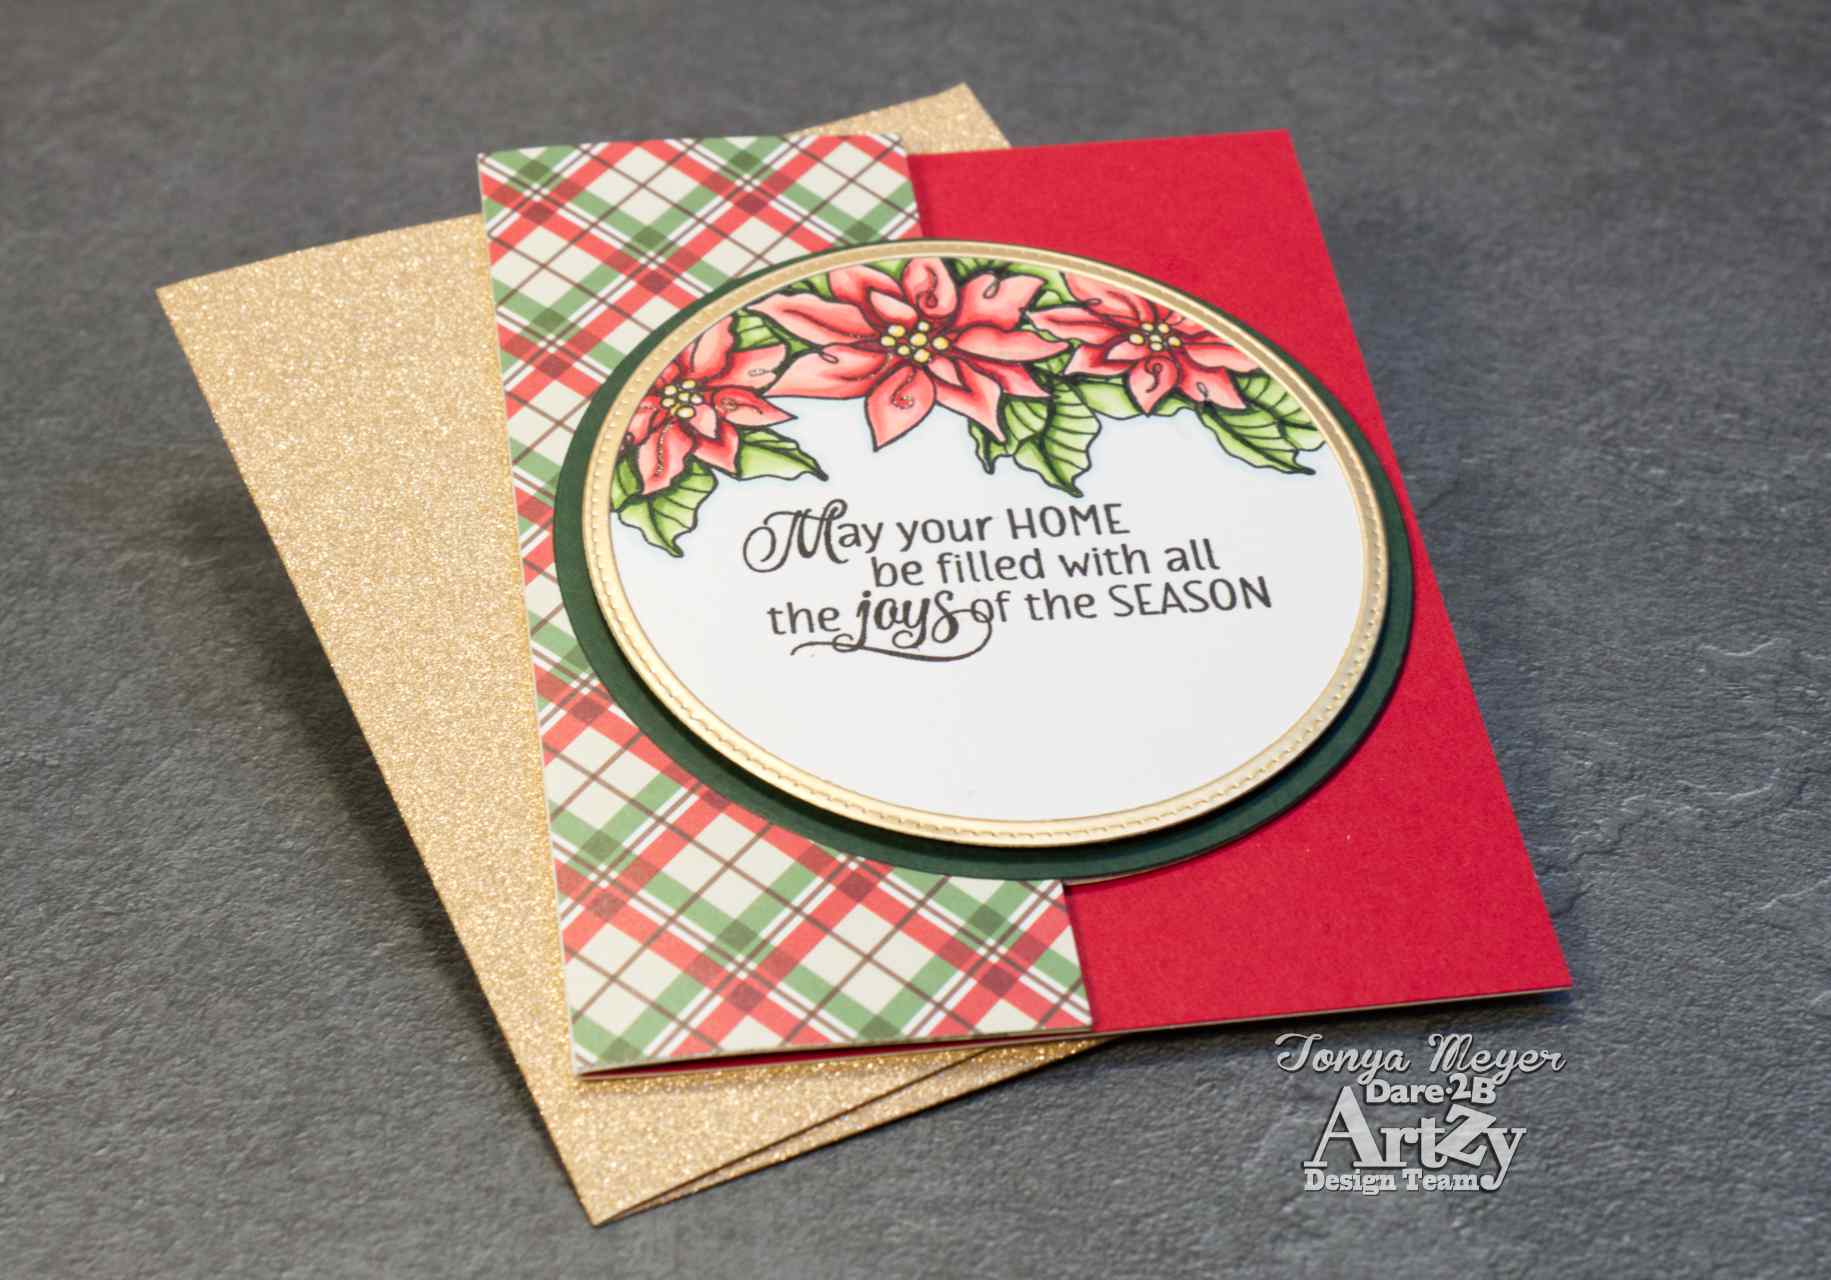
For today’s card, I started off by stamping the large Poinsettia flower and two of the smaller Poinsettia flowers onto a die cut circle that measures 3 ¾ that was cut from some white cardstock. I used the Double Dot Circle Dies from Dare 2B Artzy for my circle. My Poinsettia’s were stamped fairly close together off to one side of my circle.
To add the green leaves for the Poinsettia’s I had to create some masks. I stamped the same three Poinsettia leaves onto some removable label paper, fussy cut them and positioned them over my stamped Poinsettias.
Next, I stamped in the leaves to fill in some of the white space and then removed the masks to reveal a pretty bunch of Poinsettia’s and greenery. I always love the reveal when you mask images.
Each of the flowers were colored using Altenew Artist Markers. I will list the colors I used below. When my coloring was completed, I used a Copic marker in B0000 to outline the image. I also went back and outlined all of the stamped lines with a fine liner pen that was .35mm. This helps when your stamped lines fade back from your coloring medium or if your ink pad is dry. I love that it seems to make the image pop off the page.

I stamped the sentiment “May your HOME be filled with all the joys of the season” at the bottom of the circle under the Poinsettia images. The sentiment is from the Holiday Birds stamp set. I really love the mixture of fonts for this sentiment, it is so pretty.
I set the colored image aside and created an A2 side folding card for my card base. I wanted to create a partial die cut circle on the card front. To do that I scored the front of the card in half at 2 1/8 inches. I lined up a circle die that measured 4 inches and taped it in place. Next, I placed the card panel opened onto my cutting machine platform. I positioned the plates so that they would only be covering the half of the circle that I wanted to cut and ran it through my machine. The dies cut ½ of the circle that is towards the open edge of the card. Since the edge is still connected, you just have to cut along the 2 1/8-inch score line up to the edge of the die cut circle and remove it to leave a partial die cut on your card front. It kind of looks like a half-moon when you’re finished.
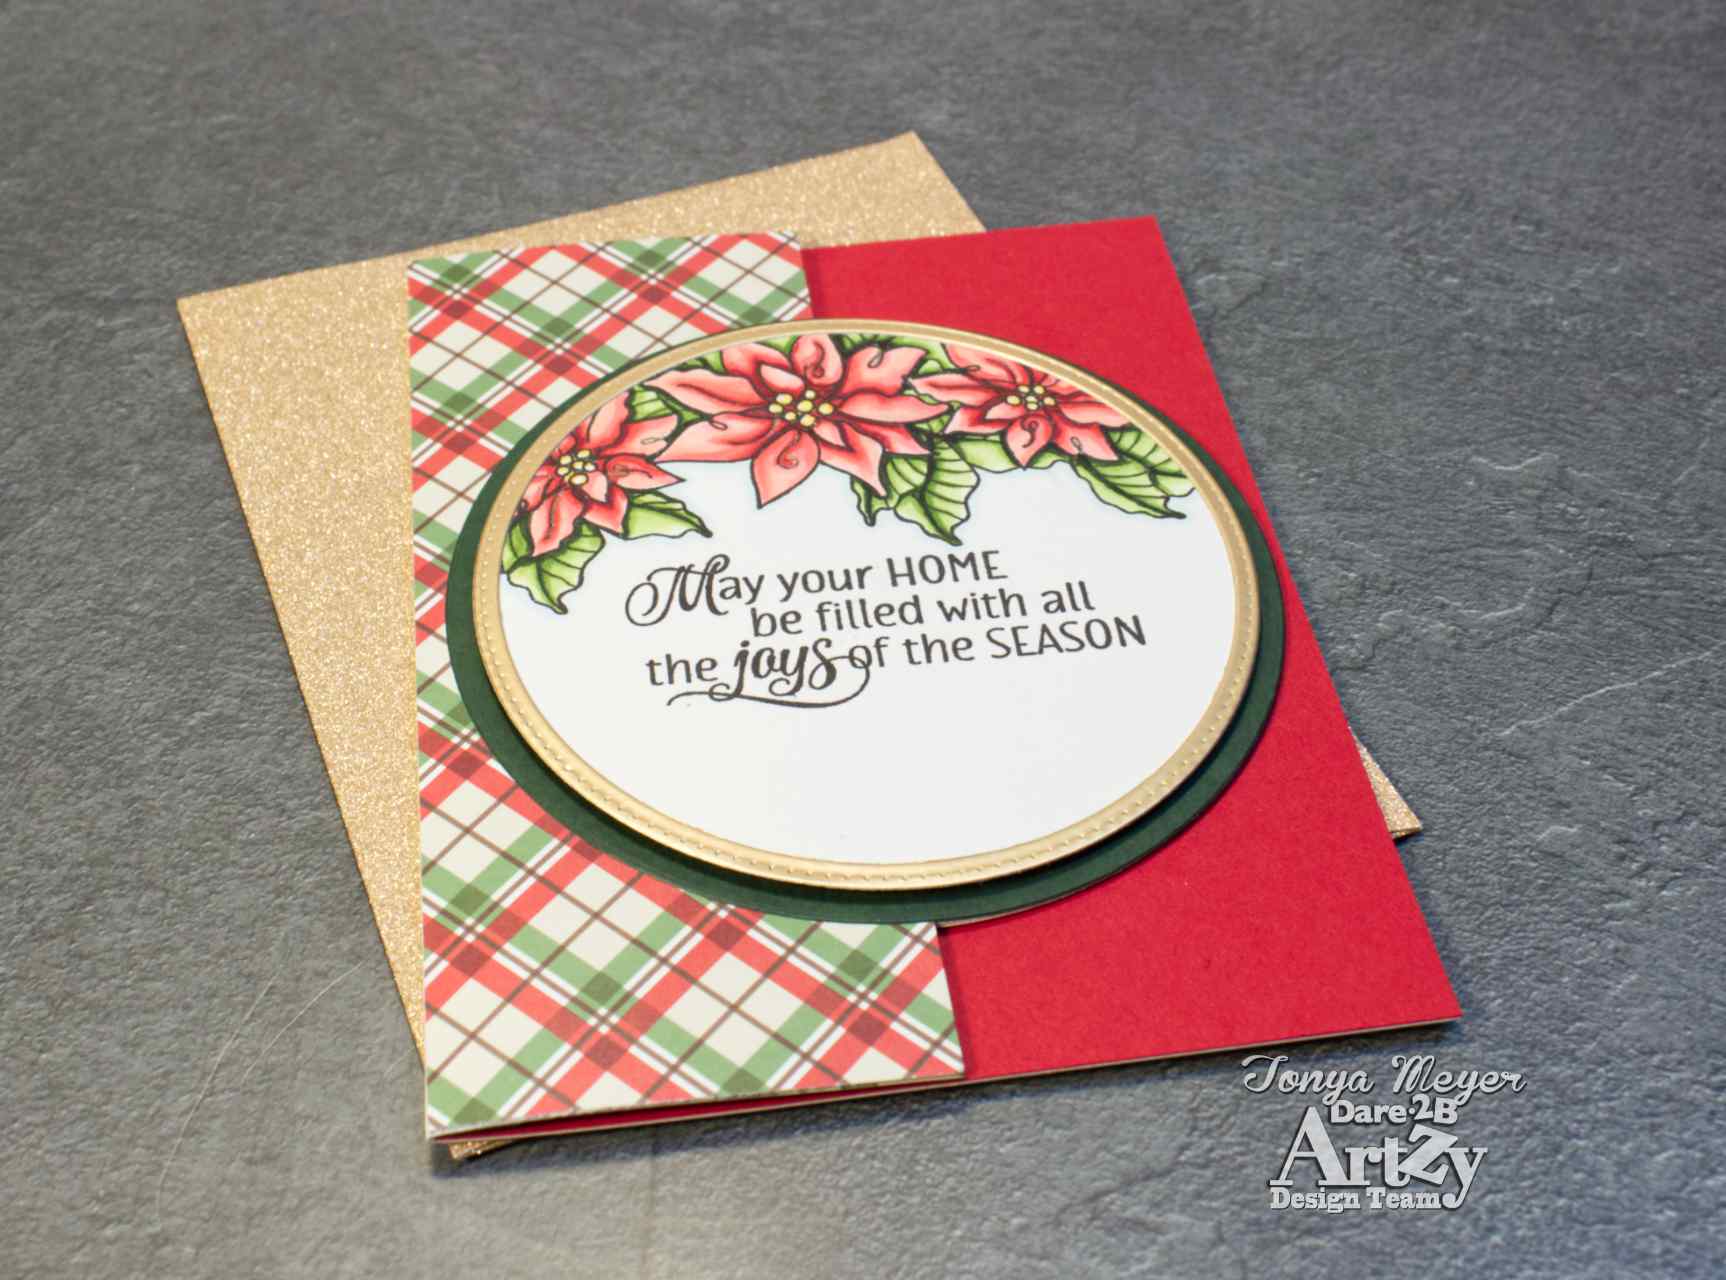
To decorate the card panel, I trimmed two, 2 1/8-inch pieces of the plaid Festive Poinsettia paper from the Home for the Holiday’s Variety Pack. I adhered one to the card front and the other to the inside.
Next, I die cut and added a 4-inch circle of dark green cardstock and layered it with my stamped Poinsettia’s and greenery using a bit of dimensional foam.
To create a gold frame for the stamped image panel, I used the Double Dot Circle die that measured 3 ¾ inches and also a circle die from my stash that measured 3 4/8 and taped them in place together onto a piece of matte gold cardstock and ran it through my die cutting machine. This gave me a 1/8-inch frame with the dotted detail which I added to my colored image panel with some liquid glue.
For the inside of the card, I added a strip a dark green cardstock along the folded edge of the card panel that was 3/8 inch wide by 5 ½ inches long and then added a die cut circle that was 4 inches wide cut from some white cardstock. For this panel you could stamp another image or sentiment, but I chose to leave it blank to write a personal message.
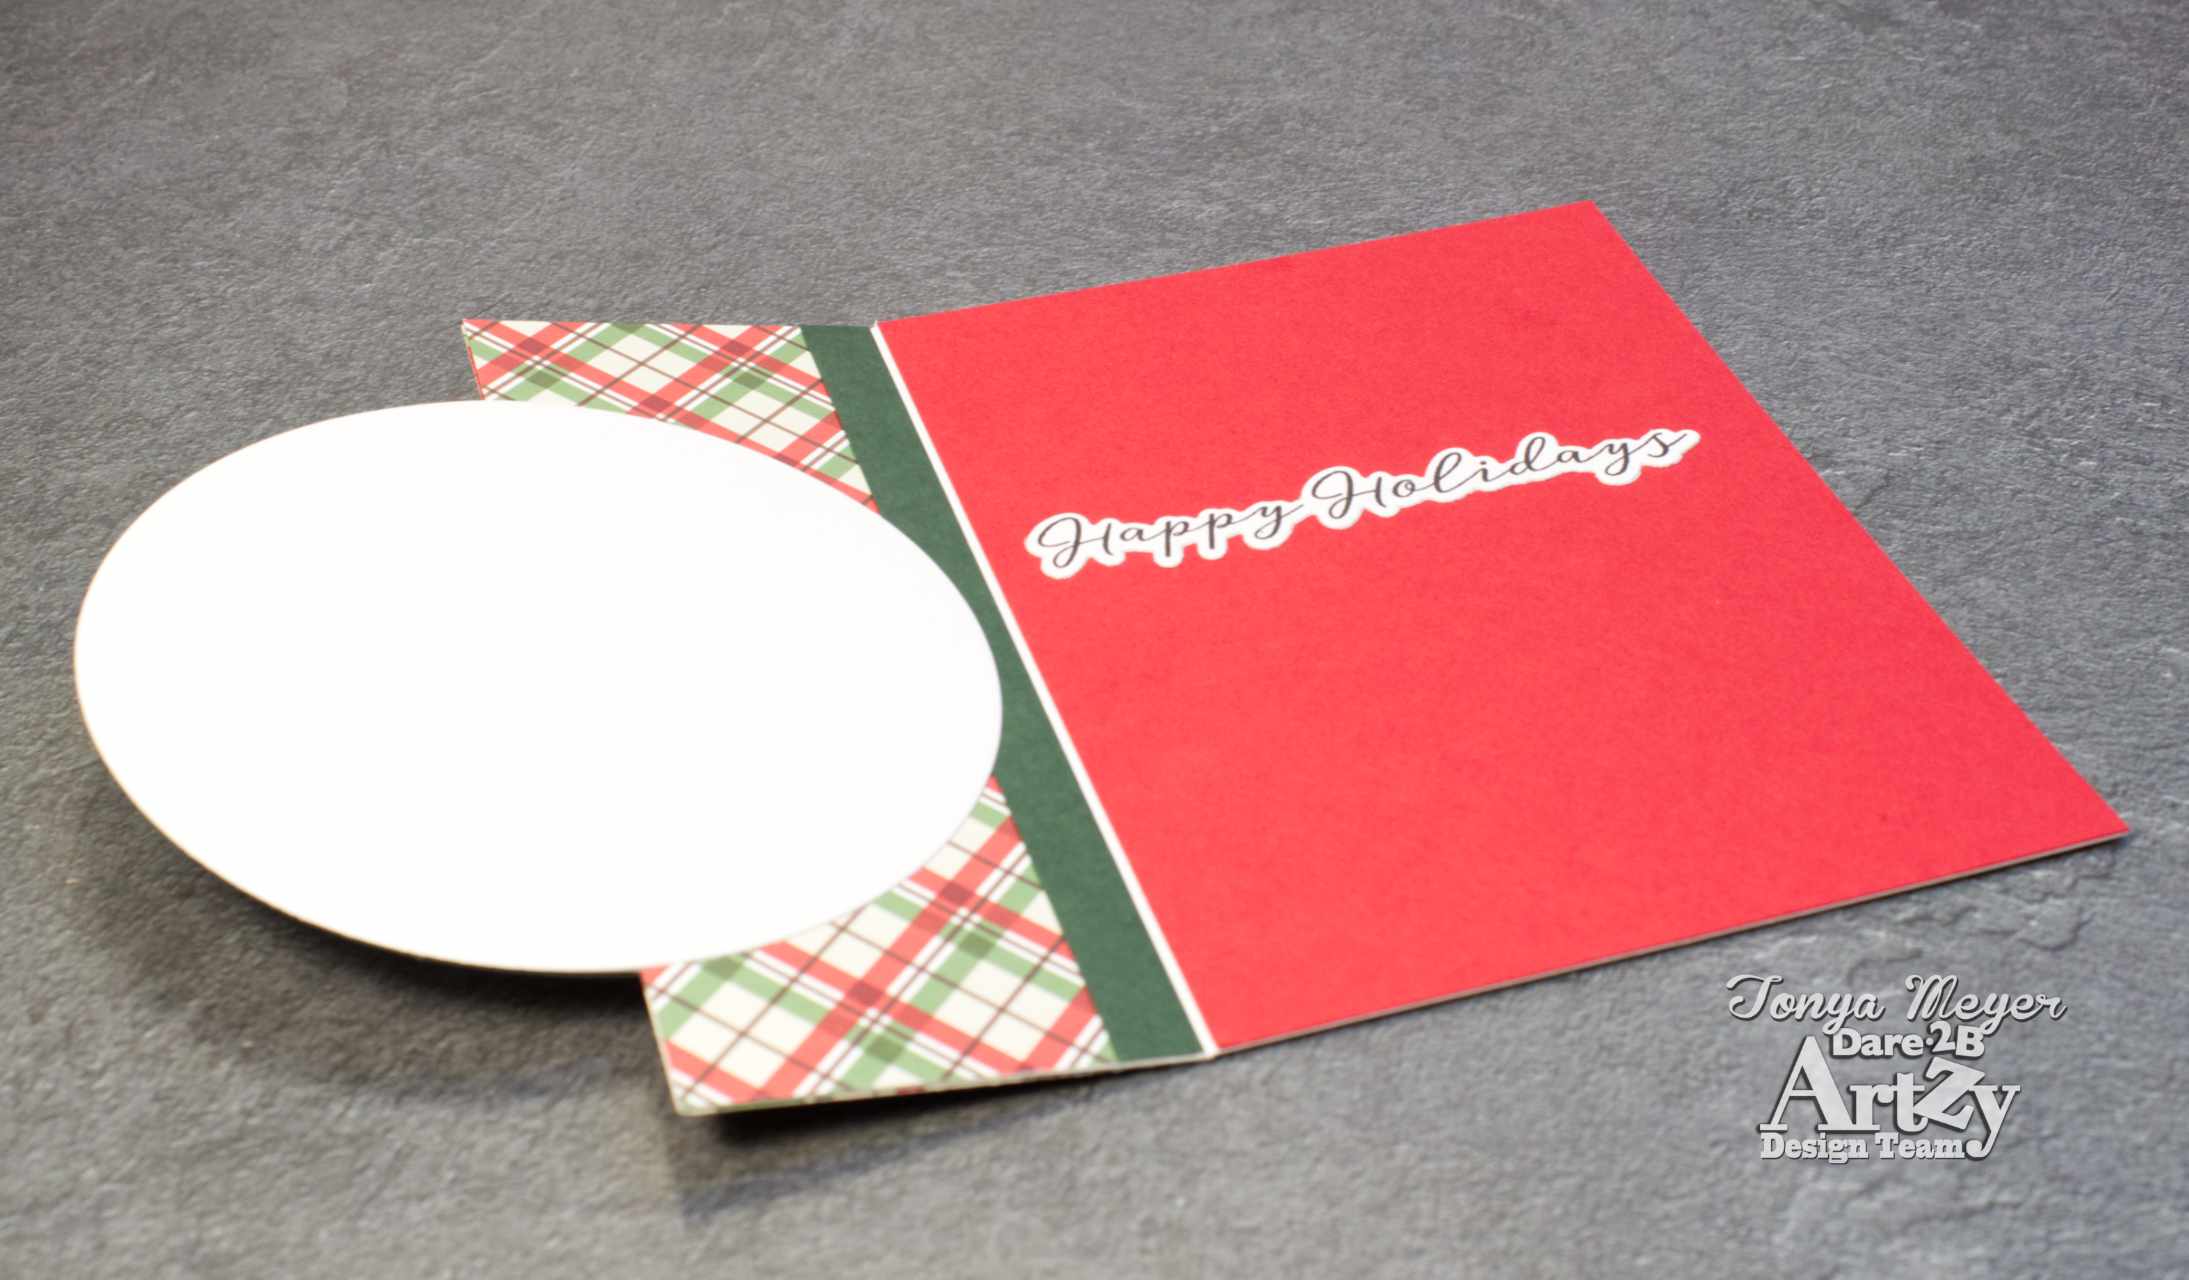
On the right side of the inside panel, I added a piece of red cardstock that was cut to 4 ¼ x 5 ½ to completely cover the inside of the card panel.
I stamped the Happy Holidays sentiment from the Holiday Birds stamp set and die cut it using the coordinating die. I absolutely love that with both the Poinsettia Basket and the Holiday Birds stamps that there are several of the sentiments that have a coordinating die.
To add a small amount of shimmer, I used a Gelli Roll Pen in Startdust and added some shimmer to my Poinsettias.
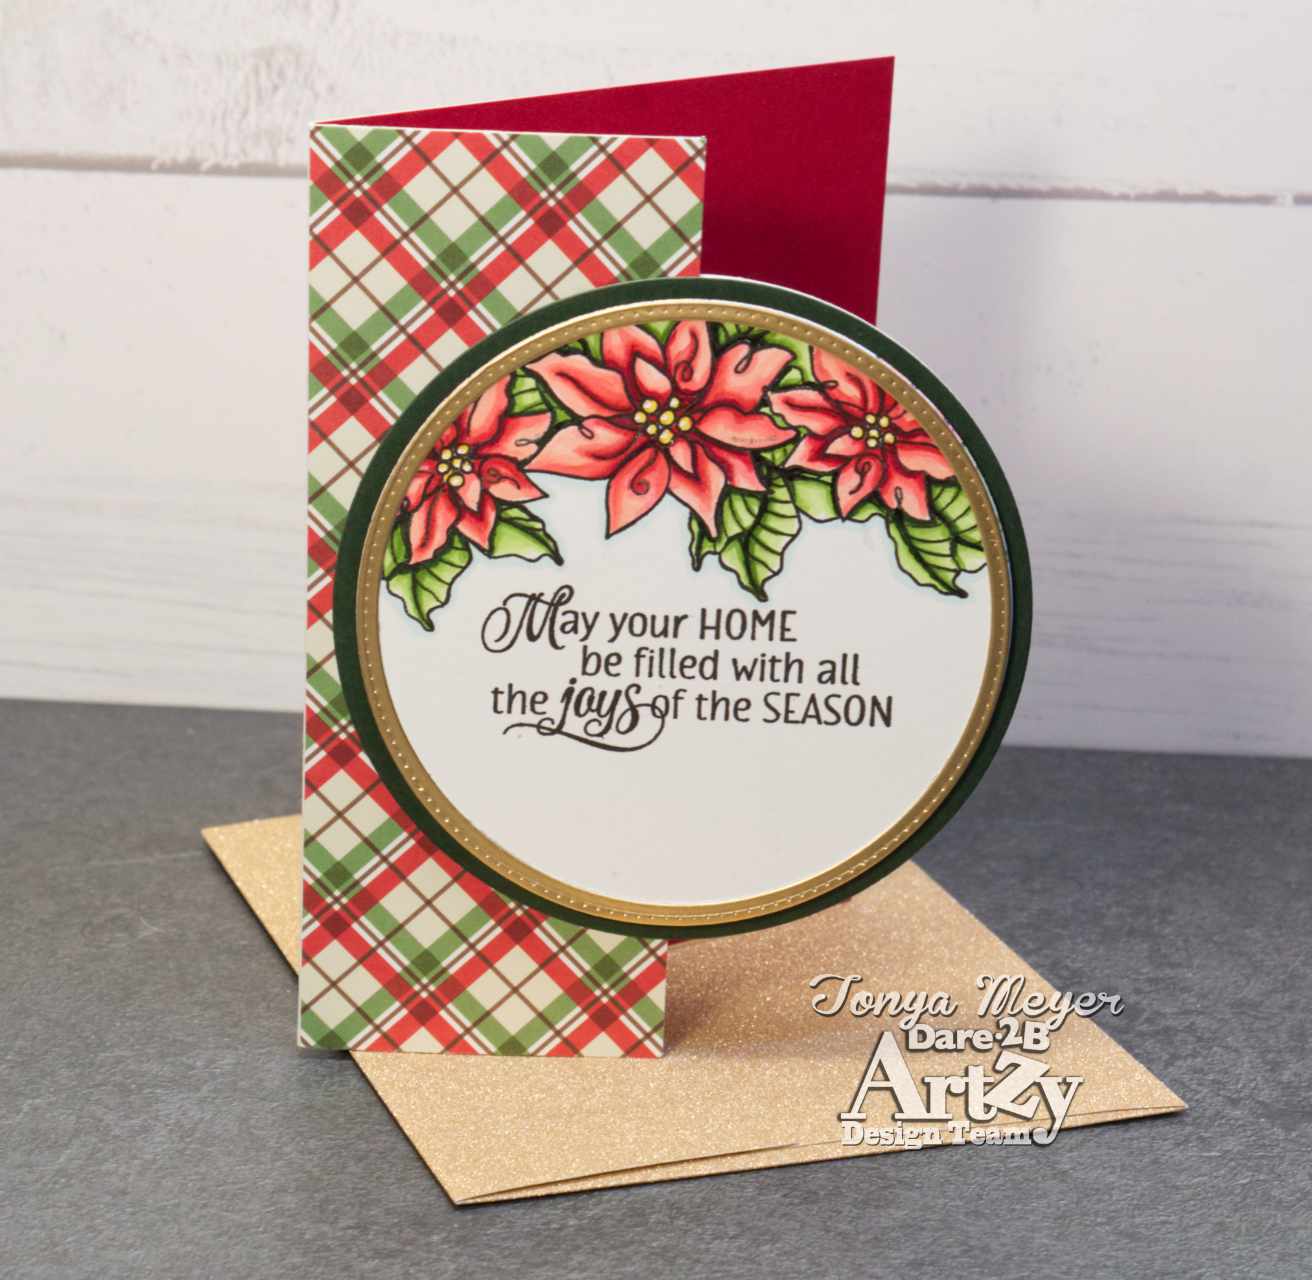
That finished off my Christmas Card today. I really love how this turned out and I think stamping and masking the Poinsettia’s along with the partial die cutting really made this card pop.
Thanks so much for stopping by! Links to all of the products used in today’s card will be listed below at no cost to you should you use a link to purchase any of these items.
Hugs,
Tonya

https://linkdeli.com/widget.js?id=f5e8378456858c916708

