A Little Vitamin Sea
Today I played with the new Seaside Escape Limited Edition Kit from Taylored Expressions. Who wouldn’t love to be at the beach right now?! That sounds like fun!
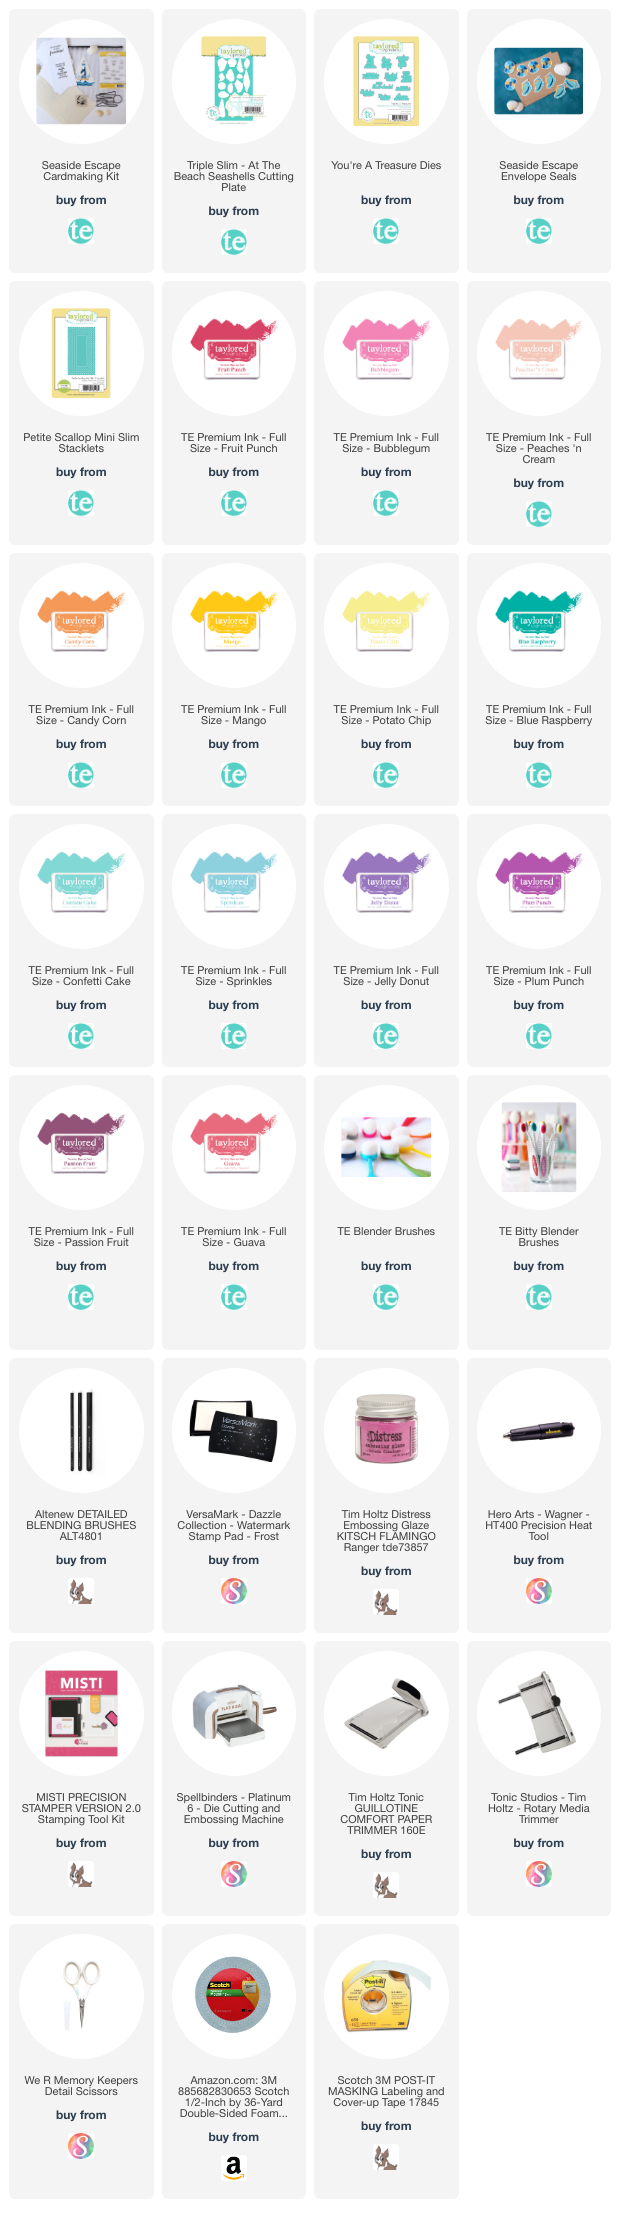
The kit contents include; a Triple Slim At the Beach Layering Stencil + clear add-on stamps, Triple Slim At the Beach accessory dies, The Insiders Seaside Escape card panels and the You’re a Treasure Sentiment Stamp. You can also purchase add-on’s separately that include the sentiment dies for the You’re a Treasure stamp set, Insider Panels (which can be foiled with a laminator) and the Triple Slim At the Beach Seashells Cutting Plate. They even have coordinating envelope seals that are adorable.
I fell in love with this kit and the stencil set not just because it was a Taylored Expressions triple slim layering stencil but because of all of the fun elements that the stencil creates. It’s the prefect mini “get-away” kit to create some fantastic cards with a beachy vibe.

When you ink blend your cardstock panels with the triple slim stencil you end up with three mini-slim card panels that are ready to put on a card.
Today, I’ve finished one card from the ink blended panels, the beautiful sea shells. I just love the intricate details that the stencil gives for the sea shells. They are so pretty.
I was inspired by some very colorful cards that TE Design Team member, Kavya created. I loved all of the bright colors she used.
I started out with 6 inks and quickly realized that I needed more colors for this card because I wanted it to be ultra colorful. Here are the original 6 Taylored Expressions inks I started with: Peaches ‘n Cream, Plum Punch, Jelly Donut, Confetti Cake, and Blue Raspberry.

After I had a few colors blended onto my panel I realized that I wanted to add even more color. It’s not possible to have too much color, right?
I added in Potato Chip, Mango, Bubblegum, Fruit Punch and Passion Fruit.
The seashell stencil is very detailed so for a few of the seashells, I went in with a medium size blending brush for a base color and then used a detailed stick type blending brush to add colors for some of the detailed areas. I think this really worked to bring out some detail. It’s also helpful to use some low tack masking tape or Post-it Notes to mask of some areas so that you don’t accidentally add ink blending to areas that you don’t want ink.
Once I was happy with the colors, I used the coordinating Triple Slim at the Beach Seashells Cutting plate. This plate cuts all the seashells at once so you do not have to snip apart a bunch of dies and then potentially make multiple passes through your die cutting machine. This is a one and done kind of die and I LOVE IT! It is such a time saver.

After my seashells were cut out, I used the largest of the Petite Scallops Mini Slim Stacklets and cut some teal cardstock with the die.
I saved the negative paper left over from die cutting my seashells and used it as a guide. I taped the negative to my teal cardstock using some highlighter tape. Next, I cut small pieces of dimensional foam and placed my shells in their respective places within the negative frame. Once all of the seashells were in place, I was able to carefully remove the negative paper by wiggling it free or if necessary, snipping it with scissors to remove it.
Next, I created a mini slim card base with some Neenah 110lb Classic Crest Solar White cardstock by cutting my paper down to 7 x 6 and scoring the long side at 3 ½ inches.
My seashells had a lot of bright colors but the shades of pink seemed to stand out the most against the teal cardstock. I thought that a nice pink glitter paper to frame the scalloped teal cardstock would look nice. I might be channeling a bit of Miami Beach with these colors, lol! I cut my glitter cardstock to measure 3 ½ x 6 and adhered it to my card base.

To add my panel to the glitter cardstock, I used some dimensional foam on the back of my seashells panel and then added some ¼ inch Score-Tape over the top of the dimensional foam. This will guarantee that my panel sticks to the glittery paper.
Once everything was adhered, I created my sentiment. I stamped the sentiment Let’s Shell-ebrate from the You’re a Treasure stamp set with the Passion Fruit ink. The red rubber stamps always stamp beautifully so the sentiment came out perfect. To create the glossy look to the sentiment, I stamped the sentiment again using Versamark and then sprinkled on some Kitch Flamingo Distress Embossing Glaze and heat set it.
After the sentiment was completed, I die cut it using the coordinating die. I popped the sentiment up using dimensional foam and placed it in the lower portion of the card. For now, I am going to leave the inside of the card blank as it could be used for many celebratory occasions, but I will likely use it for a colorful Birthday card for a friend.
As a finishing touch, I added some light pink pearls to the card panel in between the shells. I think it adds a nice shimmery touch to the card.
All the products used in today’s card will be linked below. NOTE As of the date of this post, the Limited-Edition Seaside Escape linked below is still available. These are limited edition and Taylored Expressions does not restock their kits. They may at their discretion re-release kit items at a later date. At a later date, some or all kit items may be unavailable due to sell out which is beyond my control.
Thanks so much for stopping by! I hope you’ve enjoyed my colorful card for today.
Hugs,
Tonya
https://linkdeli.com/widget.js?id=f5e8378456858c916708

